Diese Version enthält möglicherweise inkorrekte Änderungen. Wechsle zur letzten geprüften Version.
Was du brauchst
-
Dieser Schritt ist noch nicht übersetzt. Hilf mit, ihn zu übersetzen!
-
Hold the device with your non-dominant hand, looking at the back of the device, taking note of the small notch along the edge.
-
-
Dieser Schritt ist noch nicht übersetzt. Hilf mit, ihn zu übersetzen!
-
While holding the device with your non-dominant hand, use your dominant hand to gently pry the back casing off the device. The most effective way to do this is by gripping the small notch.
-
If it doesn't come off, try using alternative grips that are the most comfortable for you. Try using your fingernails to pry up at the corner or around the edge of the backing. The case should come off easily.
-
The back should be completely removed.
-
-
Dieser Schritt ist noch nicht übersetzt. Hilf mit, ihn zu übersetzen!
-
The battery should now be visible. Gently grasp the edges to lift it out of the device.
-
-
-
Dieser Schritt ist noch nicht übersetzt. Hilf mit, ihn zu übersetzen!
-
Now that the battery is out, the SIM Card should be visible. Simply grasp it and pull it out of the device.
-
-
Dieser Schritt ist noch nicht übersetzt. Hilf mit, ihn zu übersetzen!
-
Using a Phillips #000 screwdriver, remove the screws found on the four corners of the back of the device.
-
-
Dieser Schritt ist noch nicht übersetzt. Hilf mit, ihn zu übersetzen!
-
Using the metal spudger, pry the plastic casing around the device.
-
-
Dieser Schritt ist noch nicht übersetzt. Hilf mit, ihn zu übersetzen!
-
Using the metal spudger, gently pull out the motherboard from the plastic casing.
-
-
Dieser Schritt ist noch nicht übersetzt. Hilf mit, ihn zu übersetzen!
-
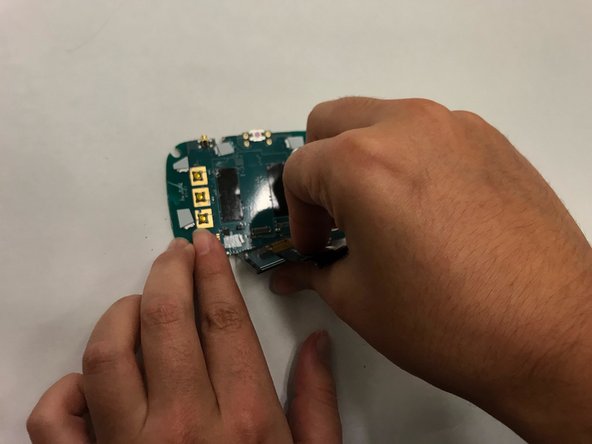
Rotate the motherboard so that the screen is facing you.
-
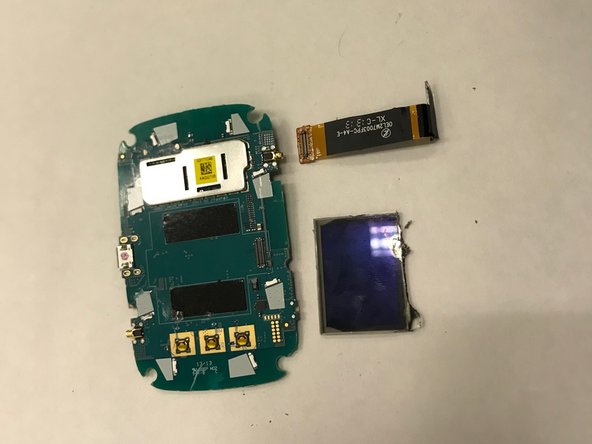
Gently pull up the orange tape to remove the screen.
-


Rückgängig: Ich habe diese Anleitung nicht absolviert.
3 weitere Nutzer:innen haben diese Anleitung absolviert.
Team

Marist, Team S1-G3, Chaterdon Fall 2018 Mitglied von Marist, Team S1-G3, Chaterdon Fall 2018
MARS-CHATERDON-F18S1G3
3 Mitglieder
8 Anleitungen geschrieben
5 Kommentare
for parts and tools scan to the bottom click ifixit, stores, then country or pro wholesale. then it will give you the option tools or parts from there you should be able to find what you desire. clicking the link will take you to another page. Good
These steps do not help find a replacement screen.
Wehilani -