Einleitung
This guide will show you the steps to replacing the battery. Soldering and de-soldering will be necessary.
Was du brauchst
-
-
Unscrew the two 4.0mm Phillips head screws found near the ports at the bottom of the device using a PH #00 screwdriver.
-
-
-
Slide the plastic prying tool in between the front and back panel and pry them apart on all 4 sides.
-
It may be easiest to start on one of the sides, and work your way around the device. The bottom, with the ports, is the most difficult side and can be saved for last.
-
-
-
-
Pry a thin tool under the battery.
-
Slide the tool around all sides of the battery. Separate it evenly on all sides for the best result.
-
-
-
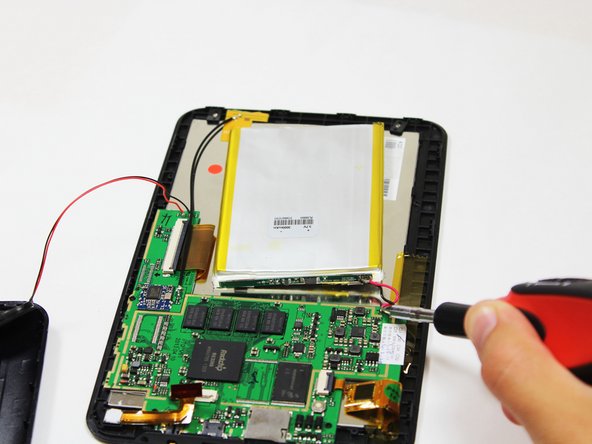
Desolder the two connections between the red and blue wires where the battery connects to the circuit board.Soldering guns are hot and can easily damage the device.
-


To reassemble your device, follow these instructions in reverse order.
To reassemble your device, follow these instructions in reverse order.
Rückgängig: Ich habe diese Anleitung nicht absolviert.
3 weitere Nutzer:innen haben diese Anleitung absolviert.
Team

Cal Poly, Team 10-41, Amido Fall 2014 Mitglied von Cal Poly, Team 10-41, Amido Fall 2014
CPSU-AMIDO-F14S10G41
4 Mitglieder
12 Anleitungen geschrieben