Diese Anleitung enthält neuere Änderungen. Wechsel zur neuesten unüberprüften Version.
Einleitung
Use this guide to remove the Connex Vital Signs Monitor from the Welch Allen office cart stand.
PLEASE NOTE: This repair guide was developed by the iFixit team based on Welch Allyn's own service manual. Neither iFixit nor this repair guide is endorsed by or affiliated with Welch Allyn.
Was du brauchst
-
-
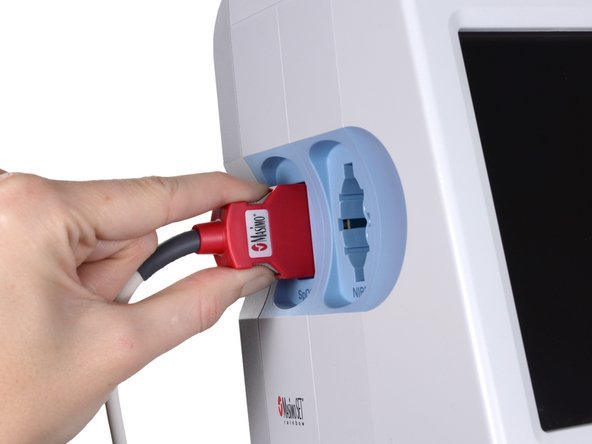
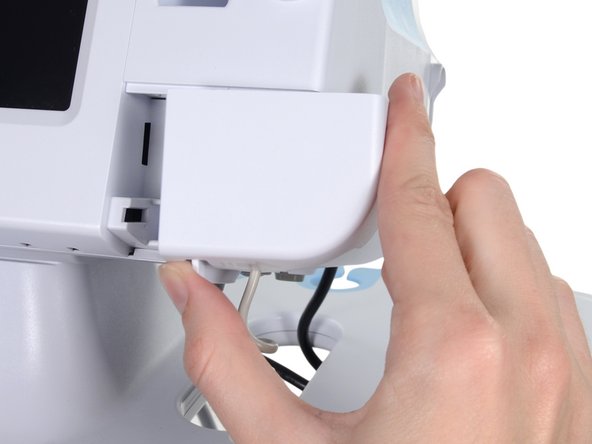
Place your thumb and forefinger on the blood pressure (NIBP) hose connector. Squeeze the side tabs until the connector releases.
-
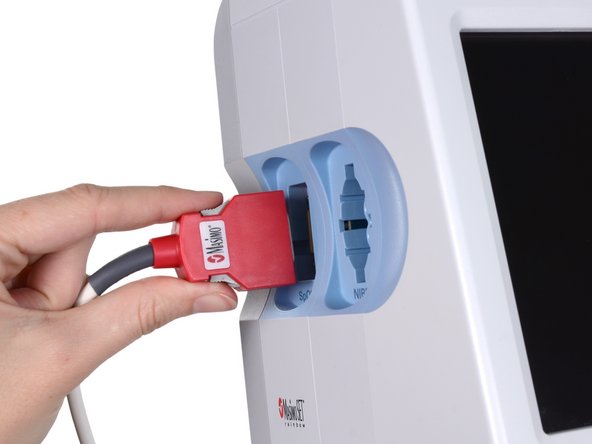
Pull the connector away from the connector port.
-
-
-
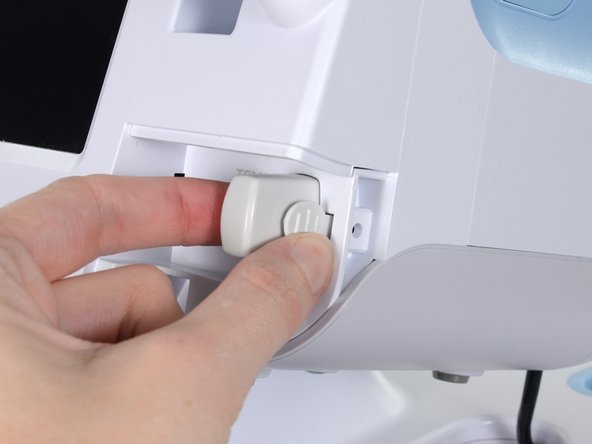
Place your thumb and forefinger on the Pulse oximetry (SpO2 or combined SpO2/SpHb) cable connector. Squeeze the side tabs until the connector releases.
-
Pull the connector away from the connector port.
-
-
-
-
Remove the cover of the temperature module by pressing the tab and sliding the cover to the right.
-
-
-
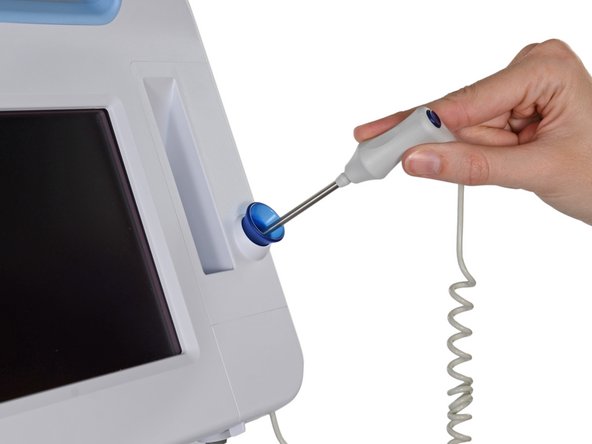
Depress the spring tab on the temperature probe cable connector and withdraw it from the probe port.
-
-
-
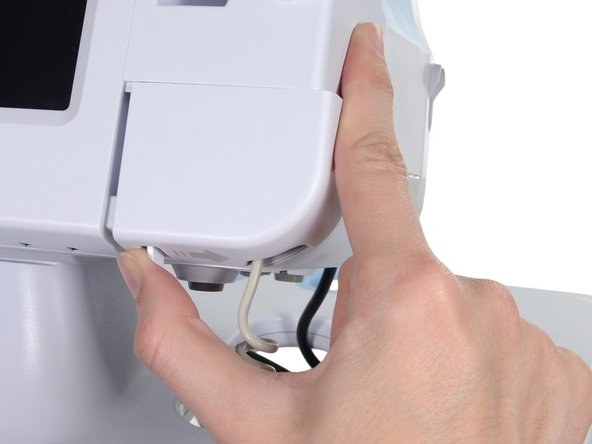
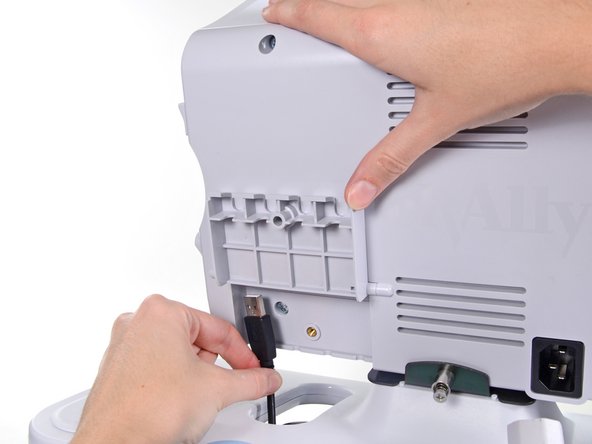
Remove the flathead screw on the USB networking door.
-
Loosen the captive Phillips #2 screw securing the monitor to the stand.
-


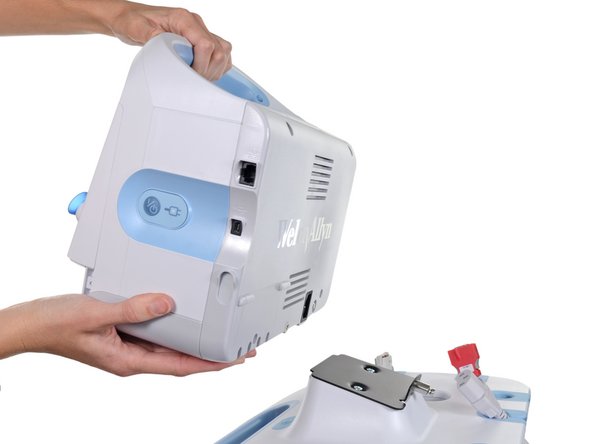
To reassemble your device, follow these instructions in reverse order.
To reassemble your device, follow these instructions in reverse order.

