Einleitung
This guide shows how to safely separate the main circuit board from the remainder of Zoomer Dino Boomer so that it can be replaced without damage to the electrical system.
Was du brauchst
-
-
Turn dinosaur over and hold upright.
-
Use the spudger to pry apart the back cover from the remainder of the Zoomer Dino Boomer.
-
-
-
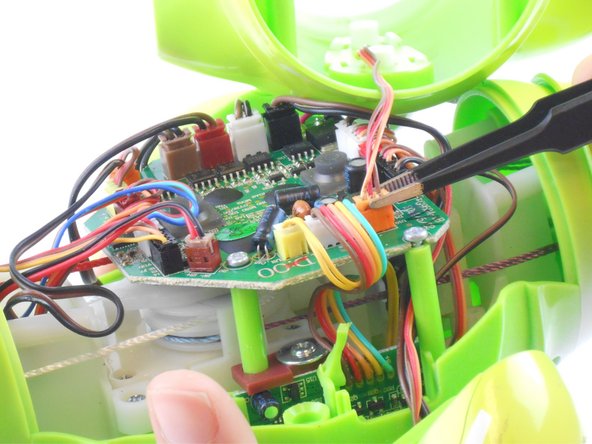
Disconnect the wire that connects the back cover of the dino to the main circuit board by carefully pulling on the orange wire connector with tweezers.
-
Remove back cover.
-
-
-
-
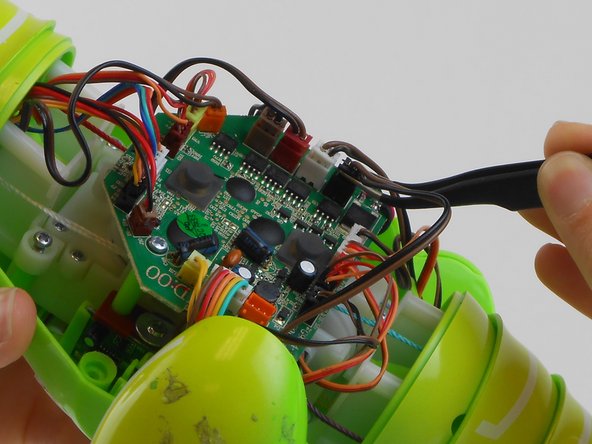
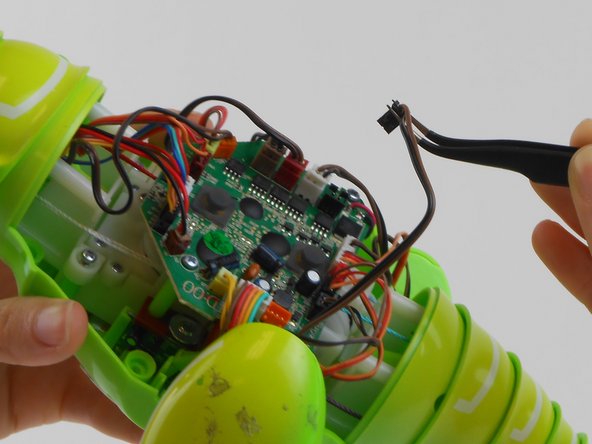
Use tweezers to remove all of the colored wire connectors from their sockets on the circuit board.
-
-
-
Remove the three 7.2 mm Phillips #0 screws connecting the main circuit board to the body of Zoomer Dino Boomer.
-
-
-
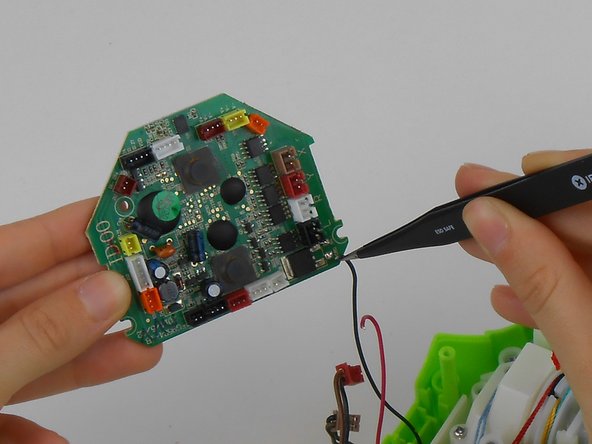
Use soldering iron and tweezers to disconnect main circuit board from the black and red wires.
-
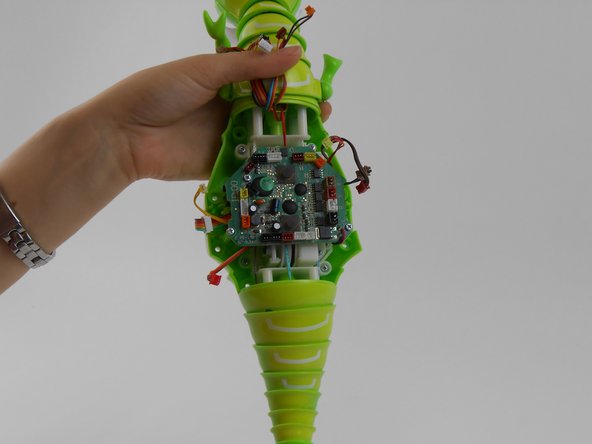
Remove main circuit board from Zoomer Dino Boomer
-
To reassemble your device, follow these instructions in reverse order.
To reassemble your device, follow these instructions in reverse order.
Rückgängig: Ich habe diese Anleitung nicht absolviert.
5 weitere Personen haben diese Anleitung absolviert.
4 Kommentare
can anyone tell me where to get a replacement motherboard?
Nah cuz my dino doesn't show any life support at all just the controller and Idek what's the issue. If this is the way to solve it be so for real tell me where to get that new circuit.
The batteries location?
Is there a way to look at the dinosaurs code?
In other words, how it runs?
I´m having one for 5 years now and would like to create a digital copy.
It´s a private project and i alrerady finished the 3D Model.
If you know anything about this topic or someone familiar with that, please reply.
Thank you in advance


