Zum Hauptinhalt wechseln

Asus ROG FX60VM Hard Drive Replacement

Englisch
Deutsch

Schritt 6 übersetzen

Schritt 6
Asus ROG FX60VM Hard Drive Replacement: Schritt 0, Bild 1 von 3 Asus ROG FX60VM Hard Drive Replacement: Schritt 0, Bild 2 von 3 Asus ROG FX60VM Hard Drive Replacement: Schritt 0, Bild 3 von 3
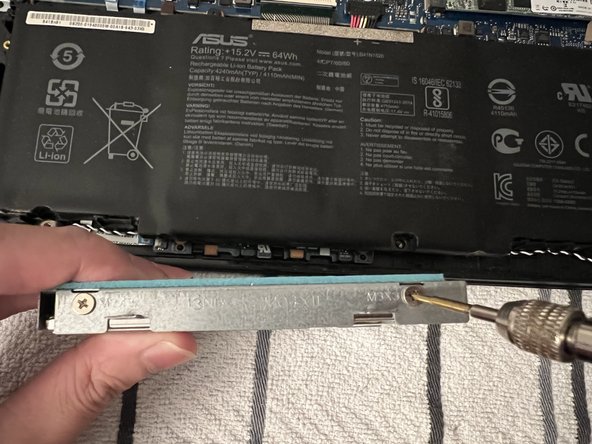
  • Remove the two 3.0 mm screws on each side of the HDD mounting bracket using a Phillips #1 screwdriver.

  • Lift the HDD out of the mounting bracket, and install a new HDD or SSD to the mounting bracket.

Hier Übersetzung einfügen

Hier Übersetzung einfügen

Deine Beiträge sind lizenziert unter der Open-Source Creative Commons Lizenz.