Zum Hauptinhalt wechseln

Microsoft Surface Laptop 3 15" LCD Panel Replacement

Hinweis: Du bearbeitest eine grundständige Anleitung. Alle Änderungen, die du vornimmst, betreffen auch die Anleitung, die diese beinhaltet.

Englisch
Deutsch
Schritt 6
Microsoft Surface Laptop 3 15" LCD Panel Replacement, Screen removal information: Schritt 0, Bild 1 von 3 Microsoft Surface Laptop 3 15" LCD Panel Replacement, Screen removal information: Schritt 0, Bild 2 von 3 Microsoft Surface Laptop 3 15" LCD Panel Replacement, Screen removal information: Schritt 0, Bild 3 von 3
Screen removal information
  • Your screen is slightly smaller than its recess in the back cover. Look along the left and right edges of the screen to find which one has a bigger gap.

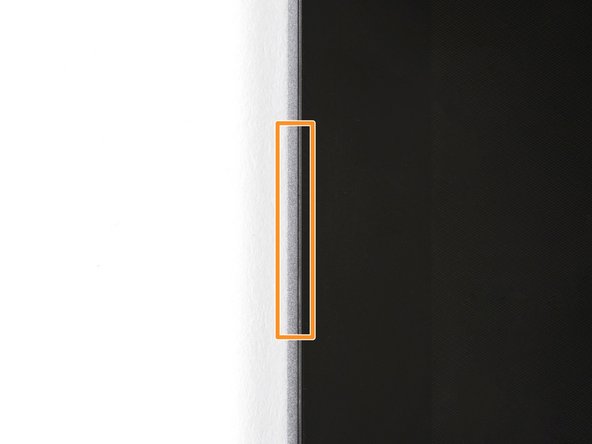
  • The screen used in this guide has a smaller gap on the right side, which would be harder to start with.

  • The left edge has a wider gap, which would be easier to start with.

  • Since this screen has a wider gap on the left edge, the next few steps will start from the left edge and work clockwise. If your gap is wider on the right edge, start there and work counterclockwise. If each side looks the same, choose the side closer to your dominant hand.

Hier Übersetzung einfügen

Hier Übersetzung einfügen

Hier Übersetzung einfügen

Hier Übersetzung einfügen

Deine Beiträge sind lizenziert unter der Open-Source Creative Commons Lizenz.