Zum Hauptinhalt wechseln

Microsoft Surface Laptop 3 15" LCD Panel Replacement

Hinweis: Du bearbeitest eine grundständige Anleitung. Alle Änderungen, die du vornimmst, betreffen auch die Anleitung, die diese beinhaltet.

Englisch
Deutsch
Schritt 14
Microsoft Surface Laptop 3 15" LCD Panel Replacement, Separate the top edge adhesive: Schritt 0, Bild 1 von 3 Microsoft Surface Laptop 3 15" LCD Panel Replacement, Separate the top edge adhesive: Schritt 0, Bild 2 von 3 Microsoft Surface Laptop 3 15" LCD Panel Replacement, Separate the top edge adhesive: Schritt 0, Bild 3 von 3
Separate the top edge adhesive
  • Remember to not insert your pick deeper than 7 mm.

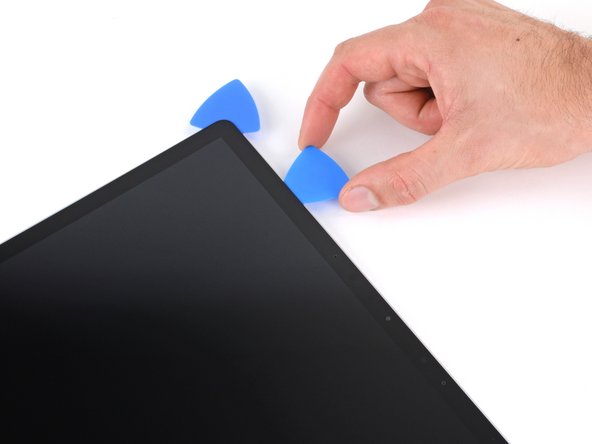
  • Insert a third opening pick next to the one in the top left corner.

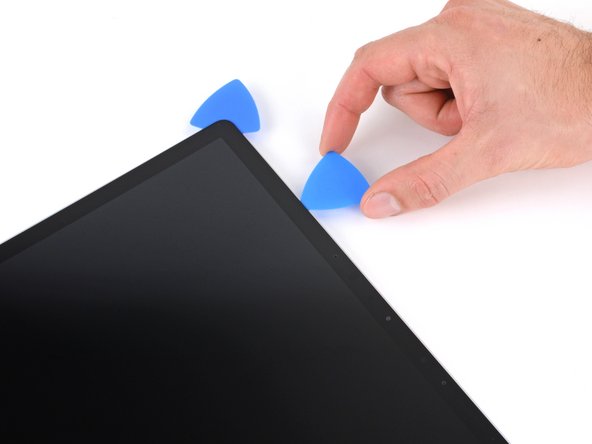
  • Slide your pick toward the middle of the screen to separate the adhesive until you reach the sensor bracket, 69 mm (2.7 in) from the left edge.

  • You'll feel the bracket push your pick out to a depth of 2 mm.

Hier Übersetzung einfügen

Hier Übersetzung einfügen

Hier Übersetzung einfügen

Hier Übersetzung einfügen

Deine Beiträge sind lizenziert unter der Open-Source Creative Commons Lizenz.