Hinweis: Du bearbeitest eine grundständige Anleitung. Alle Änderungen, die du vornimmst, betreffen auch die Anleitung, die diese beinhaltet.
Schritt 22 übersetzen
Schritt 22

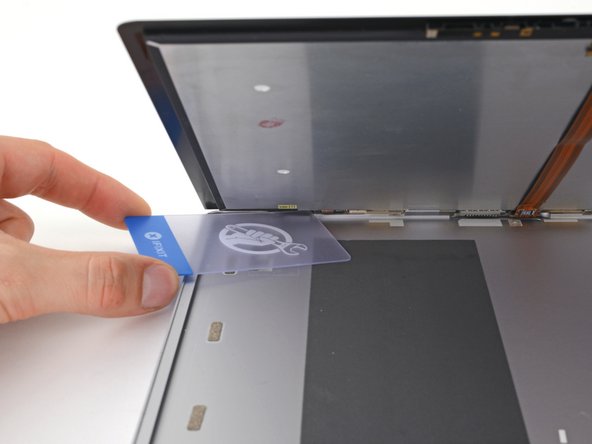
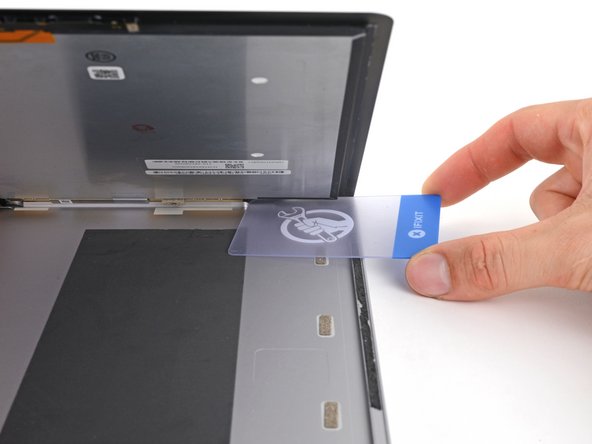


Separate the bottom adhesive
-
Hold your screen propped up with one hand.
-
With your other hand, use a plastic card to slice the adhesive securing the bottom left and right corners.
Deine Beiträge sind lizenziert unter der Open-Source Creative Commons Lizenz.