Hinweis: Du bearbeitest eine grundständige Anleitung. Alle Änderungen, die du vornimmst, betreffen alle 4 Anleitungen, die diese beinhalten.
Schritt 17 übersetzen
Schritt 17

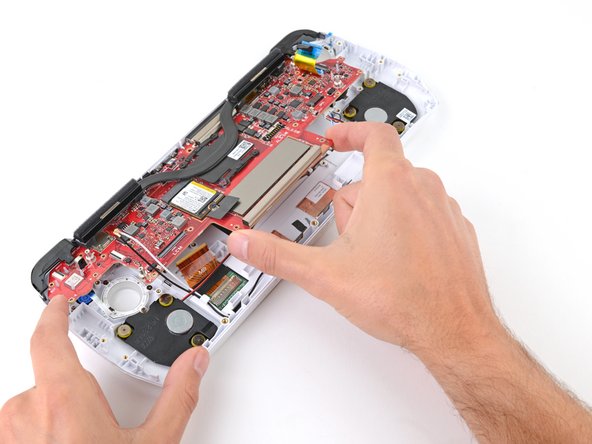
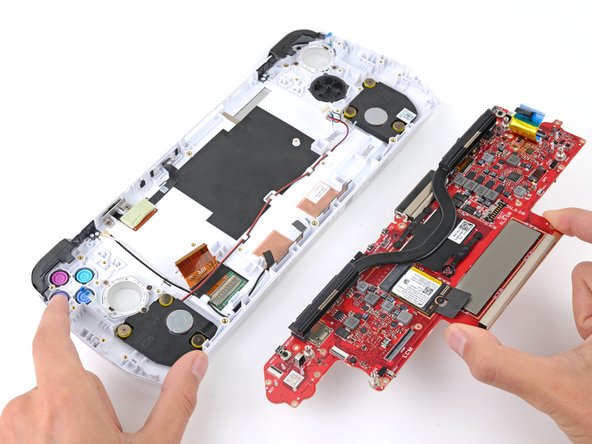


Remove the motherboard
-
With one hand, firmly secure your device.
-
With your free hand, lift the bottom edge of the motherboard and pull it towards the bottom of the chassis to remove it.
-
With one hand, lift the top edge of your device so the actions buttons and D-Pad aren't touching your work surface.
-
Visually check that all the buttons are fully and properly in their recesses. If they aren't, they won't press correctly.
-
With your device lifted, use your free hand to slide the motherboard into place at a slight downward angle.
Deine Beiträge sind lizenziert unter der Open-Source Creative Commons Lizenz.