Zum Hauptinhalt wechseln

Cricut Maker 3 Belt Replacement

Englisch
Deutsch
Schritt 2
Cricut Maker 3 Belt Replacement: Schritt 0, Bild 1 von 3 Cricut Maker 3 Belt Replacement: Schritt 0, Bild 2 von 3 Cricut Maker 3 Belt Replacement: Schritt 0, Bild 3 von 3
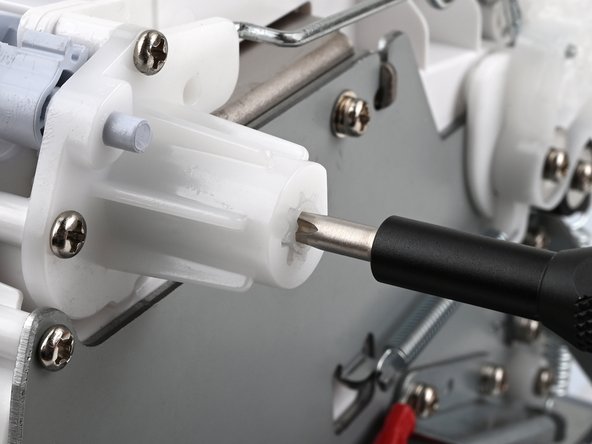
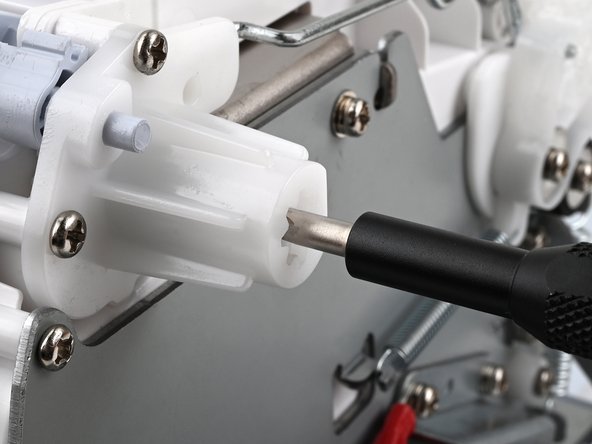
  • Use a Phillips screwdriver to release the tension in the left hinge by pressing the inner portion of the hinge until it releases, then allowing it to turn counterclockwise until it comes to rest.

  • During reassembly, use a Phillips screwdriver to tension the hinges by pressing the inner portion of each hinge inwards and turning it in the opposite direction until it is difficult to turn.

Hier Übersetzung einfügen

Hier Übersetzung einfügen

Deine Beiträge sind lizenziert unter der Open-Source Creative Commons Lizenz.