Schritt 3 übersetzen
Schritt 3


-
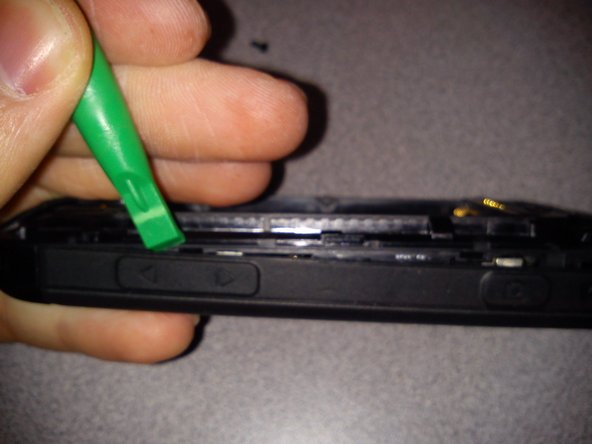
After all 6 screws have been removed, start by using a plastic pry tool to separate the back panel from the side frame.
-
Continue along the side near the volume buttons slowly seperating the back panel from the frame.
-
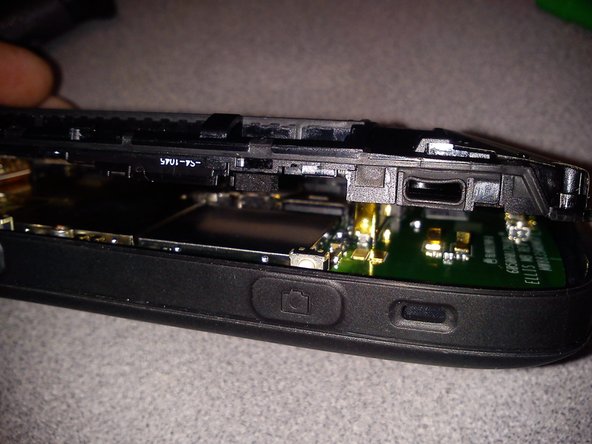
Once the back panel has been seperated from the frame slowly take it off, being careful not to break any plastic parts/clips.
-
Keep track of your screws.
Deine Beiträge sind lizenziert unter der Open-Source Creative Commons Lizenz.