Einleitung
This guide shows detailed steps on how to replace the battery of the iNet M1001 tablet. This guide is for you if the battery of your iNet M1001 tablet has gone bad and now needs replacement. One should take care not to break open the battery or damage it further when removing it from the device. This guide will show you how to do this in a safe manner.
Was du brauchst
-
-
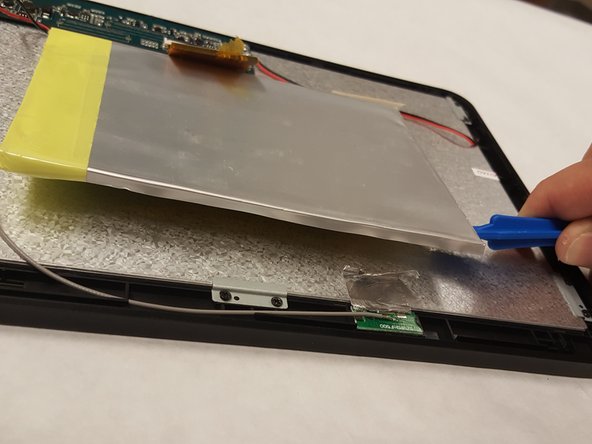
Press the small suction cup on the back cover, and then pull the small suction cup to remove the back cover.
-
-
-
-
Desolder the battery wires with a soldering iron; pull the wires out.
-
Check out this awesome guide for tips on soldering and desoldering.
-


To reassemble your device, follow these instructions in reverse order.
To reassemble your device, follow these instructions in reverse order.
Team

IUPUI, Team 4-1, Baechle Spring 2017 Mitglied von IUPUI, Team 4-1, Baechle Spring 2017
IUPUI-BAECHLE-S17S4G1
2 Mitglieder
8 Anleitungen geschrieben