Error code F5 E1
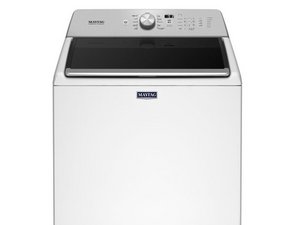
Maytag bravos xl top load washer has error code F5 E5
Ist dies eine gute Frage?
Bewertung
2
Rep: 25
![]() 1
1
![]() 1
1
Maytag bravos xl top load washer has error code F5 E5
Ist dies eine gute Frage?

Rep: 463,4 Tsd.
![]() 11
11
![]() 374
374
![]() 1,5 Tsd.
1,5 Tsd.
Hi @sharon1,
According to this link, a F5 E1 error code is a lid lock fault.
This is the quote from the page regarding the error code.
F5 E1
Lid switch fault
Check/Repair
This code is displayed if Start is pressed with the lid open. If the lid switch on the lid lock/switch assembly isn't detecting the condition of the washer lid properly, then the lid lock/switch assembly will need to be replaced
This is assuming that I’ve linked the correct page for your particular model that is.
Try disconnecting the power from the washer for about 10 minutes and check if the code is still there when you reconnect the power and go to use the washer.
What is the full model number of the washer so that the code meaning can be verified and the correct parts be located?
War diese Antwort hilfreich?
MVWB765FC maytag top load
Hi @ melody reyes
There are 4 model variants for the model number you posted.
Here's a link to the C1 model. The lid lock is part #14 shown in the Top and cabinet parts diagram. Scroll through and click on it to view the location etc.
Rep: 13
![]() 1
1
This means your lid can't lock and you may hear a constant clicking sound. I had to repair one of these for a friend and it's attributed to a poorly designed position sensor for the lid lock. The contacts were dirty and the controller was unable to determine the position of the lock.
I had to remove the top of the washing machine and unscrew the locking mechanism from underneath the top cover. Once I had the locking mechanism out, I disassembled the housing and pulled the circuit board out, paying attention to the orientation of the sliding contact. I cleaned all points of contact with deoxit and added some fresh dielectric grease, reassembled everything and voila!
War diese Antwort hilfreich?
Letzte 24 Stunden: 4
Letzte 7 Tage: 25
Letzte 30 Tage: 98
Insgesamt: 10,985
2 Kommentare
@sharon1 your error code is a F5 E1 or F5 E5 your question does not make it clear :-)
von oldturkey03
hi thire this washer its flashing e5 what is the worring
von Amy Nasser