Was du brauchst
-
Dieser Schritt ist noch nicht übersetzt. Hilf mit, ihn zu übersetzen!
-
Tampa com problema permitiu a entrada de água do mar - destruiu a camera.
-
-
Dieser Schritt ist noch nicht übersetzt. Hilf mit, ihn zu übersetzen!
-
Remoção da tampa frontal . Ela é adesivada com uma resina bem forte.
-
-
Dieser Schritt ist noch nicht übersetzt. Hilf mit, ihn zu übersetzen!
-
A água do mar corroeu tudo. O circuito totalmente danificado.
-
-
Dieser Schritt ist noch nicht übersetzt. Hilf mit, ihn zu übersetzen!
-
Compartimento da bateria e do LCD traseiro totalmente contaminado. Bateria descarregou-se.
-
-
-
Dieser Schritt ist noch nicht übersetzt. Hilf mit, ihn zu übersetzen!
-
A parte do CCD não foi aberta. Não sei se entrou água. Circuitos destruídos.
-
-
Dieser Schritt ist noch nicht übersetzt. Hilf mit, ihn zu übersetzen!
-
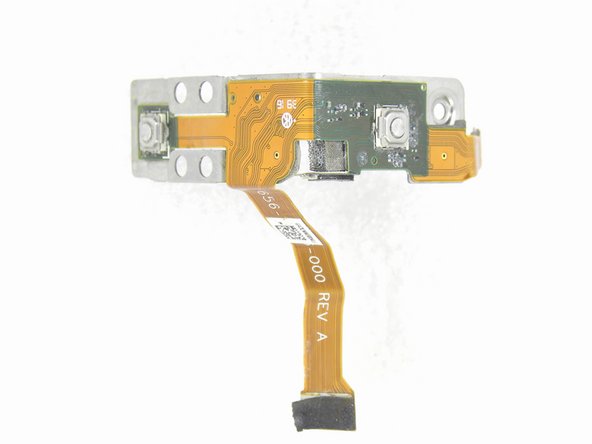
Conectores USB e HDMI corrídos e danificados.
-
-
Dieser Schritt ist noch nicht übersetzt. Hilf mit, ihn zu übersetzen!
-
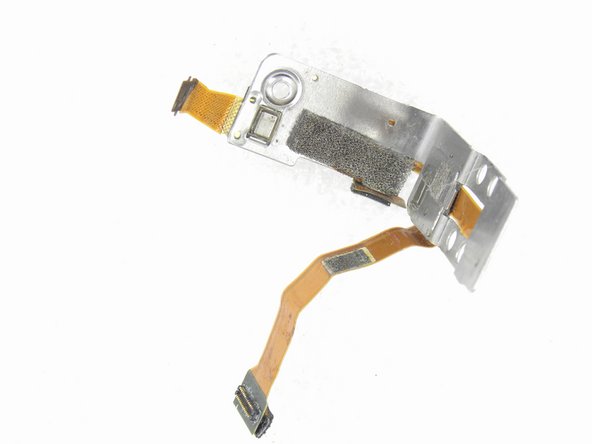
Tudo contaminado. Tudo destruído !
-
-
Dieser Schritt ist noch nicht übersetzt. Hilf mit, ihn zu übersetzen!
-
Placa principal desmontada - alguns componentes removidos.
-
Qualcomm QCA9377 - Wi-Fi/Bluetooth SoC
-
-
Dieser Schritt ist noch nicht übersetzt. Hilf mit, ihn zu übersetzen!
-
Placa principal desmontada - processador.
-
Ambarella A9SE Sports and Flying Camera Processor
-
Conexant CX20811 - 4 Channel High Performance Microphone Array ADC with Programmable Pre-amplifier and Class D PWM Out
-
-
Dieser Schritt ist noch nicht übersetzt. Hilf mit, ihn zu übersetzen!
-
Circuito do GPS
-
U-BLOX-M8030-CT u-blox M8 GNSS chip, WL-CSP47, Standard grade
-