Zum Hauptinhalt wechseln

Was du brauchst

Dieser Teardown ist keine Reparaturanleitung. Um dein Computer Hardware zu reparieren, verwende unsere Fehlerbehebungsseite.

  1. Razer Hyperflux Teardown, Removing the grip: Schritt 1, Bild 1 von 1
    • Turn the mousepad over and peel off the grip with the white plastic layer.

    • The white plastic layer is glued to the device only on it's edges so if you're using the ifixit head pad you only need to put it on the edges.

    • Be sure to peel the grip + the white plastic layer. Removing just the grip and then the plastic layer will result in a very tedious process of trying to align the grip properly.

  2. Razer Hyperflux Teardown, Removing the PCB shield: Schritt 2, Bild 1 von 1
    • Unscrew the 3 screws with a phillips head screwdriver

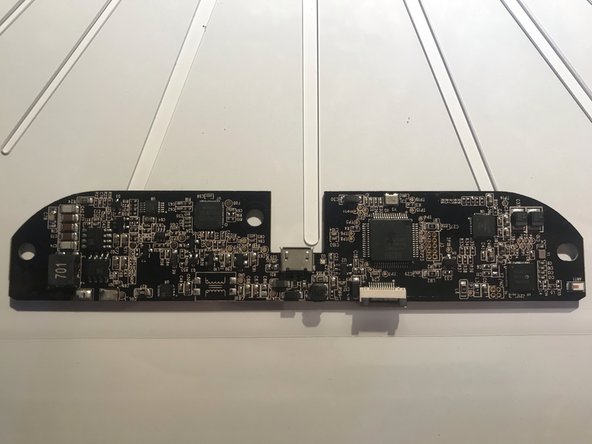
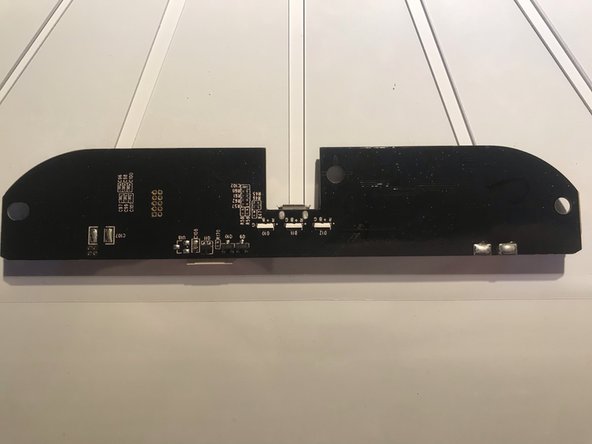
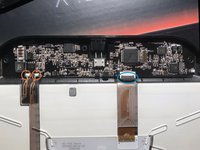
  3. Razer Hyperflux Teardown, Removing the PCB: Schritt 3, Bild 1 von 3 Razer Hyperflux Teardown, Removing the PCB: Schritt 3, Bild 2 von 3 Razer Hyperflux Teardown, Removing the PCB: Schritt 3, Bild 3 von 3
    • Desolder the copper leads (red circle) and open the gate of the connector (blue circle)

    • You can now safely take out the pcb

    • For reassembly simply follow the steps in reverse

SgtBlade

Mitglied seit: 05/23/19

109 Reputation

1 Anleitung geschrieben

0 Kommentare

Kommentar hinzufügen

Seitenaufrufe:

Letzte 24 Stunden: 1

Letzte 7 Tage: 14

Letzte 30 Tage: 44

Insgesamt: 1,230