Schritt 3 übersetzen
Schritt 3

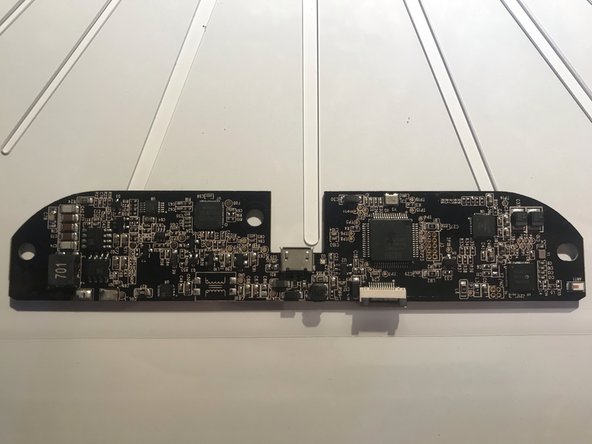


Removing the PCB
-
Desolder the copper leads (red circle) and open the gate of the connector (blue circle)
-
You can now safely take out the pcb
-
For reassembly simply follow the steps in reverse
Deine Beiträge sind lizenziert unter der Open-Source Creative Commons Lizenz.