Zum Hauptinhalt wechseln

Lenovo ThinkPad X1 Carbon 6.Generation CMOS Batterie Tauschen

Englisch
Deutsch
Schritt 6
Lenovo ThinkPad X1 Carbon 6th Gen CMOS Battery Replacement, Perform a test fit with the new CMOs battery: Schritt 0, Bild 1 von 3 Lenovo ThinkPad X1 Carbon 6th Gen CMOS Battery Replacement, Perform a test fit with the new CMOs battery: Schritt 0, Bild 2 von 3 Lenovo ThinkPad X1 Carbon 6th Gen CMOS Battery Replacement, Perform a test fit with the new CMOs battery: Schritt 0, Bild 3 von 3
Perform a test fit with the new CMOs battery
  • Place the new CMOS battery in the same spot as the original.

  • If the new CMOS battery comes with pre-applied adhesive, do NOT remove the adhesive backing paper yet.

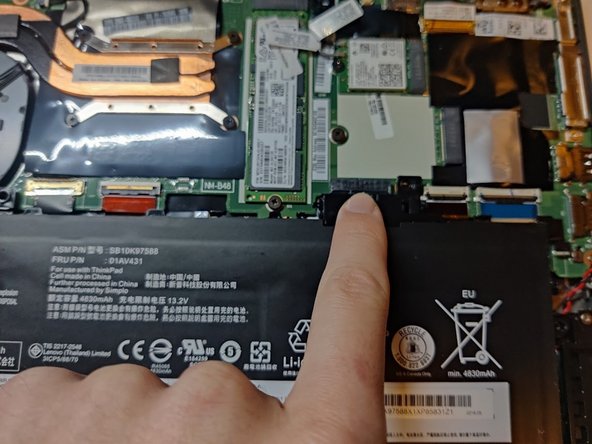
  • Align the tabs on the bottom of the main battery with the retention clips on the chassis and slide the tabs into place.

  • Press down on the battery connector to fully seat it.

Lege die neue CMOS-Batterie an die gleiche Stelle wie die alte.

Wenn die neue CMOS-Batterie mit Klebestreifen versehen ist, ziehe die Schutzfolie noch nicht ab.

Richte die Laschen unten am Hauptakku mit den Rasten am Gerät aus und schiebe sie hinein.

Drücke den Akkustecker hinein, bis er gut sitzt.

Deine Beiträge sind lizenziert unter der Open-Source Creative Commons Lizenz.