Zum Hauptinhalt wechseln

Left Nintendo Switch NES Controller Charging Rail Replacement

Englisch
Deutsch
Schritt 4
Left Nintendo Switch NES Controller Charging Rail Replacement, Remove the charging rail: Schritt 0, Bild 1 von 3 Left Nintendo Switch NES Controller Charging Rail Replacement, Remove the charging rail: Schritt 0, Bild 2 von 3 Left Nintendo Switch NES Controller Charging Rail Replacement, Remove the charging rail: Schritt 0, Bild 3 von 3
Remove the charging rail
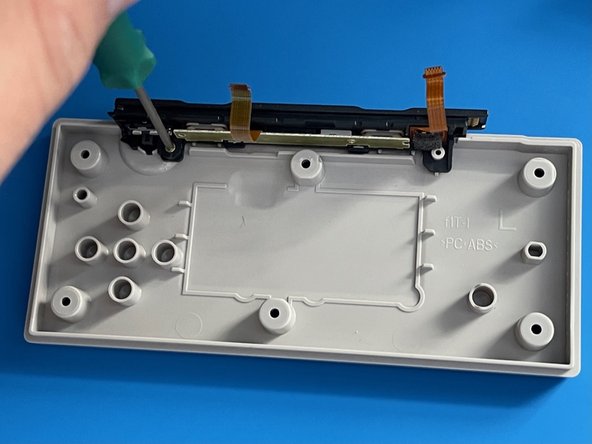
  • Use a Phillips #000 to remove the single 3.0 mm screw holding the charging rail to the back plate.

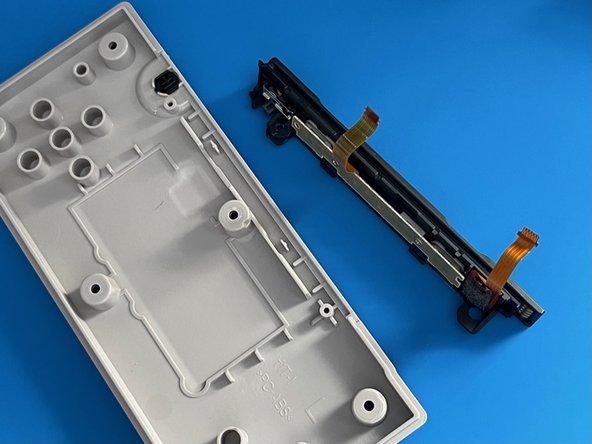
  • Remove the charging rail.

Hier Übersetzung einfügen

Hier Übersetzung einfügen

Deine Beiträge sind lizenziert unter der Open-Source Creative Commons Lizenz.