Hinweis: Du bearbeitest gerade eine grundständige Anleitung, die Teil der Anleitung ist, die du eben angeschaut hast. Alle Änderungen, die du vornimmst, betreffen alle 3 Anleitungen, die diese grundständige Anleitung beinhalten.
Schritt 3 übersetzen
Schritt 3


-
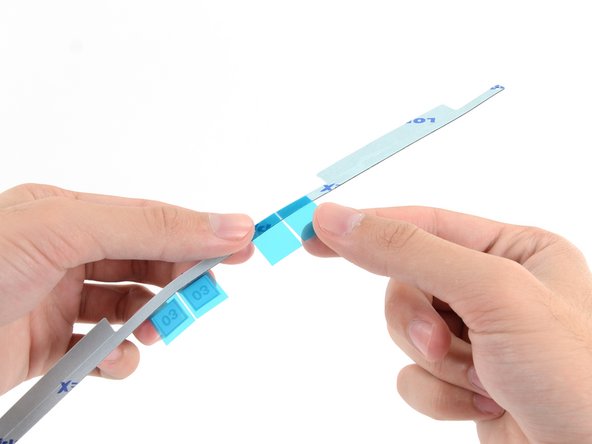
Start with the strip labeled 3 (or 03), which goes on the right vertical side of the rear enclosure.
-
Peel the short piece of backing off the back of the strip.
| [* black] Start with the strip labeled 3 (or 03), which goes on the right vertical side of the rear enclosure. | |
| - | [* icon_note] Before |
| + | [* icon_note] Before you peel off any backing, line the adhesive strip up along the frame of the iMac to get an idea of where it goes. |
| [* black] Peel the short piece of backing off the back of the strip. |
Deine Beiträge sind lizenziert unter der Open-Source Creative Commons Lizenz.