Zum Hauptinhalt wechseln

Sony WH-XB910N Headphone Cushions Replacement

Englisch
Deutsch

Schritt 1 übersetzen

Schritt 1
Sony WH-XB910N Headphone Cushions Replacement: Schritt 0, Bild 1 von 3 Sony WH-XB910N Headphone Cushions Replacement: Schritt 0, Bild 2 von 3 Sony WH-XB910N Headphone Cushions Replacement: Schritt 0, Bild 3 von 3
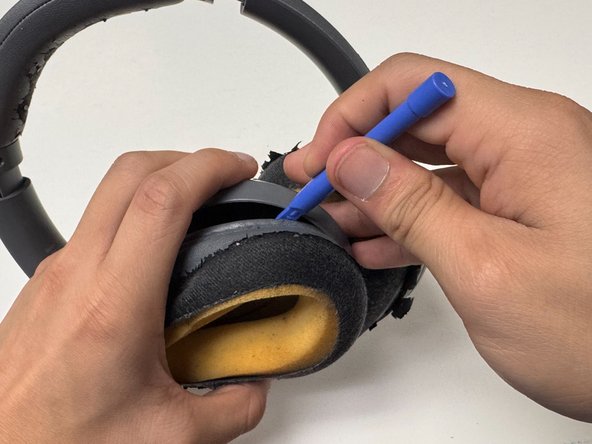
  • Insert the prying tool between the left cushion and the plastic.

  • This guide will be starting with the left side of the headphones, but the order doesn’t really matter.

  • Pry the cushion apart from the plastic. You will hear a small click as the cushions become unclipped.

  • Work your way around the cushion until the cushion is completely detached.

  • There will be some bumps around the lining that may prevent you from sliding the prying tool around the cushion. Do not force your way through them; instead re-insert the tool past the point and work from there.

Hier Übersetzung einfügen

Hier Übersetzung einfügen

Hier Übersetzung einfügen

Hier Übersetzung einfügen

Hier Übersetzung einfügen

Deine Beiträge sind lizenziert unter der Open-Source Creative Commons Lizenz.