Einleitung
Headphone cushions can get worn down and broken with use, which makes using them much less comfortable. Buying a new pair is expensive and wasteful, so fortunately depending on the brand it can be replaced without too much effort. This guide will go over how to replace the headphone cushions for the Sony WH-XB910N Headphones. It will require new cushions and a pry tool (often sold with the cushions or possibly separately).
Was du brauchst
-
-
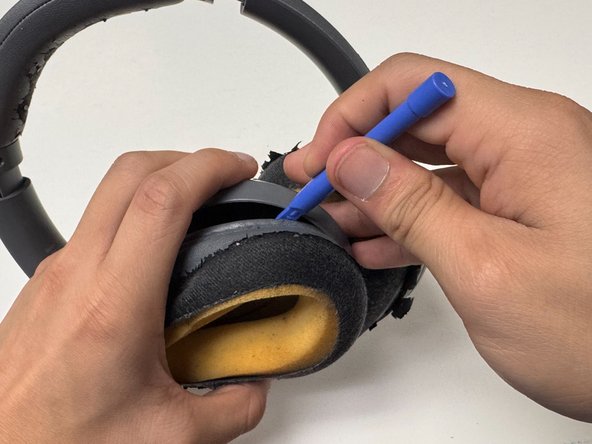
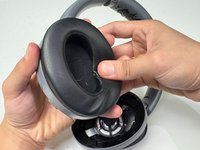
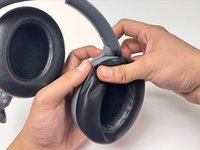
Insert the prying tool between the left cushion and the plastic.
-
Pry the cushion apart from the plastic. You will hear a small click as the cushions become unclipped.
-
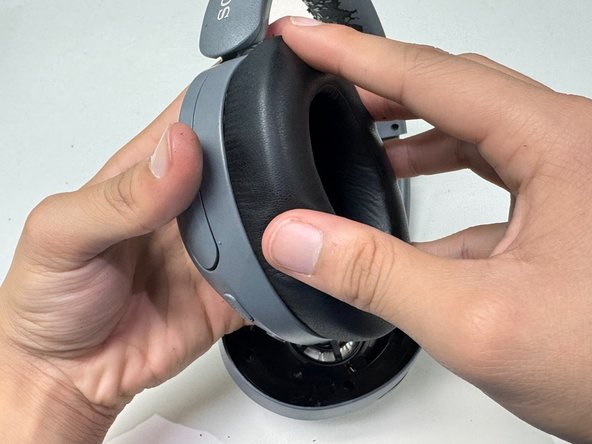
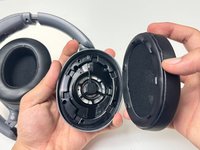
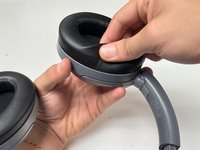
Work your way around the cushion until the cushion is completely detached.
-
-
-
Repeat the previous step with the right side cushion.
-
Insert the prying tool and use it to unclip the cushion.
-
-
-
-
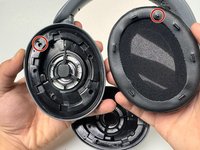
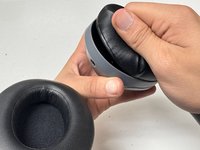
Line the tabs on the replacement cushion up with the slots in the left side of the headphones.
-
Place the cushion, making sure to keep the tabs lined up.
-
-
-
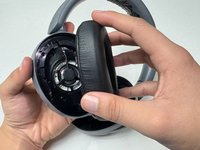
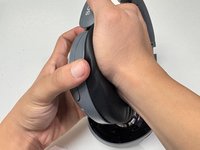
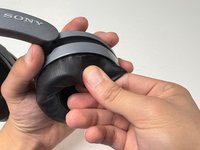
Push down on the cushions to connect them into place.
-
Make sure to apply pressure around the whole cushion.
-
-
-
Repeat steps 3 and 4 for the right cushion, again making sure to apply pressure around the entire cushion.
-
-
-
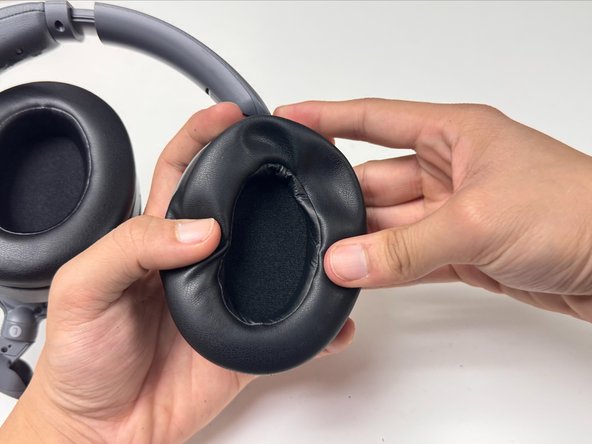
Lightly tug on the cushions to make sure that they’re secure.
-
Make sure to check both the left and right side, and to check the entire cushion.
-
If anywhere isn’t secure, push down on it again like in Step 5.
-
Once both replacement cushions are secure, the fix is complete.
-


Having completed this replacement you can now continuing listening to your favorite music with the Sony WH-XB910N Headphones.
Having completed this replacement you can now continuing listening to your favorite music with the Sony WH-XB910N Headphones.
Team

University of Wisconsin Eau Claire, Team 1-7, Cameron Fall 2024 Mitglied von University of Wisconsin Eau Claire, Team 1-7, Cameron Fall 2024
UWEC-CAMERON-F24S1G7
3 Mitglieder
1 Anleitung geschrieben