Zum Hauptinhalt wechseln

Sony WH-XB910N Headphone Cushions Replacement

Englisch
Deutsch

Schritt 6 übersetzen

Schritt 6
Sony WH-XB910N Headphone Cushions Replacement: Schritt 0, Bild 1 von 3 Sony WH-XB910N Headphone Cushions Replacement: Schritt 0, Bild 2 von 3 Sony WH-XB910N Headphone Cushions Replacement: Schritt 0, Bild 3 von 3
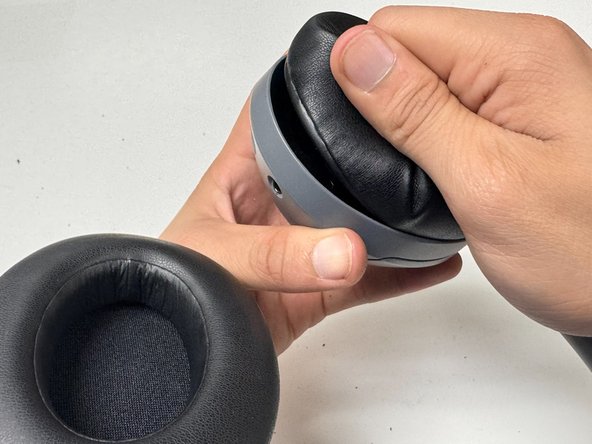
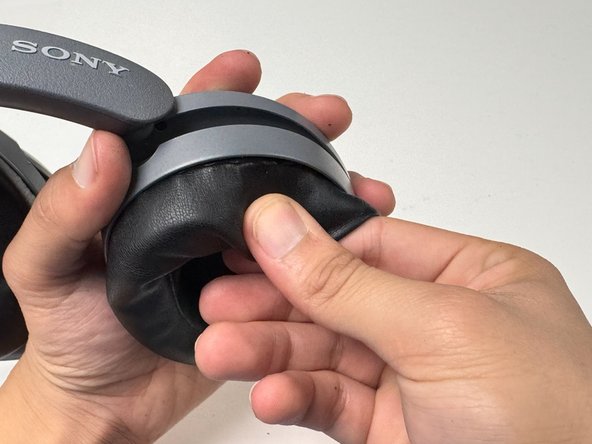
  • Lightly tug on the cushions to make sure that they’re secure.

  • Don’t pull too hard; if any of the tabs didn’t connect it will be obvious (see the second picture).

  • Make sure to check both the left and right side, and to check the entire cushion.

  • If anywhere isn’t secure, push down on it again like in Step 5.

  • Once both replacement cushions are secure, the fix is complete.

Hier Übersetzung einfügen

Hier Übersetzung einfügen

Hier Übersetzung einfügen

Hier Übersetzung einfügen

Hier Übersetzung einfügen

Deine Beiträge sind lizenziert unter der Open-Source Creative Commons Lizenz.