Zum Hauptinhalt wechseln

DualShock 4 linker Joystick Austausch

Englisch
Deutsch
Schritt 2
DualShock 4 Left Analog Stick Replacement: Schritt 0, Bild 1 von 3 DualShock 4 Left Analog Stick Replacement: Schritt 0, Bild 2 von 3 DualShock 4 Left Analog Stick Replacement: Schritt 0, Bild 3 von 3
  • Once all the contacts are desoldered, the old joystick can be removed. This may take a bit of practice since all the solder will have to be removed. It does help to pull a bit on the joystick while melting the solder and using the wick.

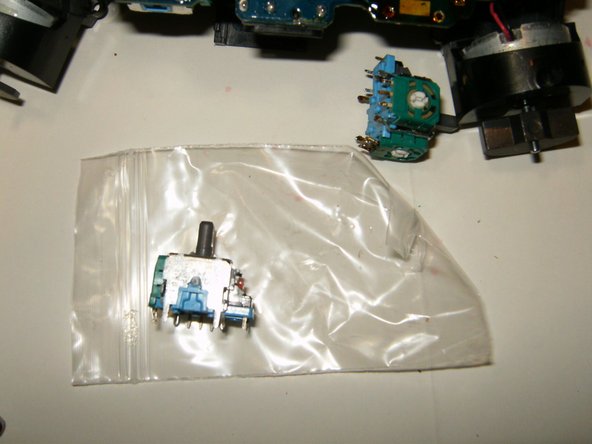
  • Ensure that the contacts of the replacement joystick are identical to the original.

  • Check that all the holes are cleared of old solder. Hypodermic needles as well as very small drill bits can be used to clear the holes. The molten looking substance on the circuit board is the flux used for the desoldering.

Wenn alle Kontakte entlötet sind, kannst du den alten Joystick entfernen. Das kann eine Weile dauern, denn der gesamte Lötzinn muss entfernt werden. Es ist hilfreich, wenn du beim Entlöten etwas am Joystick zu ziehen.

Vergleiche genau, ob die sich die Kontakte am alten und am neuen Joystick an der gleichen Stelle befinden.

Achte daruf, dass alle Löcher frei von Lötzinn sind. Mit ganz kleinen Bohrern oder medizinischen Nadeln kannst du die Löcher frei bekommen. Die geschmolzen aussehende Masse auf der Platine ist das Flussmittel zum Entlöten.

Deine Beiträge sind lizenziert unter der Open-Source Creative Commons Lizenz.