Zum Hauptinhalt wechseln

DualShock 4 linker Joystick Austausch

Englisch
Deutsch

Schritt 3 übersetzen

Schritt 3
DualShock 4 Left Analog Stick Replacement: Schritt 0, Bild 1 von 3 DualShock 4 Left Analog Stick Replacement: Schritt 0, Bild 2 von 3 DualShock 4 Left Analog Stick Replacement: Schritt 0, Bild 3 von 3
  • Insert the new joystick into the circuit board. Make sure it is properly seated and that all the contacts line up with the holes in the circuit board.

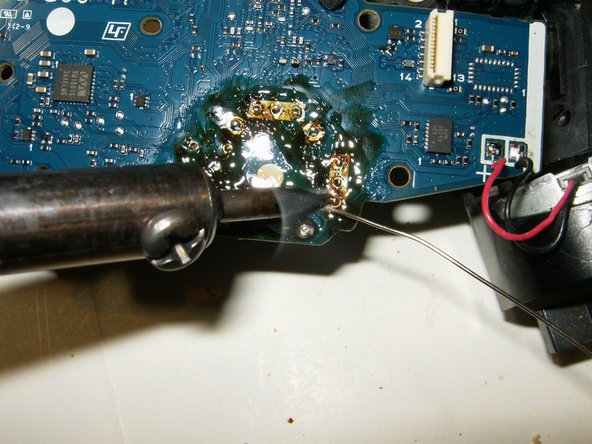
  • Solder all the contacts to the board.

  • Here is the board after the repair. All that is left is to clean off the old flux with some isopropyl alcohol.

Setze den neuen Joystick in die Platine ein. Achte daruf, dass die Kontakte genau in die Löcher in der Platine passen.

Verlöte alle Kontakte auf der Platine.

Hier siehst du die Platine nach der Reparatur. Jetzt msst du nur noch das Flussmittel mit Isopropylalkohol entfernen.

Deine Beiträge sind lizenziert unter der Open-Source Creative Commons Lizenz.