Hinweis: Du bearbeitest gerade eine grundständige Anleitung, die Teil der Anleitung ist, die du eben angeschaut hast. Alle Änderungen, die du vornimmst, betreffen alle 5 Anleitungen, die diese grundständige Anleitung beinhalten.
Schritt 4 übersetzen
Schritt 4

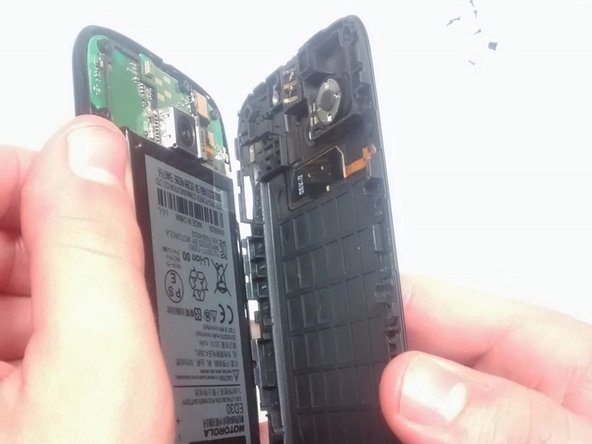


The Inside of your Phone
-
Use the plastic opening tool to take out the inner back cover after all the screws have been removed.
-
This will expose the motherboard and the attached battery.
-
Take note that once the inner back cover is removed the volume and power buttons on the side can easily fall out or be removed.
| [title] The Inside of your Phone | |
| [* black] Use the plastic opening tool to take out the inner back cover after all the screws have been removed. | |
| [* black] This will expose the motherboard and the attached battery. | |
| - | [* black] Take note that once inner back cover is removed the |
| + | [* black] Take note that once the inner back cover is removed the volume and power buttons on the side can easily fall out or be removed. |
Deine Beiträge sind lizenziert unter der Open-Source Creative Commons Lizenz.