Schritt 8 übersetzen
Schritt 8


-
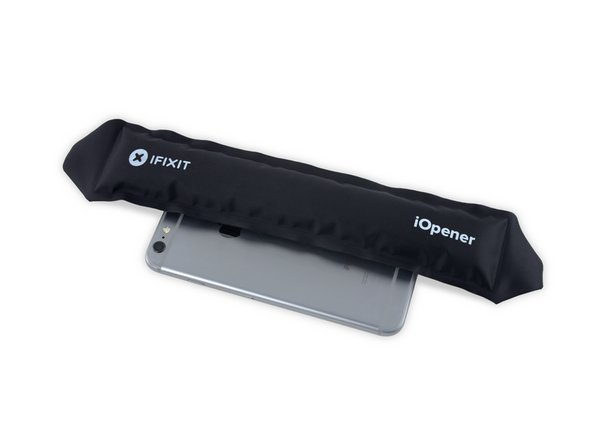
Prepare an iOpener and apply it to the back of the rear case, directly over the battery. Alternatively, you can apply heat using a heat gun or hair dryer.
-
After about a minute, flip the phone over and use a plastic card to tear through any remaining adhesive.
| [* icon_note] ***If you successfully removed all three adhesive strips, move on to the next step. ***Otherwise, you will need to pry the battery from the rear case. | |
| [* black] [guide|25705|Prepare an iOpener] and apply it to the back of the rear case, directly over the battery. Alternatively, you can apply heat using a heat gun or hair dryer. | |
| - | [* black] After about a minute, flip the phone over and use a plastic card to tear through any remaining adhesive. |
| + | [* black] After about a minute, flip the phone over and use a [product|IF145-101|plastic card] to tear through any remaining adhesive. |
Deine Beiträge sind lizenziert unter der Open-Source Creative Commons Lizenz.