Zum Hauptinhalt wechseln

Fairphone 2 Teardown

Englisch
Deutsch
Schritt 10
Fairphone 2 Teardown: Schritt 0, Bild 1 von 3 Fairphone 2 Teardown: Schritt 0, Bild 2 von 3 Fairphone 2 Teardown: Schritt 0, Bild 3 von 3
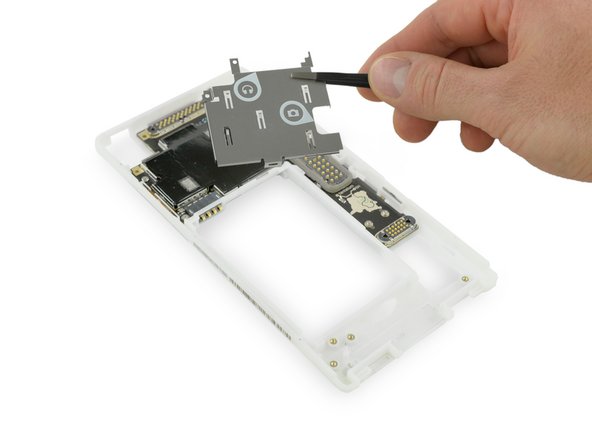
  • The time has come to delve deep into the heart of the Fairphone 2.

  • The metal shield plate, replete with useful icons, comes off first, revealing a heat spreader still hiding the exciting bits.

  • Since this heat spreader rips when being peeled off, Fairphone will have it available as separate spare part.

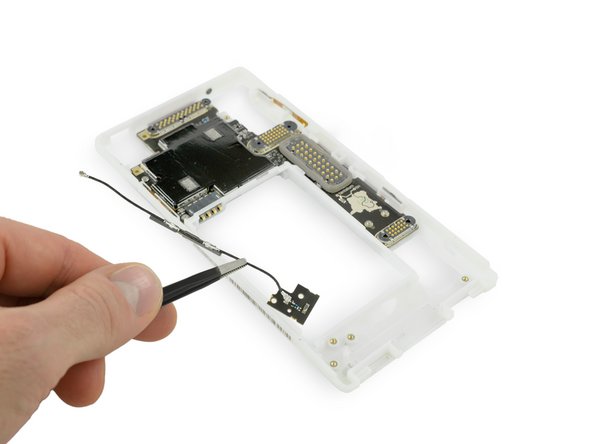
  • Along the way, we find an RF cable, that sends the radio signal along the side of the frame to the main antenna, and pluck it free.

Die Zeit ist reif, um sich genauer mit dem Herz des Fairphone 2 zu befassen.

Die Metallabschirmung, versehen mit praktischen Piktogrammen, ist als erstes fällig. Darunter finden wir einen Hitzeverteiler, der noch die spannenden Teile verdeckt.

Da der Hitzeverteiler beim Abziehen reißt, wird Fairphone ihn als einzelnes Ersatzteil anbieten.

Nebenbei finden wir ein HF-Kabel, welches das Signal entlang des Rahmens zur Hauptantenne sendet. Raus damit!

Deine Beiträge sind lizenziert unter der Open-Source Creative Commons Lizenz.