Zum Hauptinhalt wechseln

Lenovo Yoga Tab 3 10 Display Ausbau

Englisch
Deutsch

Schritt 1 übersetzen

Schritt 1
Lenovo Yoga Tab 3 10 LCD Replacement: Schritt 0, Bild 1 von 3 Lenovo Yoga Tab 3 10 LCD Replacement: Schritt 0, Bild 2 von 3 Lenovo Yoga Tab 3 10 LCD Replacement: Schritt 0, Bild 3 von 3
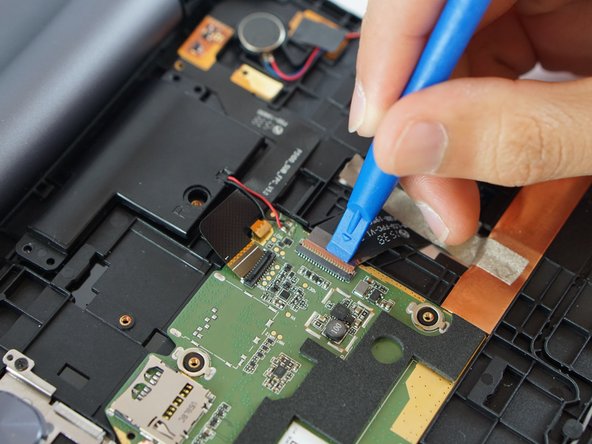
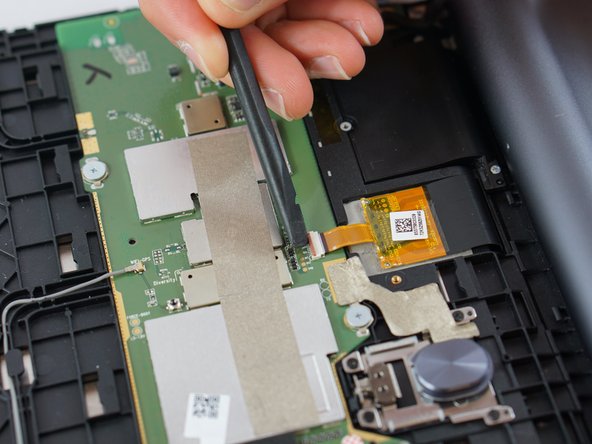
  • Before detaching the LCD and digitiser connectors, remove the two small screws at the top left (red bordered area in photo). Remove the metal shield and disconnect the battery wire.

Bevor du die Kabel zum LCD und zum Digitizer lösen kannst, schraube die beiden kleinen Schrauben oben links (rot umrandeter Bereich auf dem Foto) heraus. Entferne die Metallabschirmung und trenne das Akkukabel.

Deine Beiträge sind lizenziert unter der Open-Source Creative Commons Lizenz.