Einleitung
To remove the cover of the tablet you will need a plastic prying tool and 1mm Phillips Screwdriver. Be sure to allot roughly 2-3 minutes for the process. If you don't have a plastic prying tool, your fingers should suffice.
Was du brauchst
-
-
-
Place the tablet on its side so that the two screws are facing upward.
-
Remove two 1 mm screws from the left side of the tablet using a Phillips #00 screwdriver.
 Frag FixBot
-
-
-
-
Pry the case away from the device slowly by sliding a plastic opening tool along the device.
-
Once loosened, use your hands to separate the case from the device.
-
-
-
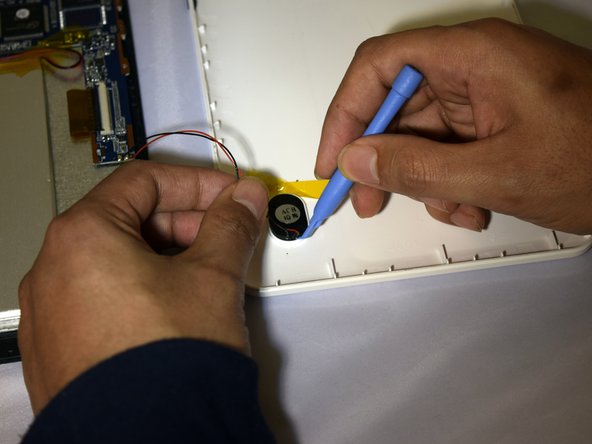
Hold the positive and negative wires as close as possible to the speaker.
-
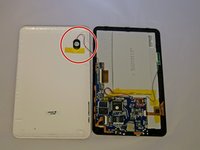
Use an opening tool and fingers to simultaneously lift the speaker from the cover.
-
-


To reassemble your device, follow these instructions in reverse order.
Rückgängig: Ich habe diese Anleitung nicht absolviert.
3 weitere Personen haben diese Anleitung absolviert.

Team

Eastern Washington University, Team 1-2, Plummer Spring 2015 Mitglied von Eastern Washington University, Team 1-2, Plummer Spring 2015
EWU-PLUMMER-S15S1G2
4 Mitglieder
10 Anleitungen geschrieben
