Zum Hauptinhalt wechseln
Gemeinsam reparieren - Jetzt registrieren

AlphaSmart Pro Lithium Coin Battery Replacement

Was du brauchst

    1. AlphaSmart Pro Lithium Coin Battery Replacement, Separating Panels: Schritt 1, Bild 1 von 3 AlphaSmart Pro Lithium Coin Battery Replacement, Separating Panels: Schritt 1, Bild 2 von 3 AlphaSmart Pro Lithium Coin Battery Replacement, Separating Panels: Schritt 1, Bild 3 von 3
      • Removing the lithium coin battery will erase existing files. Make sure all important files have been safely transferred to another device before attempting to remove the lithium coin battery.

      • Power off your AlphaSmart Pro device and remove the batteries before beginning disassembly.

      • Remove the eight 1 cm Phillips head screws from the back panel of the AlphaSmart Pro with the Phillips #00 Screwdriver.

      • Carefully separate the front panel from the back panel.

      • Notice that the front and back panels are still connected by a ribbon cable.

      Frag FixBot

      Kommentar hinzufügen

    2. AlphaSmart Pro Lithium Coin Battery Replacement, Detaching Ribbon Cable: Schritt 2, Bild 1 von 2 AlphaSmart Pro Lithium Coin Battery Replacement, Detaching Ribbon Cable: Schritt 2, Bild 2 von 2
      • To remove the ribbon cable, use the spudger to lift each side of the connector from the socket.

      • Gently pull up on the connector to completely remove the connector from the socket.

      Frag FixBot

      Kommentar hinzufügen

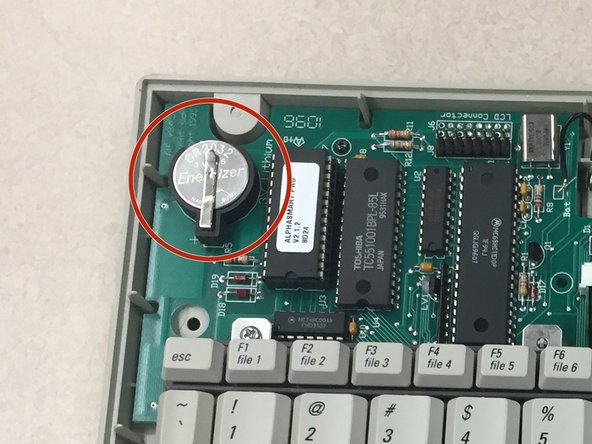
    3. AlphaSmart Pro Lithium Coin Battery Replacement, Locate Lithium Coin Battery: Schritt 3, Bild 1 von 2 AlphaSmart Pro Lithium Coin Battery Replacement, Locate Lithium Coin Battery: Schritt 3, Bild 2 von 2
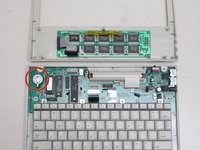
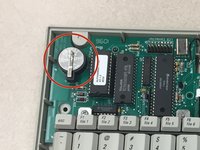
      • With the front panel removed, locate the lithium coin battery at the top left corner of the motherboard.

      Frag FixBot

      Kommentar hinzufügen

    4. AlphaSmart Pro Lithium Coin Battery Replacement, Remove Lithium Coin Battery: Schritt 4, Bild 1 von 2 AlphaSmart Pro Lithium Coin Battery Replacement, Remove Lithium Coin Battery: Schritt 4, Bild 2 von 2
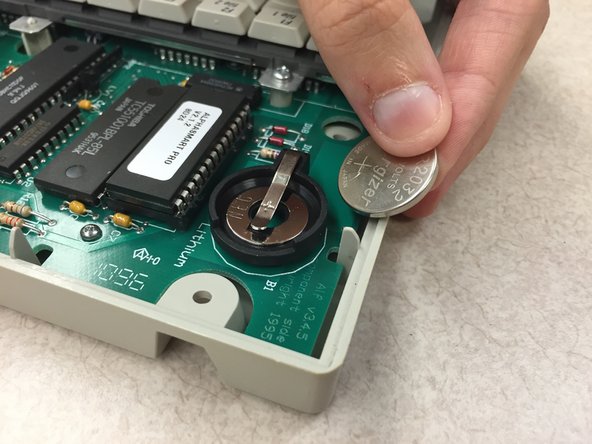
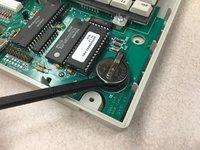
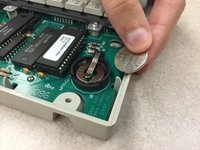
      • Use the spudger, plastic opening tool, or your finger/fingernail to lift up the lithium coin battery.

      • Slide the battery out from underneath the clip that holds it in place.

      • The positive side of the battery is facing up.

      Frag FixBot

      Kommentar hinzufügen

Abschluss

To reassemble your device, follow these instructions in reverse order.

Rückgängig: Ich habe diese Anleitung nicht absolviert.

Katy Beth Culp

Mitglied seit: 10/13/14

1 Reputation

2 Anleitungen geschrieben

Team

Clemson, Team 1-1, Benson Fall 2014 Mitglied von Clemson, Team 1-1, Benson Fall 2014

CLEM-BENSON-F14S1G1

4 Mitglieder

16 Anleitungen geschrieben

0 Kommentare zur Anleitung

Kommentar hinzufügen

Seitenaufrufe:

Letzte 24 Stunden: 1

Letzte 7 Tage: 7

Letzte 30 Tage: 53

Insgesamt: 1,463