Zum Hauptinhalt wechseln
Gemeinsam reparieren - Jetzt registrieren

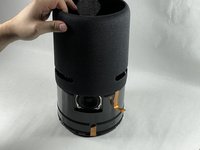
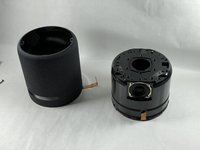
Amazon Echo Studio Tweeter Replacement

Was du brauchst

    1. Amazon Echo Studio Tweeter Replacement, Power Supply Board: Schritt 1, Bild 1 von 3 Amazon Echo Studio Tweeter Replacement, Power Supply Board: Schritt 1, Bild 2 von 3 Amazon Echo Studio Tweeter Replacement, Power Supply Board: Schritt 1, Bild 3 von 3
      • Flip the device upside down.

      • Pry up the edge of the rubber base panel with a spudger, then pull the rest of it off by hand.

      Frag FixBot

      Kommentar hinzufügen

    2. Amazon Echo Studio Tweeter Replacement: Schritt 2, Bild 1 von 3 Amazon Echo Studio Tweeter Replacement: Schritt 2, Bild 2 von 3 Amazon Echo Studio Tweeter Replacement: Schritt 2, Bild 3 von 3
      • Use a T15 Torx screwdriver to remove the nine 3.2 mm screws.

      • Use a Torx T10 screwdriver to remove the six 2.7 mm screws.

      • After removing the screws, gently lift the base off, with care not to damage any of the connected cables.

      Frag FixBot

      Kommentar hinzufügen

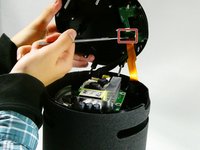
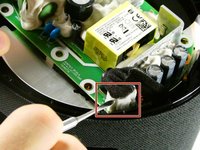
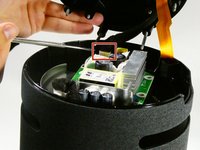
    3. Amazon Echo Studio Tweeter Replacement: Schritt 3, Bild 1 von 3 Amazon Echo Studio Tweeter Replacement: Schritt 3, Bild 2 von 3 Amazon Echo Studio Tweeter Replacement: Schritt 3, Bild 3 von 3
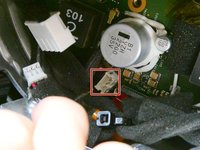
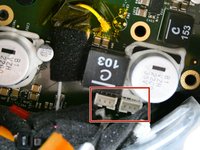
      • Before fully removing the base, remove the three attached connectors.

      Frag FixBot

      Kommentar hinzufügen

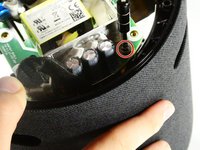
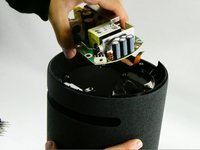
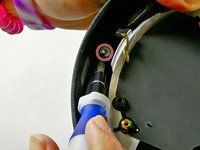
    4. Amazon Echo Studio Tweeter Replacement: Schritt 4, Bild 1 von 2 Amazon Echo Studio Tweeter Replacement: Schritt 4, Bild 2 von 2
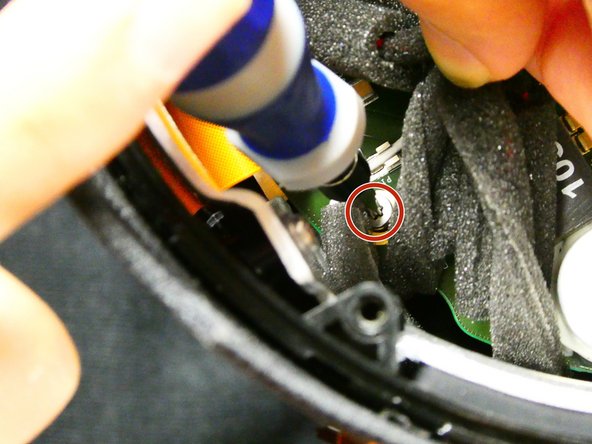
      • Now unscrew the the single 10 mm Phillips screw.

      • Remove the power supply board.

      Frag FixBot

      Kommentar hinzufügen

    1. Amazon Echo Studio Tweeter Replacement, Subwoofer: Schritt 5, Bild 1 von 1
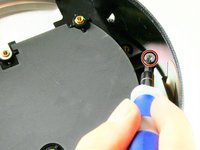
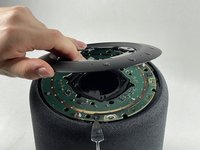
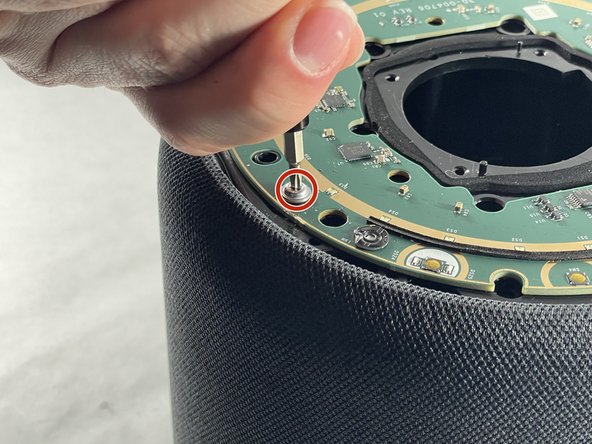
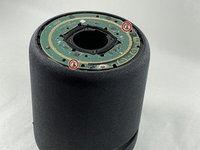
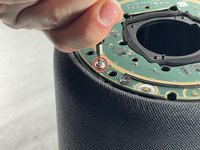
      • Remove the two screws located across from each other on the outside of the plastic ring shown.

      • Remove the plastic outer ring that hugs the inside of the edges of the device.

      • This may require you to use a soft prying tool to separate it from the outer shell.

      Frag FixBot

      Kommentar hinzufügen

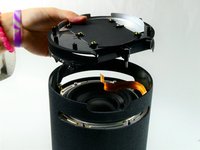
    2. Amazon Echo Studio Tweeter Replacement: Schritt 6, Bild 1 von 3 Amazon Echo Studio Tweeter Replacement: Schritt 6, Bild 2 von 3 Amazon Echo Studio Tweeter Replacement: Schritt 6, Bild 3 von 3
      • Remove the two 2.7 mm screws with a T10 Torx screwdriver.

      • Once the screws are removed, take the power supply's baseplate out of the unit.

      • You may need to gently pry the subwoofer's air ports from the round slots In the side of the unit.

      Frag FixBot

      Kommentar hinzufügen

    3. Amazon Echo Studio Tweeter Replacement: Schritt 7, Bild 1 von 2 Amazon Echo Studio Tweeter Replacement: Schritt 7, Bild 2 von 2
      • On the silver ring located on the outer edge of the plastic portion of the subwoofer, you will see four 2.7 mm screws. Use a Torx T10 screwdriver to remove them, in order to remove of the subwoofer.

      • Once the four screws have been removed, gently pull the subwoofer out as to not damage the wiring connecting the subwoofer to the main board inside the unit.

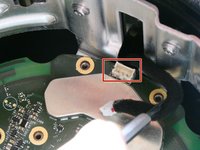
      • Follow the wires from the subwoofer to the main board and disconnect the connector attaching them.

      • Your subwoofer is now disconnected and ready to be replaced.

      Frag FixBot

      Kommentar hinzufügen

    1. Amazon Echo Studio Tweeter Replacement, Motherboard: Schritt 8, Bild 1 von 2 Amazon Echo Studio Tweeter Replacement, Motherboard: Schritt 8, Bild 2 von 2
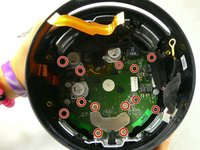
      • Remove the thirteen 9 mm Phillips #00 screws.

      • Some screws may be hidden by other components; simply hold them out of your way during screw removal.

      Frag FixBot

      Kommentar hinzufügen

    2. Amazon Echo Studio Tweeter Replacement: Schritt 9, Bild 1 von 1
      • Unfasten the Phillips 9mm screws, using the Phillips #00 Screwdriver.

      • There may be obstruction against some screws, which can be avoided by using a spudger or your hand.

      Frag FixBot

      Kommentar hinzufügen

    3. Amazon Echo Studio Tweeter Replacement: Schritt 10, Bild 1 von 3 Amazon Echo Studio Tweeter Replacement: Schritt 10, Bild 2 von 3 Amazon Echo Studio Tweeter Replacement: Schritt 10, Bild 3 von 3
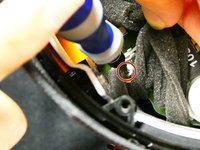
      • After removing the screws, locate the four power connectors on the motherboard and detach them from the motherboard.

      Frag FixBot

      Kommentar hinzufügen

    4. Amazon Echo Studio Tweeter Replacement: Schritt 11, Bild 1 von 1
      • Remove the motherboard from the device by pulling it out.

      • Be careful to not damage any of the loose wires inside the case while removing the motherboard.

      Frag FixBot

      Kommentar hinzufügen

    1. Amazon Echo Studio Tweeter Replacement, Light Board: Schritt 12, Bild 1 von 3 Amazon Echo Studio Tweeter Replacement, Light Board: Schritt 12, Bild 2 von 3 Amazon Echo Studio Tweeter Replacement, Light Board: Schritt 12, Bild 3 von 3
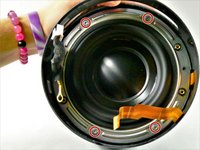
      • First, locate the six 10 mm screws at the top of the inside of the shell and unscrew them with a T10 Torx screwdriver.

      • After removing the six screws from the inside, lift the top speaker cover.

      Frag FixBot

      Kommentar hinzufügen

    2. Amazon Echo Studio Tweeter Replacement: Schritt 13, Bild 1 von 3 Amazon Echo Studio Tweeter Replacement: Schritt 13, Bild 2 von 3 Amazon Echo Studio Tweeter Replacement: Schritt 13, Bild 3 von 3
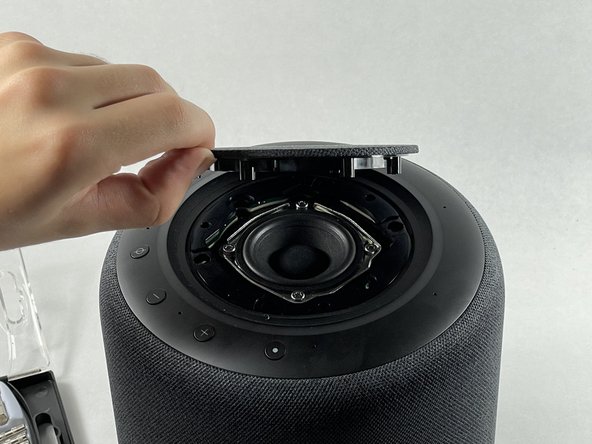
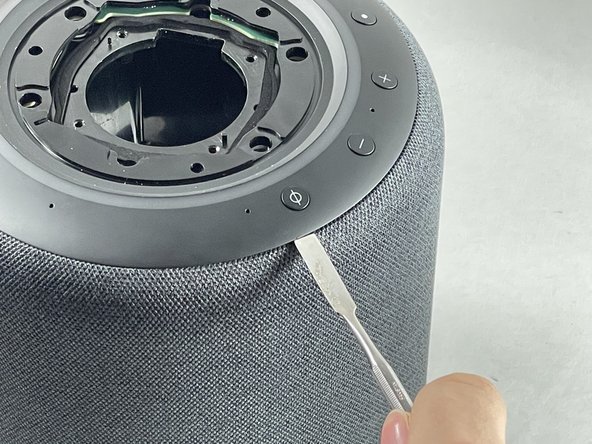
      • Lift the top plastic cover that has the buttons.

      • If you feel a lot of resistance while removing this piece, check if you removed every screw from the inside or you risk breaking this part.

      Frag FixBot

      Kommentar hinzufügen

    3. Amazon Echo Studio Tweeter Replacement: Schritt 14, Bild 1 von 3 Amazon Echo Studio Tweeter Replacement: Schritt 14, Bild 2 von 3 Amazon Echo Studio Tweeter Replacement: Schritt 14, Bild 3 von 3
      • Remove the two 2.7 mm screws with a T10 Torx screwdriver.

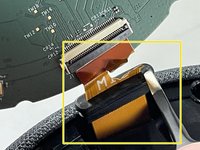
      • After the screws are removed, carefully lift the lightboard and disconnect the ribbon.

      • Make sure you do not forget to detach the ribbon from the shell, or you risk breaking it.

      Frag FixBot

      Kommentar hinzufügen

    1. Amazon Echo Studio Tweeter Replacement, Tweeter: Schritt 15, Bild 1 von 3 Amazon Echo Studio Tweeter Replacement, Tweeter: Schritt 15, Bild 2 von 3 Amazon Echo Studio Tweeter Replacement, Tweeter: Schritt 15, Bild 3 von 3
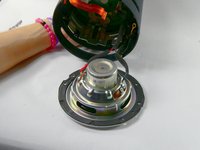
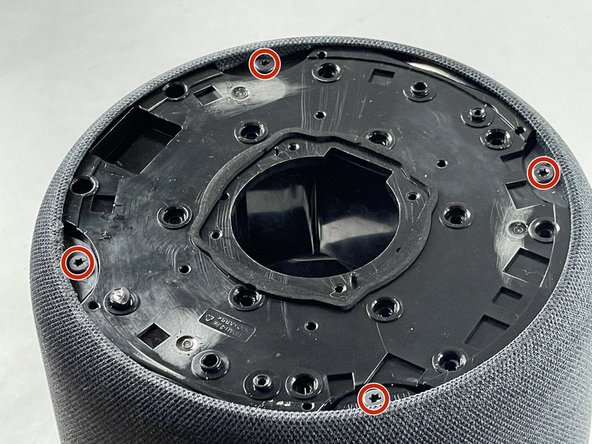
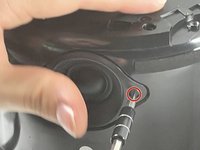
      • Remove the four 3.27 mm screws with T15 Torx driver.

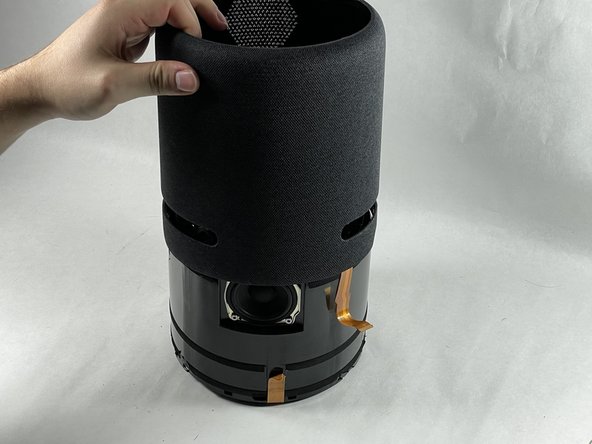
      • After removing the screws, push/pull the inner shell out of the outer shell.

      • You might need someone's help to remove the inside shell, because it is very tight inside the outer shell.

      Frag FixBot

      Kommentar hinzufügen

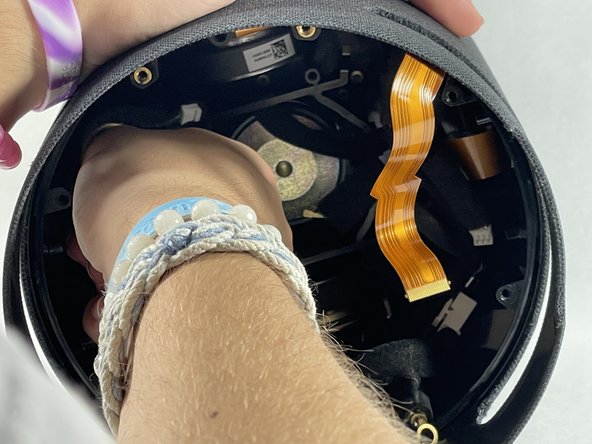
    2. Amazon Echo Studio Tweeter Replacement: Schritt 16, Bild 1 von 3 Amazon Echo Studio Tweeter Replacement: Schritt 16, Bild 2 von 3 Amazon Echo Studio Tweeter Replacement: Schritt 16, Bild 3 von 3
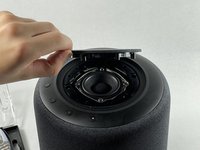
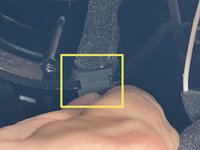
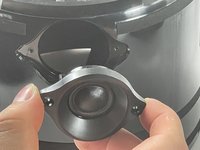
      • Remove the wire from its slot inside the shell so the tweeter can be removed.

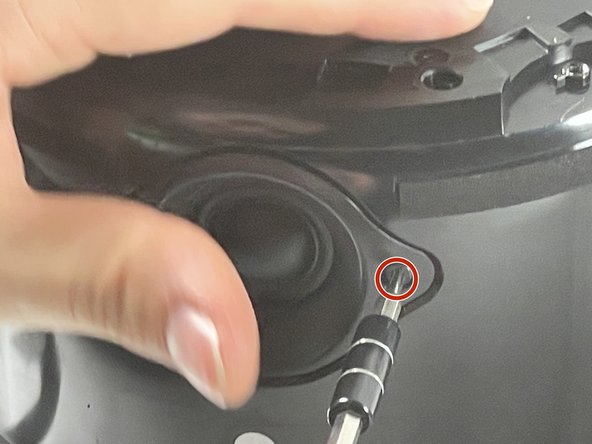
      • Unscrew the two 3.2 mm screws holding the tweeter in place with a T15 Torx screwdriver.

      • Pull the tweeter out.

      Frag FixBot

      Kommentar hinzufügen

Abschluss

To reassemble your device, follow these instructions in reverse order.

Rückgängig: Ich habe diese Anleitung nicht absolviert.

Eine weitere Person hat diese Anleitung absolviert.

Team

UMass Dartmouth, Team 2-6, Petersen Fall 2022 Mitglied von UMass Dartmouth, Team 2-6, Petersen Fall 2022

UMASSD-PETERSEN-F22S2G6

4 Mitglieder

31 Anleitungen geschrieben

0 Kommentare zur Anleitung

Kommentar hinzufügen

Seitenaufrufe:

Letzte 24 Stunden: 1

Letzte 7 Tage: 6

Letzte 30 Tage: 29

Insgesamt: 607