Zum Hauptinhalt wechseln

Arlo Ultra 2 Motion Sensor Replacement

Was du brauchst

  1. Arlo Ultra 2 Motion Sensor Replacement, Battery: Schritt 1, Bild 1 von 2 Arlo Ultra 2 Motion Sensor Replacement, Battery: Schritt 1, Bild 2 von 2
    • Press the button on the bottom of the camera to release the case.

    • Pull the white case off of camera.

  2. Arlo Ultra 2 Motion Sensor Replacement: Schritt 2, Bild 1 von 1
    • Pull the white cube shaped battery from the back to remove it from camera.

  3. Arlo Ultra 2 Motion Sensor Replacement, Speaker: Schritt 3, Bild 1 von 2 Arlo Ultra 2 Motion Sensor Replacement, Speaker: Schritt 3, Bild 2 von 2
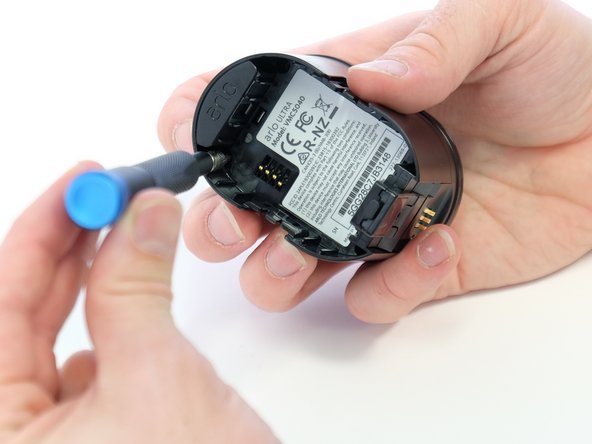
    • Use a Phillips #0 screwdriver to remove the four 20.0 mm screws from the battery cavity. They are found in each corner.

  4. Arlo Ultra 2 Motion Sensor Replacement: Schritt 4, Bild 1 von 2 Arlo Ultra 2 Motion Sensor Replacement: Schritt 4, Bild 2 von 2
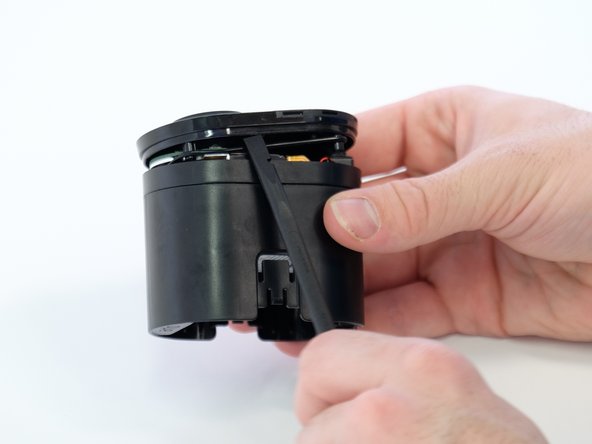
    • Using the spudger, loosen and remove the camera faceplate.

  5. Arlo Ultra 2 Motion Sensor Replacement: Schritt 5, Bild 1 von 2 Arlo Ultra 2 Motion Sensor Replacement: Schritt 5, Bild 2 von 2
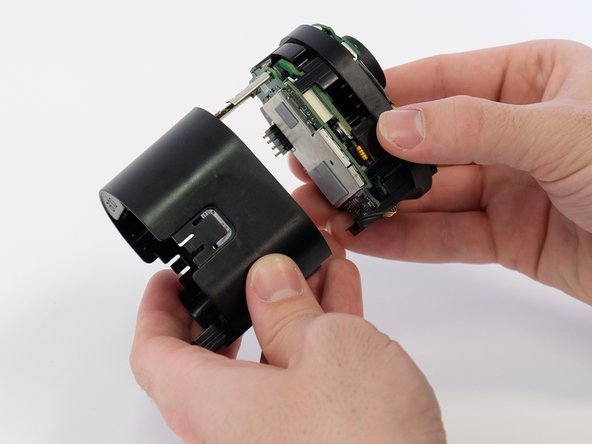
    • Using the spudger, loosen and remove the back casing to expose the camera hardware.

  6. Arlo Ultra 2 Motion Sensor Replacement: Schritt 6, Bild 1 von 2 Arlo Ultra 2 Motion Sensor Replacement: Schritt 6, Bild 2 von 2
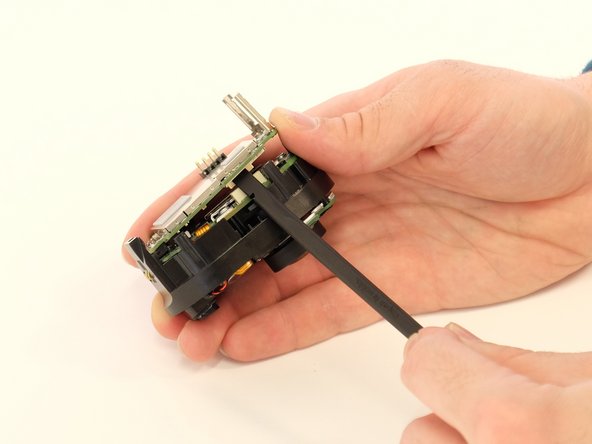
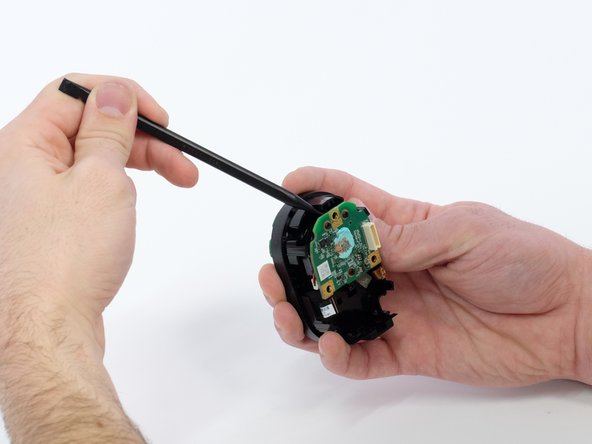
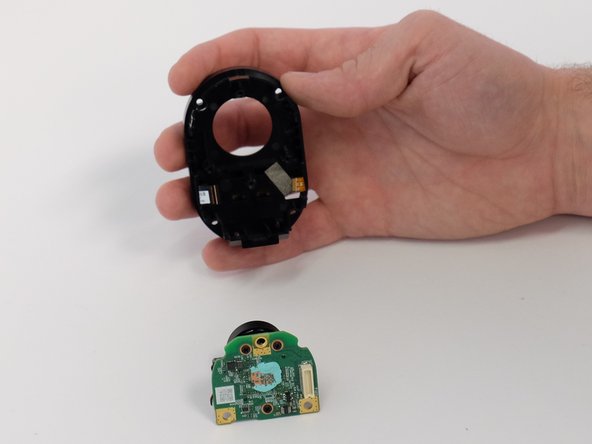
    • Very gently, pry the circuit boards apart from the white connector, removing the upper circuit board.

  7. Arlo Ultra 2 Motion Sensor Replacement: Schritt 7, Bild 1 von 2 Arlo Ultra 2 Motion Sensor Replacement: Schritt 7, Bild 2 von 2
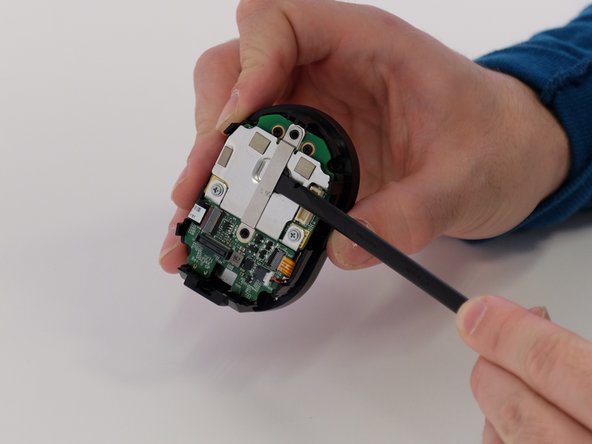
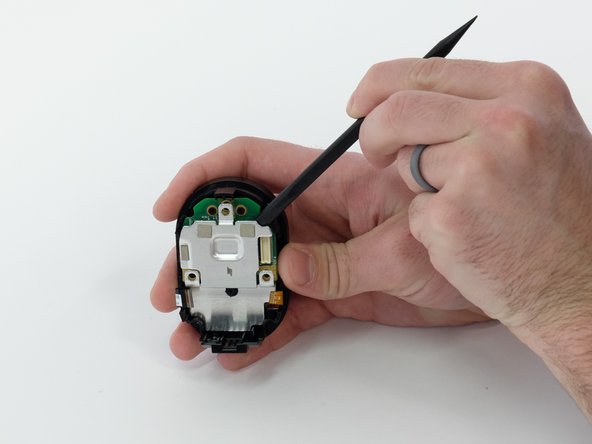
    • Use a Phillips #00 screwdriver to remove two 5.0 mm screws from the metal bracket.

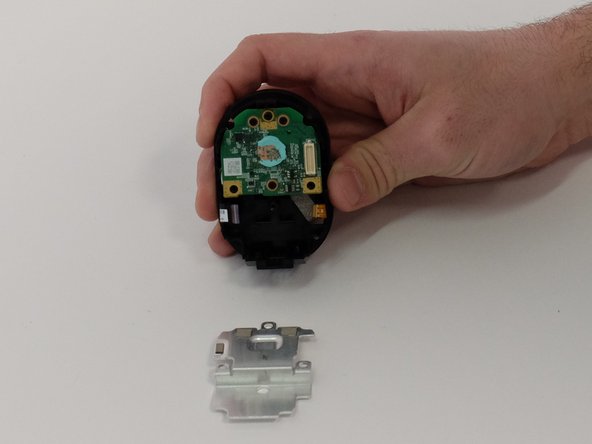
    • Use a spudger to separate the long metal bracket.

    • There is an arrow etched into the bracket. It points towards the top of the camera. This is important when reassembling the camera.

  8. Arlo Ultra 2 Motion Sensor Replacement: Schritt 8, Bild 1 von 3 Arlo Ultra 2 Motion Sensor Replacement: Schritt 8, Bild 2 von 3 Arlo Ultra 2 Motion Sensor Replacement: Schritt 8, Bild 3 von 3
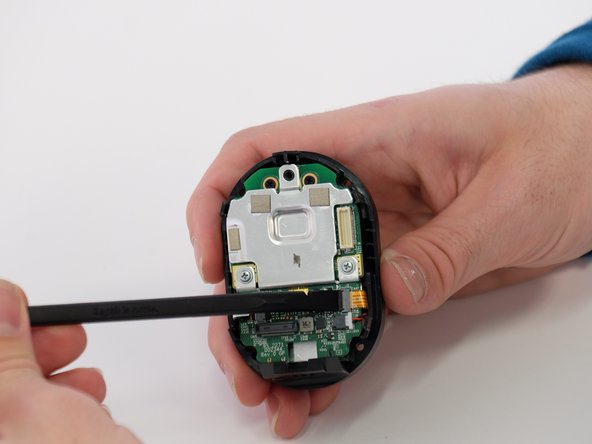
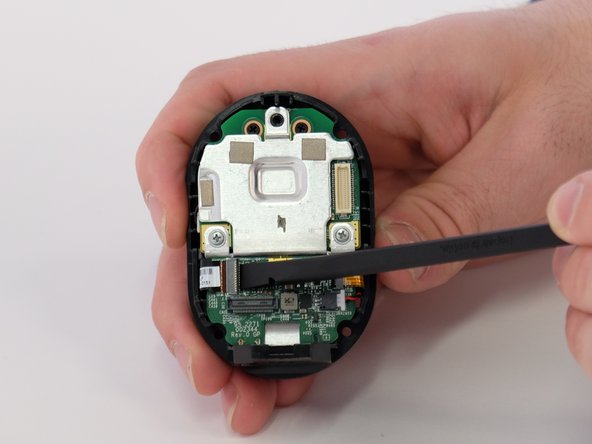
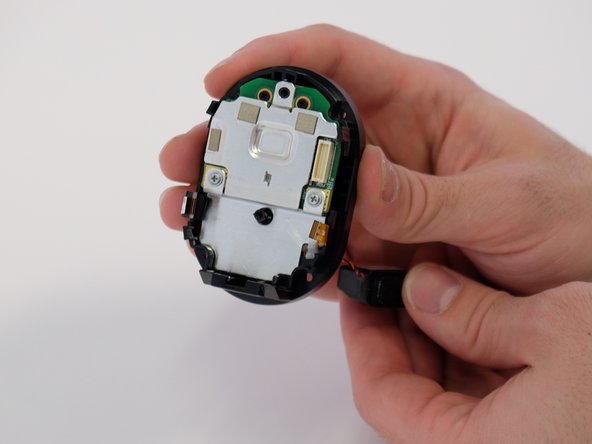
    • Use the tip of a spudger or your fingernail to flip up the small locking flap on each ZIF connector. Then, you can safely pull the cables out.

    • Be sure to pry up on the hinged flap, not the connector socket.

  9. Arlo Ultra 2 Motion Sensor Replacement: Schritt 9, Bild 1 von 2 Arlo Ultra 2 Motion Sensor Replacement: Schritt 9, Bild 2 von 2
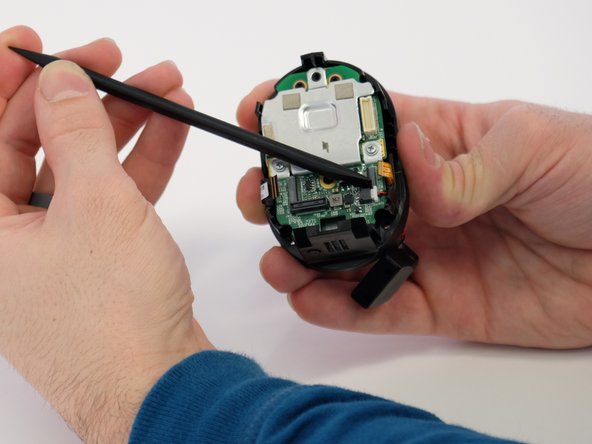
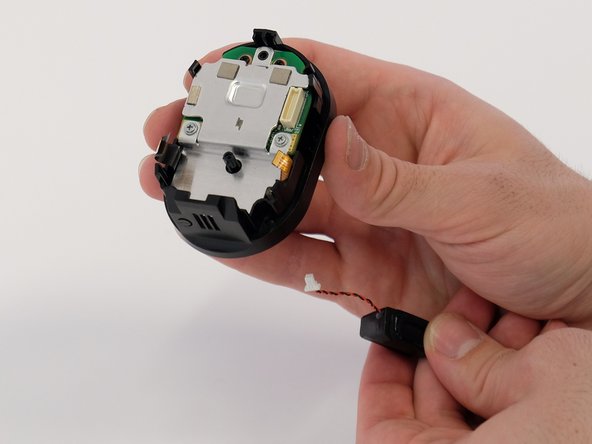
    • Use a spudger to carefully push on each side of the speaker cable connector until it's out of its socket.

  10. Arlo Ultra 2 Motion Sensor Replacement: Schritt 10, Bild 1 von 1
    • Remove the small green circuit board.

  11. Arlo Ultra 2 Motion Sensor Replacement: Schritt 11, Bild 1 von 3 Arlo Ultra 2 Motion Sensor Replacement: Schritt 11, Bild 2 von 3 Arlo Ultra 2 Motion Sensor Replacement: Schritt 11, Bild 3 von 3
    • Feed the speaker cable through the opening to remove the speaker.

  12. Arlo Ultra 2 Motion Sensor Replacement, Motion Sensor: Schritt 12, Bild 1 von 3 Arlo Ultra 2 Motion Sensor Replacement, Motion Sensor: Schritt 12, Bild 2 von 3 Arlo Ultra 2 Motion Sensor Replacement, Motion Sensor: Schritt 12, Bild 3 von 3
    • Use a Phillips #00 screwdriver to remove the two 5.0 mm screws from the metal plate.

    • Pry the plate away from the circuit board underneath.

  13. Arlo Ultra 2 Motion Sensor Replacement: Schritt 13, Bild 1 von 3 Arlo Ultra 2 Motion Sensor Replacement: Schritt 13, Bild 2 von 3 Arlo Ultra 2 Motion Sensor Replacement: Schritt 13, Bild 3 von 3
    • Use a spudger to remove the circuit board with the lens attached.

  14. Arlo Ultra 2 Motion Sensor Replacement: Schritt 14, Bild 1 von 3 Arlo Ultra 2 Motion Sensor Replacement: Schritt 14, Bild 2 von 3 Arlo Ultra 2 Motion Sensor Replacement: Schritt 14, Bild 3 von 3
    In diesem Schritt verwendetes Werkzeug:
    Tweezers
    $4.99
    Kaufen
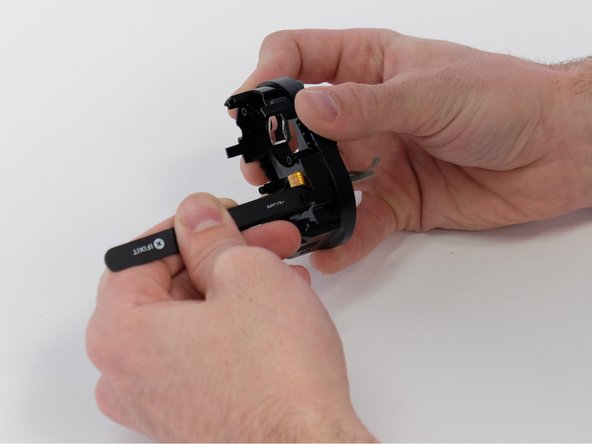
    • Use blunt tweezers to pull up the heat-resistant tape.

    • Pull the heat-resistant tape through to the front of the camera.

  15. Arlo Ultra 2 Motion Sensor Replacement: Schritt 15, Bild 1 von 3 Arlo Ultra 2 Motion Sensor Replacement: Schritt 15, Bild 2 von 3 Arlo Ultra 2 Motion Sensor Replacement: Schritt 15, Bild 3 von 3
    • Place the tip of your spudger under the edge of the motion sensor connector, and pry the connector straight up from its socket.

  16. Arlo Ultra 2 Motion Sensor Replacement: Schritt 16, Bild 1 von 2 Arlo Ultra 2 Motion Sensor Replacement: Schritt 16, Bild 2 von 2
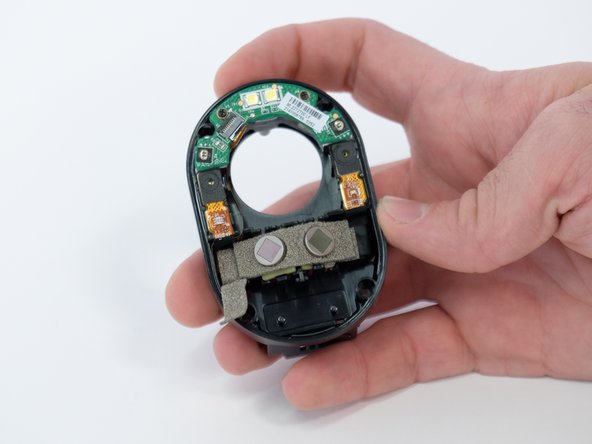
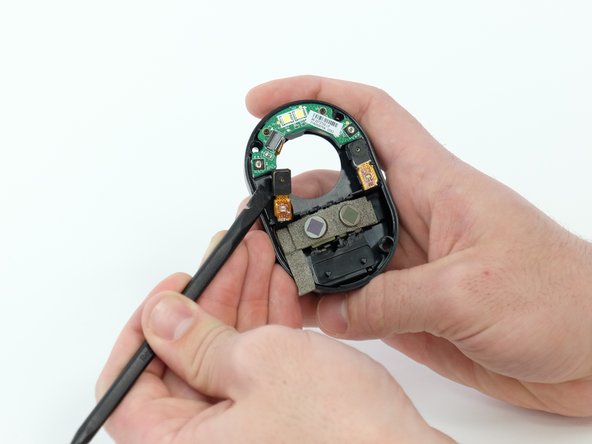
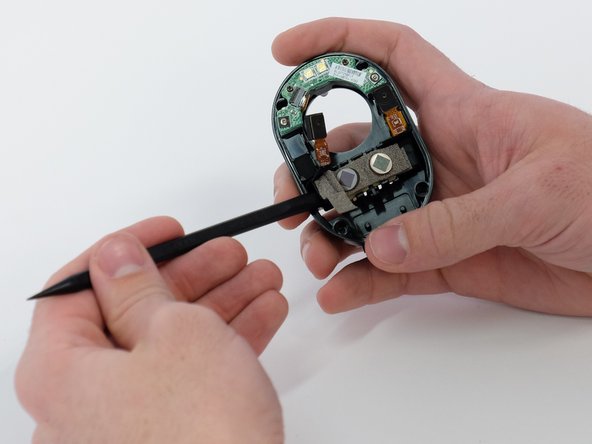
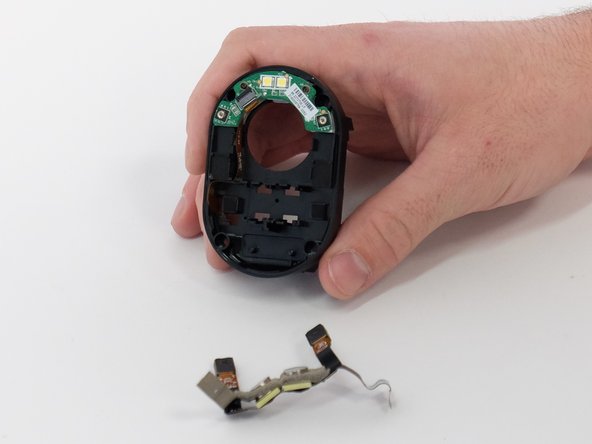
    • Use a spudger to remove the motion sensors from the housing.

    • Finish removing the entire motion sensor and microphone electric tape.

Abschluss

To reassemble your device, follow these instructions in reverse order.

Ein:e weitere:r Nutzer:in hat diese Anleitung absolviert.

2 Kommentare

I wonder if you might have any insight on why these are so failure prone? I have had this happen twice since buying these cameras a little over a year ago. This would seem to be a simple part, kind of like an led bulb, typically they just don’t fail before other parts of the device have just gotten old and broken down. I know others have been having this exact issue also.

Ash Miller - Antwort

Hello could you provide any information on part number and where to buy replacement motion sensors?

TIA

Richard Moyden - Antwort

Kommentar hinzufügen

Seitenaufrufe:

Letzte 24 Stunden: 0

Letzte 7 Tage: 2

Letzte 30 Tage: 10

Insgesamt: 252