Einleitung
If the power cord of your Bissell PowerFresh Steam Mop 19401 has been damaged, use this guide to replace the cable. If the power cable is damaged, the unit may not work correctly or turn on at all.
Inspect the power cord for any crimps or cuts that may prevent electrical current from flowing through to the unit.
Step 4 requires you to connect the replacement cord wires to the unit itself. To do this, you will need to utilize a soldering iron. Additionally, if you choose to use heat shrink tubing, this guide may be helpful. You can also check out this guide for more details on soldering.
Before beginning this project, ensure the unit is unplugged and the water tank has been removed.
Was du brauchst
-
-
Turn the unit on its front so the bottom is facing up.
-
Remove the eight screws using a Phillips #2 screwdriver.
-
Remove the single screw holding the handle in place using a Phillips #2 screwdriver.
-
Pull the handle out.
-
-
-
Remove the two screws from the underside of the mop where the mop head is connected using a Phillips #2 screwdriver.
-
Remove the mop head connector.
-
Remove two screws using a Phillips #2 screwdriver.
-
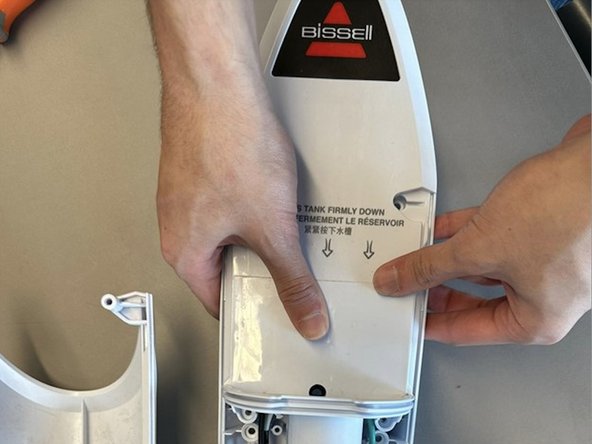
Pull the bottom portion of the front housing away from the rest of the mop.
-
-
-
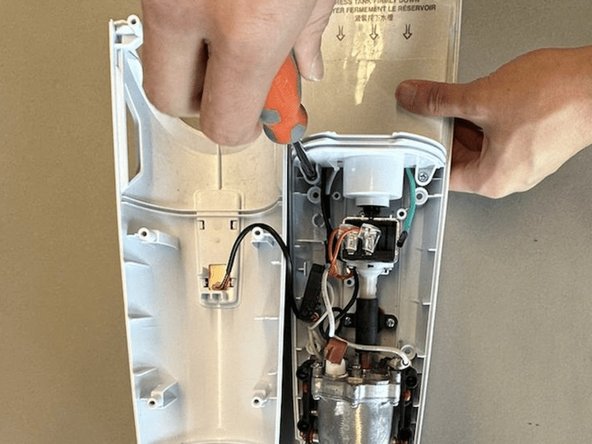
Remove two screws that are inside the unit using a Phillips #2 screwdriver.
-
Pull the top housing upwards to detach it from the water pump.
-
-
-
-
Remove the two screws from the plastic clamp using a Phillips #2 screwdriver.
-
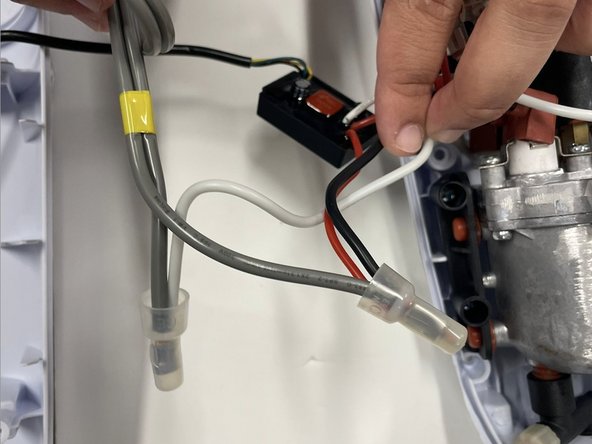
Using a flush cutter or pliers, cut the original power cable and the white, black, and red wires as close to the plastic protective caps as possible.
-
The damaged power cable can now be removed by pulling through from the back of the unit.
-
-
-
Plug in the soldering iron and allow it to heat up to approximately 350°C. For more soldering instructions, check out the Wie man Lötverbindungen herstellt und entlötet guide.
-
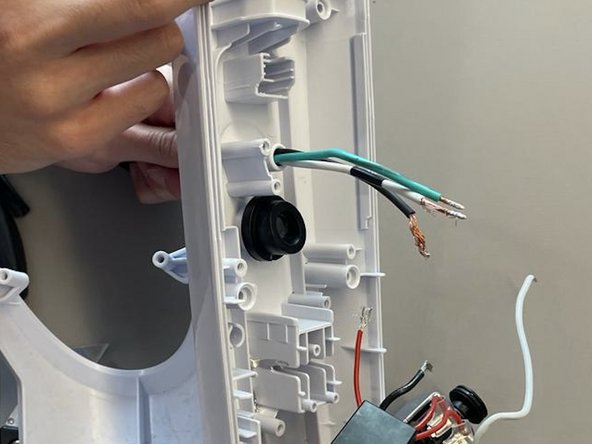
Prep the replacement cable and wires by using a wire stripper or pliers to remove approximately 0.5 inches of the plastic insulation.
-
Strip the hot and neutral wires belonging to the unit. In this model, the hot wires are black and red and the neutral wire is white.
-
Strip the wires belonging to the replacement cable.
-
Feed the replacement cable through the entry point at the back of the unit. If it does not fit, the rubber insulation can be stripped further using a utility knife.
-
-
-
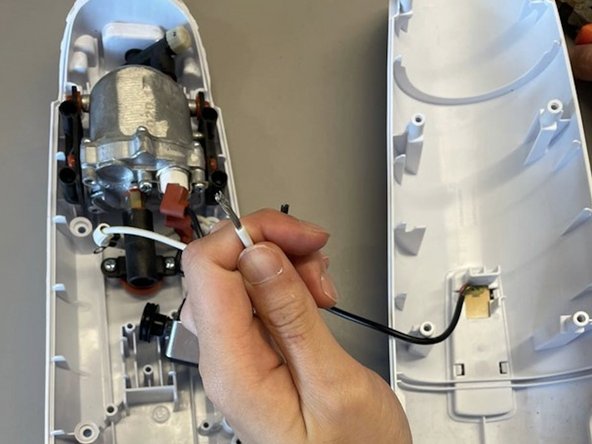
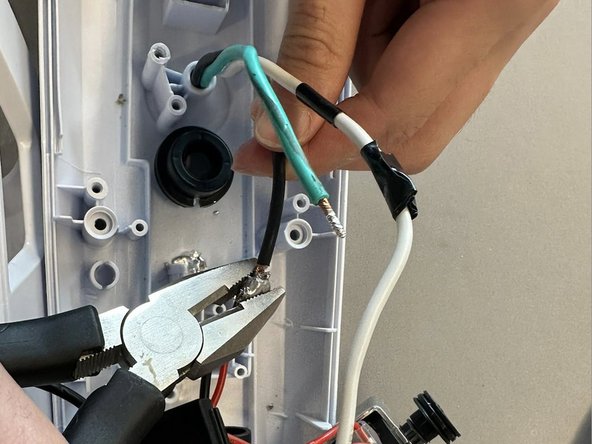
Solder the neutral wire from the replacement cable to the white wire of the unit.
-
-
-
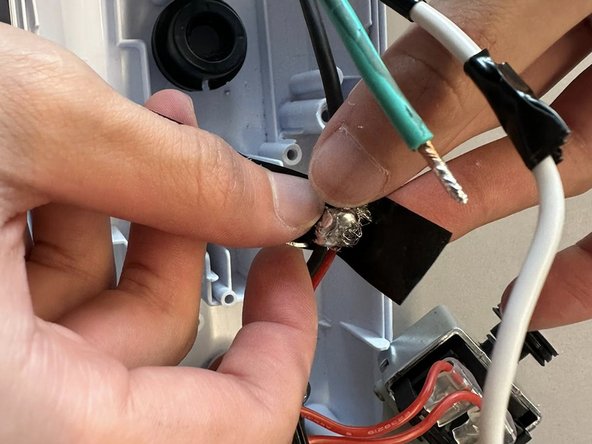
Solder the hot wire from the replacement cable to the black and red wires of the unit.
-
Tape around soldered wires with electrical tape.
-








To reassemble your device, follow these instructions in reverse order.
To reassemble your device, follow these instructions in reverse order.



Team

York University, Team B-2, Allen Fall 2022 Mitglied von York University, Team B-2, Allen Fall 2022
YORK-ALLEN-F22SBG2
2 Mitglieder
1 Anleitung geschrieben
