Einleitung
If your camcorder LCD screen is scratched, cracked or defective in any way, it will have to be replaced. This guide requires some tools and time.
Was du brauchst
-
-
-
Locate battery compartment cover. Turn the device over and locate the battery compartment cover.
-
Place a finger or thumb on the textured section of the battery compartment cover and push forward until you hear a click. Then lift the battery compartment cover.
 Frag FixBot
-
-
-
Locate the grey latch and move it aside. The battery is spring loaded and will pop up.
-
Remove the battery.
-
-
-
-
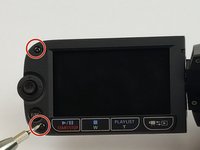
Using the Phillips #000, remove the two screws on the LCD panel.
-
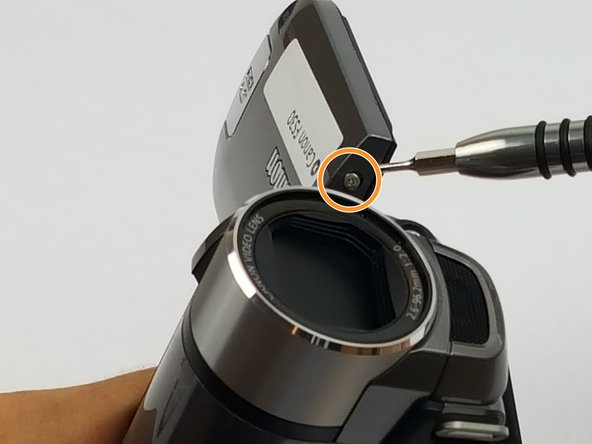
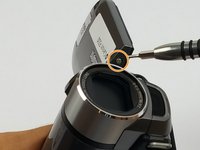
Using the Phillips #000, remove two more screws near the LCD panel swivel point.
-
-
-
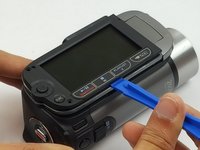
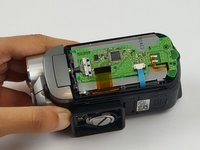
Use the plastic opening tool to remove the plastic cover from the LCD panel.
-
-
-
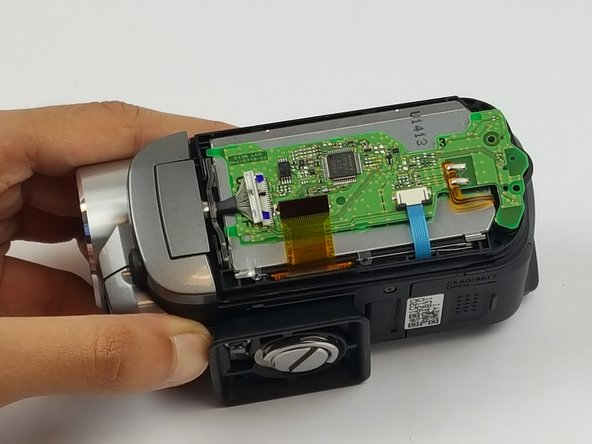
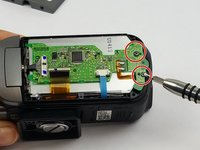
Locate and remove two screws on the logic board.
-
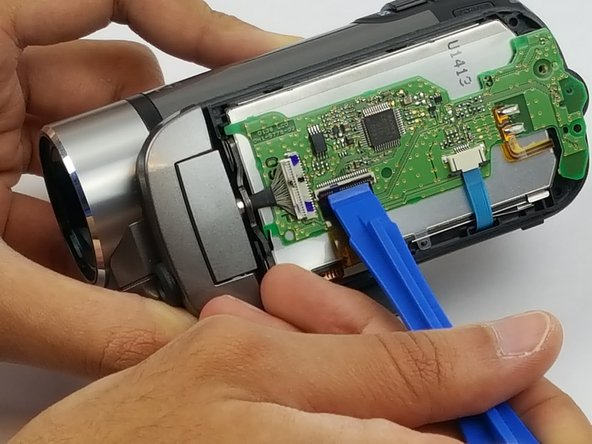
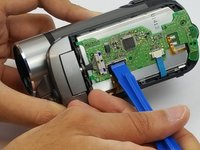
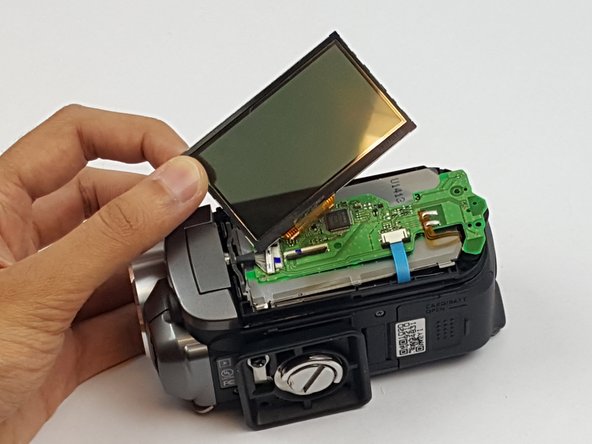
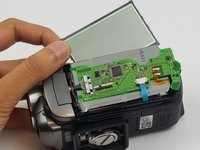
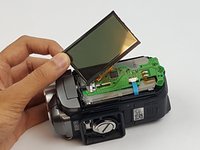
Use the plastic opening tool to open the ZIF (zero insertion force) connector. The LCD ribbon should pop up.
-
-





To reassemble your device, follow these instructions in reverse order.
Rückgängig: Ich habe diese Anleitung nicht absolviert.
Eine weitere Person hat diese Anleitung absolviert.

Team

USF Tampa, Team S1-G4, Nance Spring 2017 Mitglied von USF Tampa, Team S1-G4, Nance Spring 2017
USFT-NANCE-S17S1G4
4 Mitglieder
32 Anleitungen geschrieben
