Einleitung
In this guide we will be showing you step-by-step how to replace the button panel. It is a fairly simple process once the front panel and motherboard have been removed.
Was du brauchst
-
-
-
Using Blue Plastic opening tool pry the top rubber cover, then using the same tool remove the bottom panel
 Frag FixBot
-
-
-
There are four prongs on the grill in the corners, closest to the power button switch. Use the plastic opening tool to release all four prongs from the panel, and then slide the plastic opening tool along the edge of the grill to allow it to easily slide off.
-
-
-
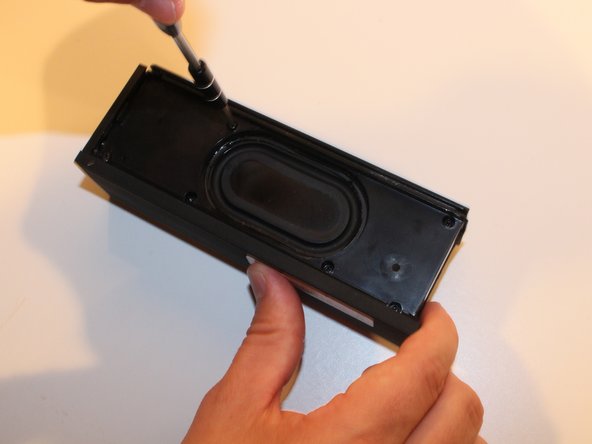
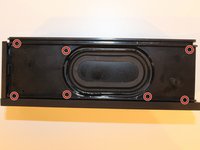
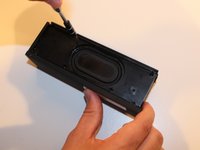
On the back panel (Opposite to the side containing the two speakers), Use the Philips head PH1 to remove all 7 screws (Screws: Head PH1 , Length 7cm).
-
-
-
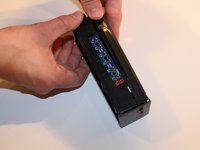
Pull apart the two faces to separate the back panel from the front face plate.
-
-
-
-
-
-
Remove the single screw holding the motherboard to the front panel (Screw : Head PH1, Size .5 cm)
-
-
-
Using your fingers gently pry the motherboard loose from the black insulant adhesive
-
-
-
Disconnect the Button Panel plug (Largest of the Plugs, it can be traced back to the button panel easily)
-
-
In diesem Schritt verwendetes Werkzeug:Tweezers$4.99
-
Use the tweezers to push down on the safety prongs on the plastic switch. Then Disconnect the Power Wire plug by hand (Red medium),
-
-
-
Use the tweezers to push down on the two safety prongs on the plastic switch. Then Disconnect the two Speaker plug connections by hand (Two Smaller Plugs)
-
-
-
-
-
Remove the three screws holding the button board in place (Screw Head PH1, Size 0.5 cm)
-
You should now be able to remove the button panel from the device.
-
-




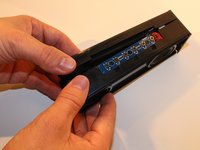

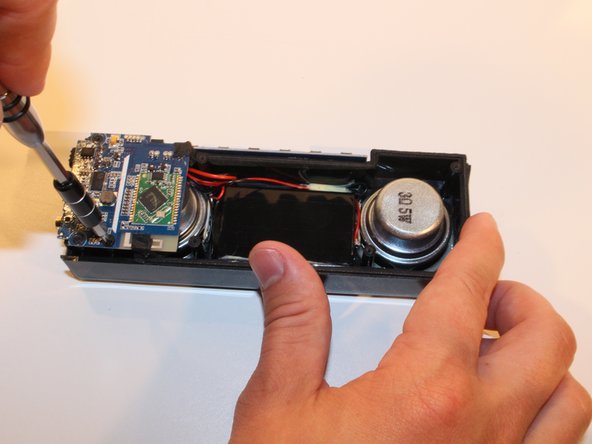
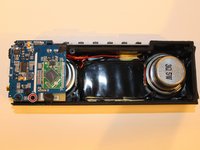


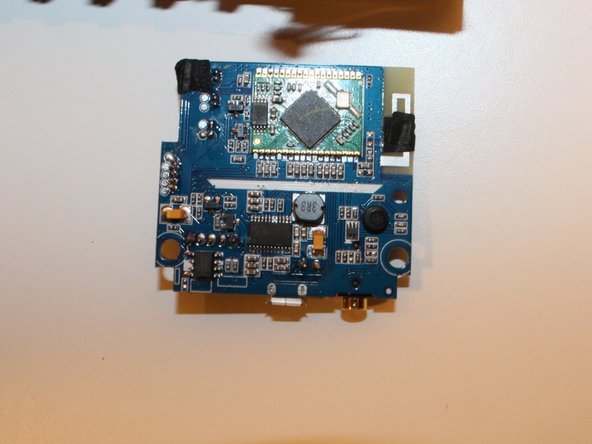

To reassemble your device, follow these instructions in reverse order.

Team

USF Tampa, Team 17-1, Blackwell Winter 2016 Mitglied von USF Tampa, Team 17-1, Blackwell Winter 2016
USFT-BLACKWELL-W16S17G1
4 Mitglieder
24 Anleitungen geschrieben
