Einleitung
Taking off the front panel is a requirement for replacing any part inside or around the speaker, and if improperly done may lead to damage to the speaker or self.
Was du brauchst
-
-
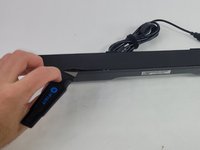
Use a Jimmy to peel off the screen stuck to the front of the speaker.
-
Start from any corner and use the Jimmy to get under the screen. Once one side lifts up, you can use your fingers to peel the rest off.
-
-
-
-
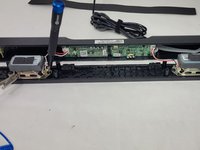
Lift the front panel off of the rest of the device.
-
Remove the 4 mm screws from the speakers using a JIS #1 screwdriver.
-
Remove the front panel from the device.
-


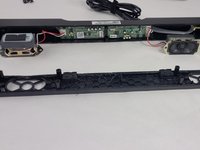
To reassemble your device, follow these instructions in reverse order.
Rückgängig: Ich habe diese Anleitung nicht absolviert.
Eine weitere Person hat diese Anleitung absolviert.
Team

UMass Dartmouth, Team 4-6, Shaddix Spring 2024 Mitglied von UMass Dartmouth, Team 4-6, Shaddix Spring 2024
UMASSD-SHADDIX-S24S4G6
4 Mitglieder
6 Anleitungen geschrieben