Einleitung
We are going to be replacing the external speakers of the Digital2 Platinum Pad 9.
If you have tried to troubleshoot the device and still had no luck then you would resort to using this guide in order to replace the speakers with new units. So before you begin the external speaker replacement you should first feel comfortable taking apart your device. You should also be able to solder the wires to the motherboard, use this guide by ifixit to learn how to do this step Soldering Skills.
Was du brauchst
-
-
Take the plastic opening tool and insert it into the crease between the screen and the plastic casing and press down.
-
-
-
After inserting the plastic opening tool, run it around the device a few times to loosen the external cover.
-
-
-
Once you've gone around a few times a corner will pop up, insert the opening tool there and repeat step 2 with slightly more pressure. Do this until every section of the backing has popped up.
-
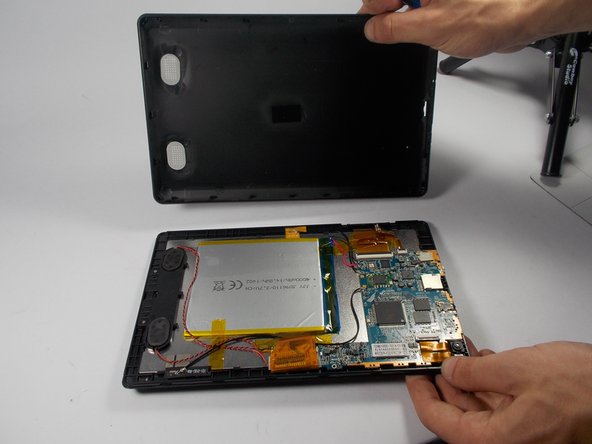
Then just remove the backing.
-
-
-
-
The external speakers are located in the black plastic fixture near the battery as pointed to in the image.
-
-
-
Use a J0 sized Phillips head screwdriver to remove the two 3.175mm long Phillips head screws from the speaker fixture.
-
-
-
Then lift up the cover holding the speakers down.
-
Remove the actual speakers along with the cover.
-
-
-
The two wires that connect the speakers to the motherboard must be removed next. In order to replace the speakers you will need to solder them back into place.
-
-
-
Desolder the wires. For soldering help, check out iFixit's How to Solder and Desolder Connections guide.
-
Then just pull them off the tablet.
-


To reassemble your device, follow these instructions in reverse order.
To reassemble your device, follow these instructions in reverse order.
Team

UMass Dartmouth, Team 5-6, Landers Spring 2016 Mitglied von UMass Dartmouth, Team 5-6, Landers Spring 2016
UMASSD-LANDERS-S16S5G6
3 Mitglieder
6 Anleitungen geschrieben