Zum Hauptinhalt wechseln
Gemeinsam reparieren - Jetzt registrieren

Disassembling Microtek ScanMaker 5900 Outer Scanner Chassis

Was du brauchst

  1. Disassembling Microtek ScanMaker 5900 Outer Scanner Chassis, Remove serial port connection: Schritt 1, Bild 1 von 3 Disassembling Microtek ScanMaker 5900 Outer Scanner Chassis, Remove serial port connection: Schritt 1, Bild 2 von 3 Disassembling Microtek ScanMaker 5900 Outer Scanner Chassis, Remove serial port connection: Schritt 1, Bild 3 von 3
    • Loosen the screws on the serial port by turning them counter clockwise by hand.

    • After loosening the screws, pull the serial port out.

    Frag FixBot

    Kommentar hinzufügen

  2. Disassembling Microtek ScanMaker 5900 Outer Scanner Chassis, Remove Lid: Schritt 2, Bild 1 von 3 Disassembling Microtek ScanMaker 5900 Outer Scanner Chassis, Remove Lid: Schritt 2, Bild 2 von 3 Disassembling Microtek ScanMaker 5900 Outer Scanner Chassis, Remove Lid: Schritt 2, Bild 3 von 3
    • Lift lid to its vertical position.

    • Pull lid straight up to remove it from the scanner.

    Frag FixBot

    Kommentar hinzufügen

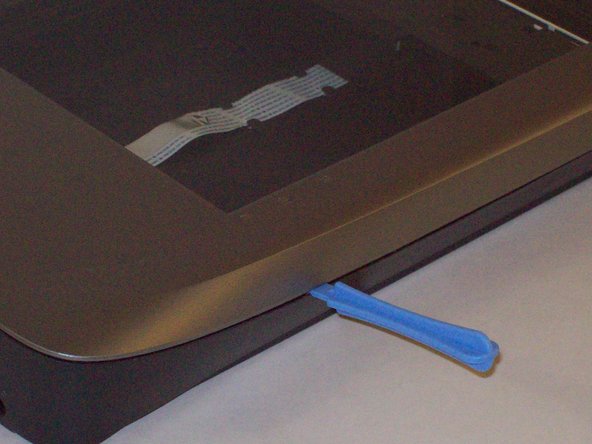
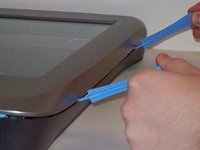
  3. Disassembling Microtek ScanMaker 5900 Outer Scanner Chassis, Detach plastic latches: Schritt 3, Bild 1 von 3 Disassembling Microtek ScanMaker 5900 Outer Scanner Chassis, Detach plastic latches: Schritt 3, Bild 2 von 3 Disassembling Microtek ScanMaker 5900 Outer Scanner Chassis, Detach plastic latches: Schritt 3, Bild 3 von 3
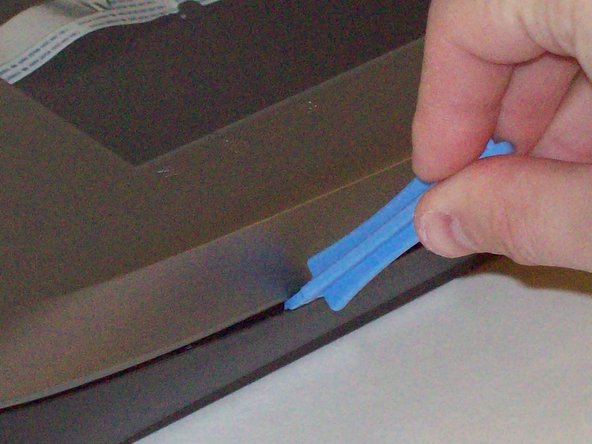
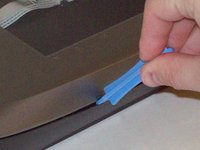
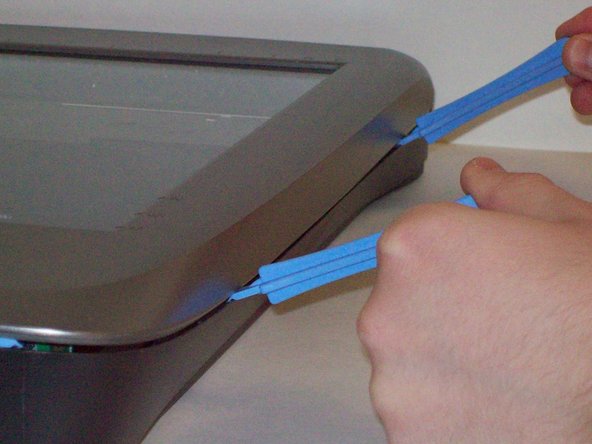
    • Push the plastic opening tools into the crack between the top and the bottom of the chassis.

    Frag FixBot

    Kommentar hinzufügen

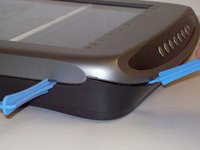
  4. Disassembling Microtek ScanMaker 5900 Outer Scanner Chassis, Continue latch detachment: Schritt 4, Bild 1 von 3 Disassembling Microtek ScanMaker 5900 Outer Scanner Chassis, Continue latch detachment: Schritt 4, Bild 2 von 3 Disassembling Microtek ScanMaker 5900 Outer Scanner Chassis, Continue latch detachment: Schritt 4, Bild 3 von 3
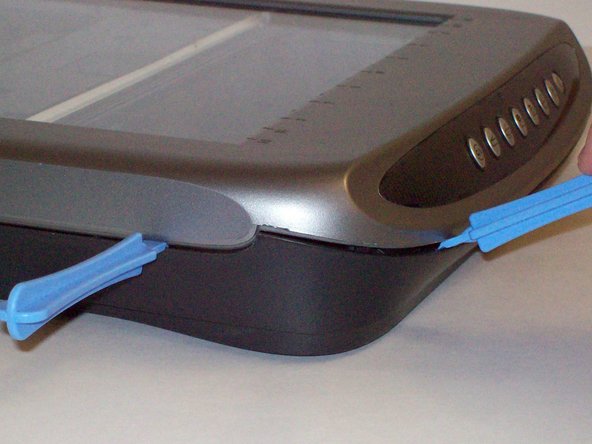
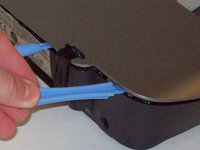
    • After placing one plastic opening tool into the slit, slide other plastic opening tools along the slit to detach the top from the bottom of the chassis.

    • Go all the way along the chassis until you can lift the upper lid.

    Frag FixBot

    Kommentar hinzufügen

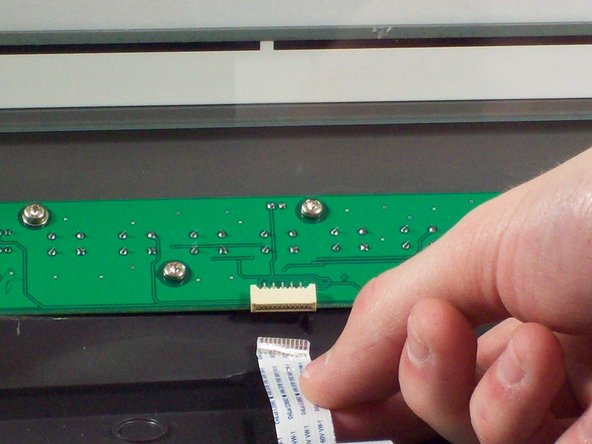
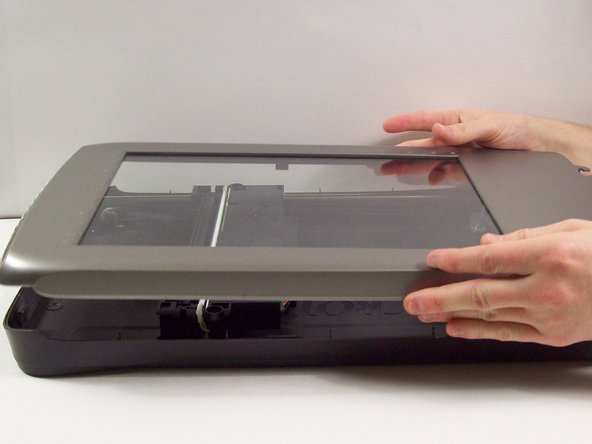
  5. Disassembling Microtek ScanMaker 5900 Outer Scanner Chassis, Fully remove the upper lid: Schritt 5, Bild 1 von 3 Disassembling Microtek ScanMaker 5900 Outer Scanner Chassis, Fully remove the upper lid: Schritt 5, Bild 2 von 3 Disassembling Microtek ScanMaker 5900 Outer Scanner Chassis, Fully remove the upper lid: Schritt 5, Bild 3 von 3
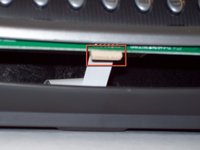
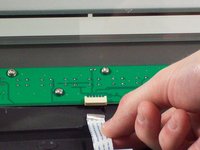
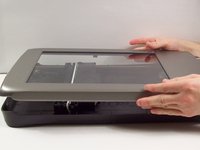
    • Do not fully remove the lid until you remove the ribbon cable attached to the front of the upper lid.

    • Do this by grabbing the upper lid from the sides and rotating it ninety degrees so it is perpendicular to the bottom lid.

    • Grab the ribbon cable and gently pull it out of its slot with your fingers.

    • The upper lid can now safely be removed from the bottom lid.

    Frag FixBot

    Kommentar hinzufügen

Abschluss

To reassemble your device, follow these instructions in reverse order.

Rückgängig: Ich habe diese Anleitung nicht absolviert.

Team

Cal Poly, Team 6-9, Regan Fall 2011 Mitglied von Cal Poly, Team 6-9, Regan Fall 2011

CPSU-REGAN-F11S6G9

2 Mitglieder

22 Anleitungen geschrieben

0 Kommentare zur Anleitung

Kommentar hinzufügen

Seitenaufrufe:

Letzte 24 Stunden: 1

Letzte 7 Tage: 8

Letzte 30 Tage: 41

Insgesamt: 2,408