Was du brauchst
-
-
-
Heble die Clips auf und löse sie. Beachte, dass die beiden unteren Clips mit etwas gummiartigem Kleber befestigt sind. Reiße die Frontabdeckung nicht zu schnell ab, es gibt ein Flachbandkabel, das du erst abklemmen musst.
 Frag FixBot
-
-
-
Löse das Flachbandkabel, das mit der Frontplatte verbunden ist. Hebe die Front ab und lege die braune Verschlussklappe am Anschluss auf der Platine um. (Die Klappe auf diesem Bild ist schwarz und befindet sich gegenüber dem Kabel. Hebe die Kante an, die auf dem Bild am nächsten zu dir liegt, um das Kabel zu lösen.)
-
-
-
Entferne zwei (bei manchen Versionen sind es 3) Schrauben, mit denen die Platine befestigt ist
-
-
-
-
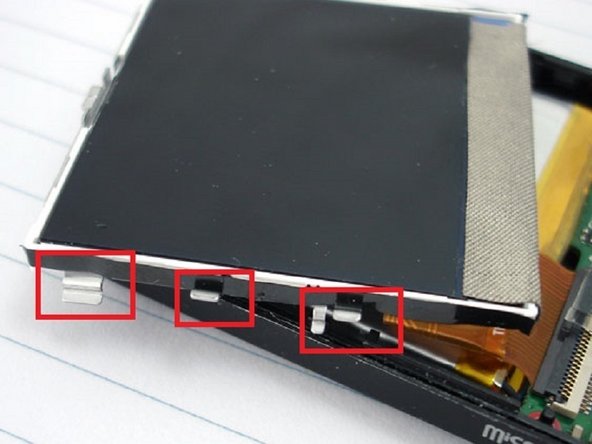
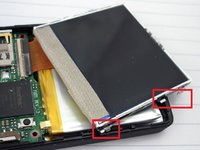
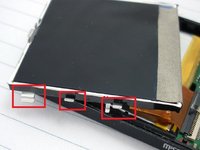
Löse die vier Clips an jeder Seite des LCDs und entferne es. Sei vorsichtig, das LCD darf nicht beschädigt werden.
-
-
-
Klappe das LCD vorsichtig um und trenne das LCD-Kabel von der Platine
-
-
-
Der Akku ist mit etwas doppelseitigem Klebeband fixiert. Entferne den Akku
-
Wenn du den Akku austauschst, halte einfach einen Lötkolben an die Lötverbindungen auf der Platine und ziehe sie vorsichtig ab.
-
Schmelze das alte Lot erneut, schließe seine Kabel an und befestige ihn.
-
-
-
Hebe die Platine zuerst an der linken Seite an, um den Ein-/Ausschalter zu umgehen. Entferne die Platine.
-
-




Um dein Gerät wieder zusammenzubauen, folge den Schritten dieser Anleitung in umgekehrter Reihenfolge.
Rückgängig: Ich habe diese Anleitung nicht absolviert.
10 weitere Personen haben diese Anleitung absolviert.
Besonderer Dank geht an diese Übersetzer:innen:
100%

VauWeh hilft uns, die Welt in Ordnung zu bringen! Wie kann ich mithelfen?
Hier starten ›

Team

6 Kommentare zur Anleitung
Sep 7 is backwards - device power button is on the right side, release motherboard on that side first. Otherwise thank you for the guide!
