Einleitung
Use this guide to access and replace the fan of your Epson PowerLite 83+ projector.
In the case of overheating, the fan may be in need of dusting or replacement. If the device is overheating and the filter has been cleaned or replaced, the issue may be caused by the exhaust fan.
This is not a highly difficult fix, but it does require the removal of the main cover and the lamp. Be sure to turn the device off and unplug it from the power adapter prior to beginning this repair.
Was du brauchst
-
-
-
Remove the eight 5mm Phillips #2 screws securing the projector's bottom cover.
 Frag FixBot
-
-
-
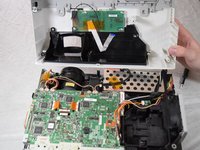
Flip the projector over and lift the top cover from the rear of the projector.
-
Disconnect the slide cover JST connector. Grip the connector and rock it back and forth while apply gentle pressure.
-
-
-
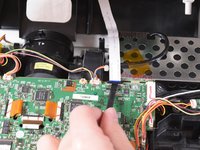
Using a spudger, lift the ribbon cable's locking tab along the length of the cable.
-
Remove the ribbon cable from the connector and place the projector's top cover aside.
-
-
-
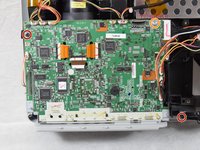
Remove the two 6 mm Phillips #2 screws.
-
Remove the single silver 5 mm Phillips #2 screw.
-
-
-
-
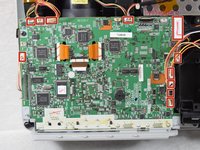
Using your fingernails or a spudger, remove the eleven JST connectors attached to the motherboard.
-
-
-
Using a spudger, flip up the plastic locking tabs and gently remove the three ribbon cables from their connectors.
-
-
-
Ensure all JST connectors are clear of the motherboard and that the ribbon cables freely move in their motherboard cutouts.
-
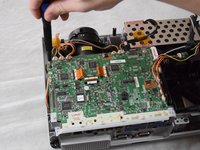
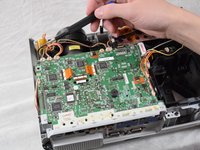
Lift the motherboard from the front side of the projector to clear the ribbon cables.
-
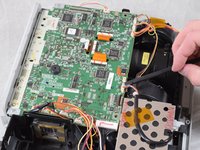
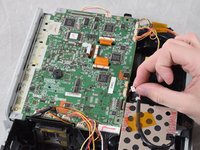
Disconnect the speaker's JST connector on the underside of the motherboard using your fingernails.
-
Remove the motherboard from the case.
-
-
-
-
-
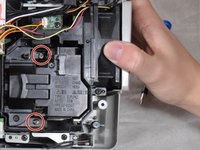
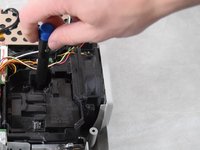
Loosen the two captive Phillips #2 screws securing the lamp.
-
-
-
Hold onto the indented areas of the lamp with your fingers and gently pull it upwards to remove it from the casing.
-
-
-
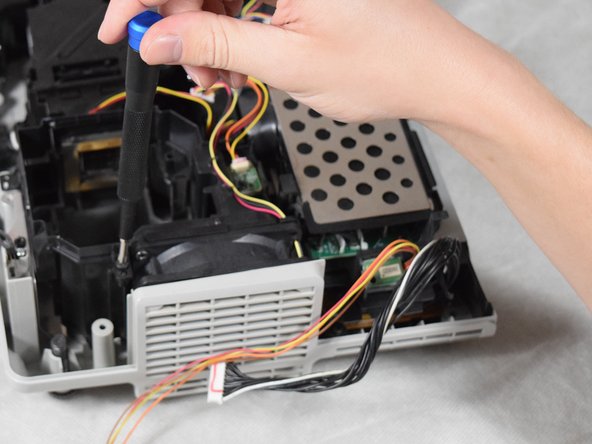
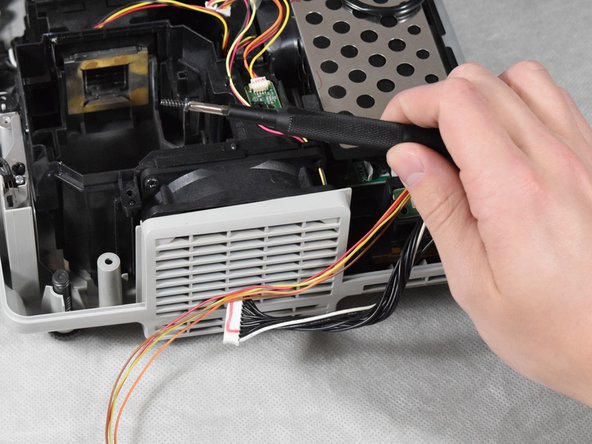
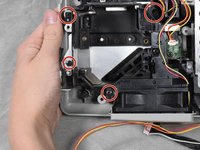
Remove the four 6 mm Phillips #2 screws.
-
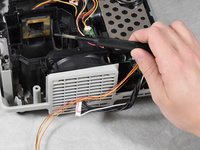
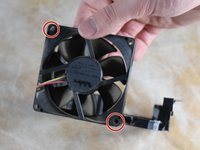
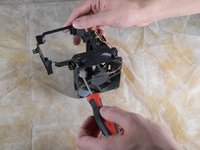
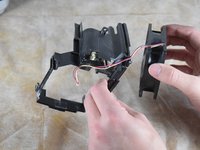
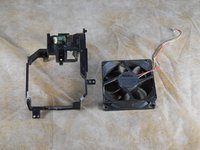
Lift the fan bracket straight up to remove it from the casing.
-
-








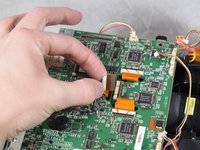


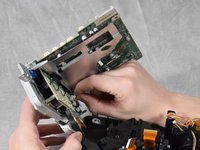
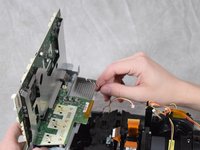

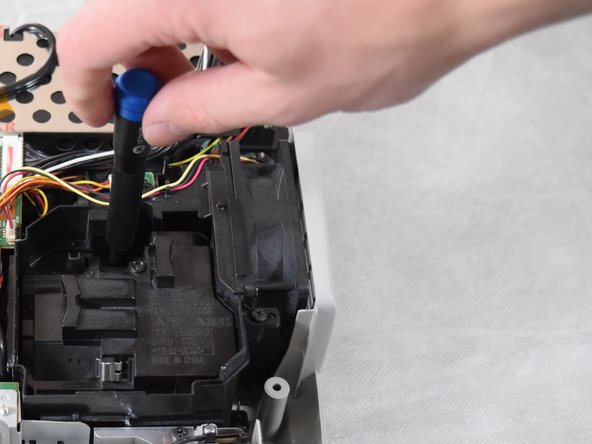







To reassemble your device, follow these instructions in reverse order.

Team

Clemson, Team 2-4, Hunter Spring 2022 Mitglied von Clemson, Team 2-4, Hunter Spring 2022
CLEM-HUNTER-S22S2G4
4 Mitglieder
30 Anleitungen geschrieben
