Zum Hauptinhalt wechseln
Gemeinsam reparieren - Jetzt registrieren

Fujifilm Instax Mini 9 Camera Shell Replacement

Was du brauchst

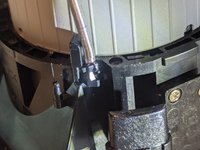
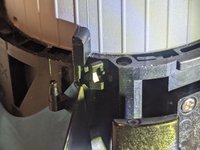
    1. Fujifilm Instax Mini 9 Camera Shell Replacement, Disconnect the Strap: Schritt 1, Bild 1 von 3 Fujifilm Instax Mini 9 Camera Shell Replacement, Disconnect the Strap: Schritt 1, Bild 2 von 3 Fujifilm Instax Mini 9 Camera Shell Replacement, Disconnect the Strap: Schritt 1, Bild 3 von 3
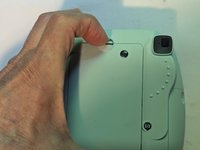
      • If equipped with a camera strap, the strap will have to be removed or you won't be able to separate the two halves of the shell.

      • A fine tip tool such as this Pentalobe screwdriver can be inserted in the loop and used to expand it so the strap can be passed through it.

      Frag FixBot

      Kommentar hinzufügen

    2. Fujifilm Instax Mini 9 Camera Shell Replacement: Schritt 2, Bild 1 von 3 Fujifilm Instax Mini 9 Camera Shell Replacement: Schritt 2, Bild 2 von 3 Fujifilm Instax Mini 9 Camera Shell Replacement: Schritt 2, Bild 3 von 3
      • Slip the main part of the strap through the loop so the strap can be removed from the camera.

      Frag FixBot

      Kommentar hinzufügen

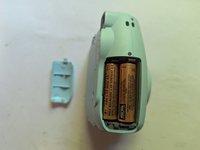
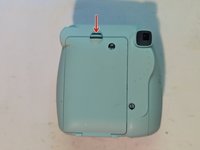
    3. Fujifilm Instax Mini 9 Camera Shell Replacement, Remove the Batteries: Schritt 3, Bild 1 von 3 Fujifilm Instax Mini 9 Camera Shell Replacement, Remove the Batteries: Schritt 3, Bild 2 von 3 Fujifilm Instax Mini 9 Camera Shell Replacement, Remove the Batteries: Schritt 3, Bild 3 von 3
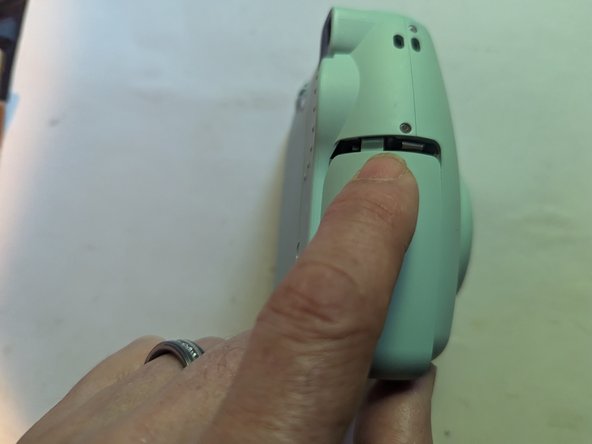
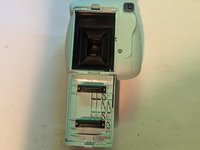
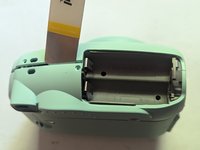
      • Push up the battery lid lock.

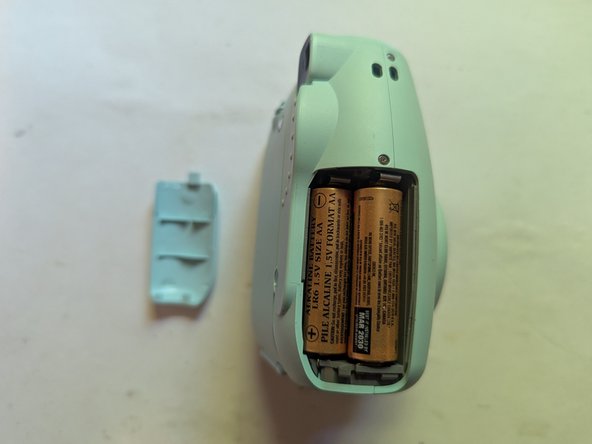
      • Slide off the battery cover.

      Frag FixBot

      Kommentar hinzufügen

    4. Fujifilm Instax Mini 9 Camera Shell Replacement: Schritt 4, Bild 1 von 1
      • Remove the batteries.

      Frag FixBot

      Kommentar hinzufügen

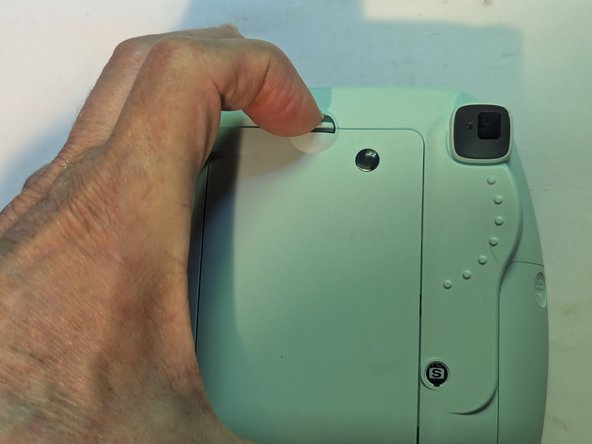
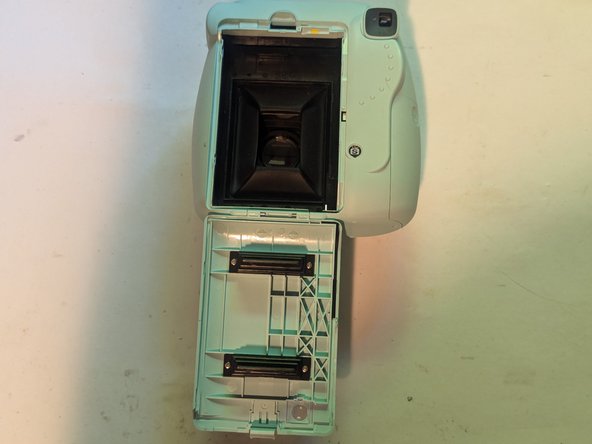
    5. Fujifilm Instax Mini 9 Camera Shell Replacement, Remove the Film: Schritt 5, Bild 1 von 3 Fujifilm Instax Mini 9 Camera Shell Replacement, Remove the Film: Schritt 5, Bild 2 von 3 Fujifilm Instax Mini 9 Camera Shell Replacement, Remove the Film: Schritt 5, Bild 3 von 3
      • Press down the back cover lock to open the back cover.

      • Grasp the rectangular holes in the film pack, then pull it straight out.

      Frag FixBot

      Kommentar hinzufügen

    6. Fujifilm Instax Mini 9 Camera Shell Replacement, Set the Brightness Adjustment: Schritt 6, Bild 1 von 1
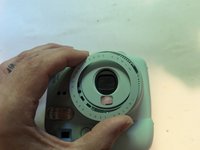
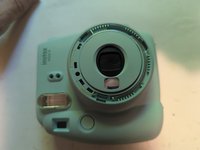
      • Make sure the brightness adjustment ring is placed on the indoor (house icon) setting when taking the camera apart.

      • Verify the brightness ring is in the correct position on reassembly.

      Frag FixBot

      Kommentar hinzufügen

    7. Fujifilm Instax Mini 9 Camera Shell Replacement, Remove the Brightness Adjustment Dial Cover: Schritt 7, Bild 1 von 3 Fujifilm Instax Mini 9 Camera Shell Replacement, Remove the Brightness Adjustment Dial Cover: Schritt 7, Bild 2 von 3 Fujifilm Instax Mini 9 Camera Shell Replacement, Remove the Brightness Adjustment Dial Cover: Schritt 7, Bild 3 von 3
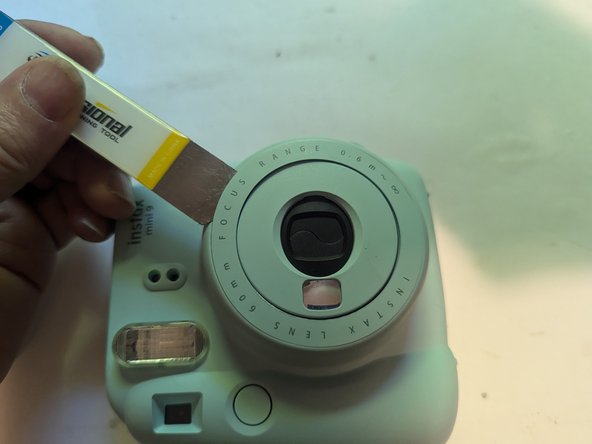
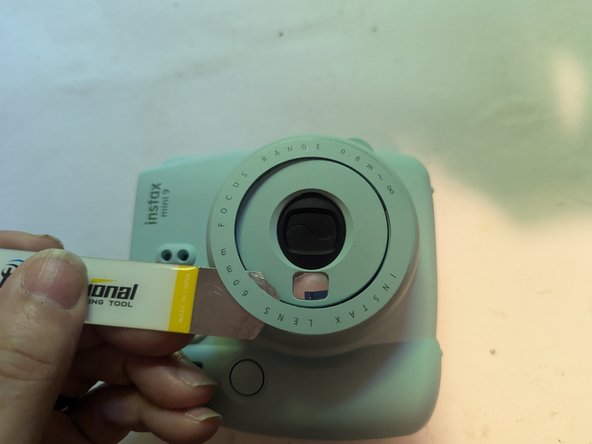
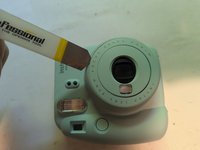
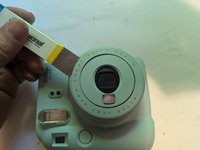
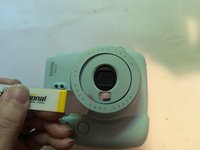
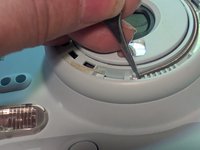
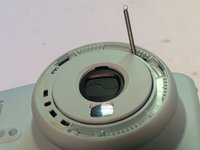
      • The brightness adjustment dial cover is held on with double sided adhesive and three tabs. Insert a thin blade opening tool under the outside edge of the cover.

      • Work your way around the ring, separating the adhesive.

      Frag FixBot

      Kommentar hinzufügen

    8. Fujifilm Instax Mini 9 Camera Shell Replacement: Schritt 8, Bild 1 von 2 Fujifilm Instax Mini 9 Camera Shell Replacement: Schritt 8, Bild 2 von 2
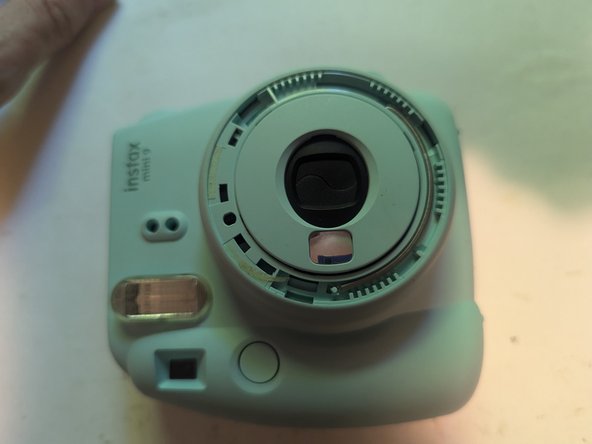
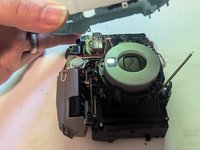
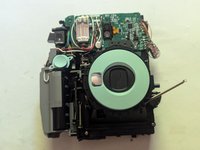
      • Lift the cover off.

      • Here we can see the return spring that pulls the brightness adjustment dial back to its resting position. This will have to be disconnected to remove the front cover.

      Frag FixBot

      Kommentar hinzufügen

    9. Fujifilm Instax Mini 9 Camera Shell Replacement, Disconnect the Brightness Adjustment Dial Return Spring: Schritt 9, Bild 1 von 3 Fujifilm Instax Mini 9 Camera Shell Replacement, Disconnect the Brightness Adjustment Dial Return Spring: Schritt 9, Bild 2 von 3 Fujifilm Instax Mini 9 Camera Shell Replacement, Disconnect the Brightness Adjustment Dial Return Spring: Schritt 9, Bild 3 von 3
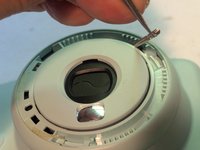
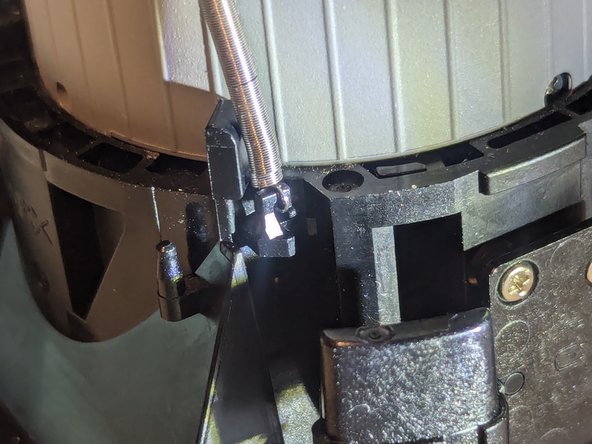
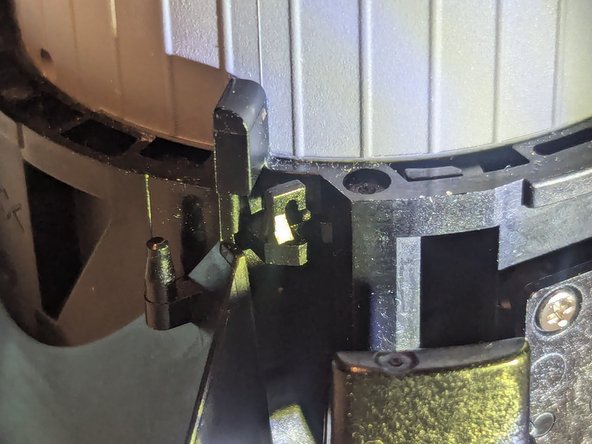
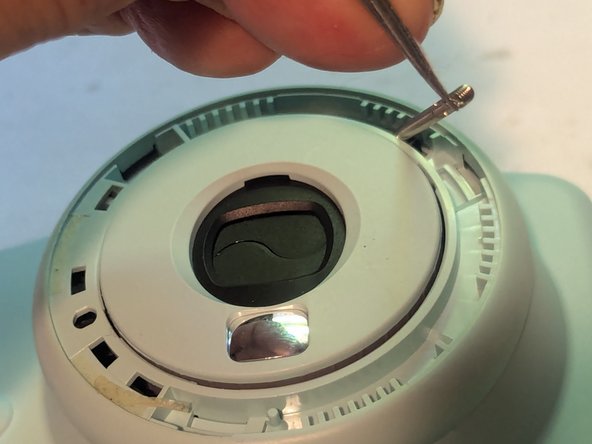
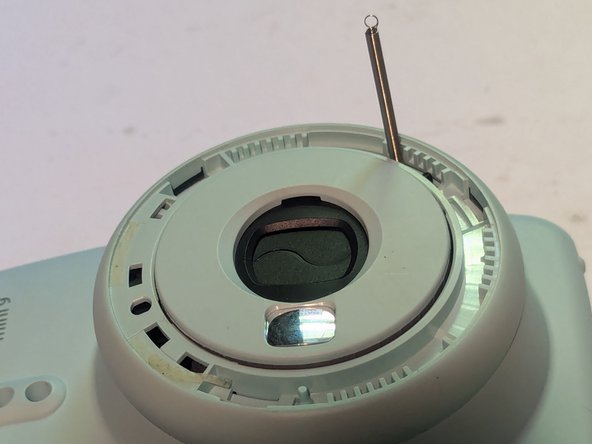
      • Using fine tip tweezers, grasp the end of the spring and lift it straight up off the retaining pin.

      • You can leave it like this as it is still connected to the camera itself on the other end.

      Frag FixBot

      Kommentar hinzufügen

    10. Fujifilm Instax Mini 9 Camera Shell Replacement, Remove the Film Ejection Slot Cover: Schritt 10, Bild 1 von 3 Fujifilm Instax Mini 9 Camera Shell Replacement, Remove the Film Ejection Slot Cover: Schritt 10, Bild 2 von 3 Fujifilm Instax Mini 9 Camera Shell Replacement, Remove the Film Ejection Slot Cover: Schritt 10, Bild 3 von 3
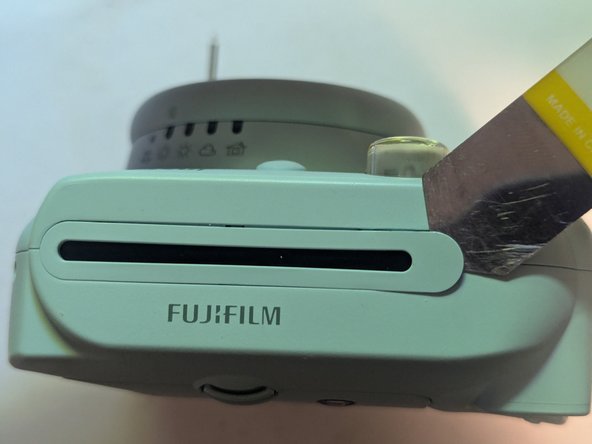
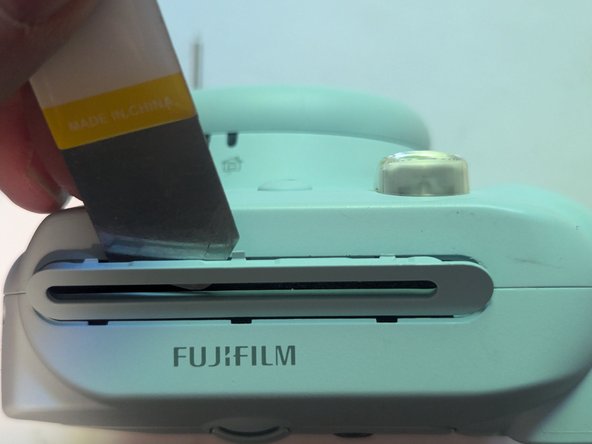
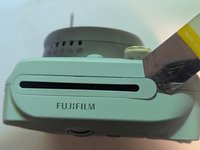
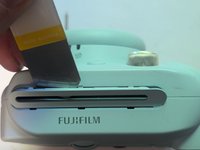
      • The film eject slot cover hides one of the screws that need to be taken out to remove the camera shell.

      • The cover is held on with six clips, three on each side. Insert an opening tool and pry the cover off.

      Frag FixBot

      Kommentar hinzufügen

    11. Fujifilm Instax Mini 9 Camera Shell Replacement, Remove the Shell Retaining Screws: Schritt 11, Bild 1 von 2 Fujifilm Instax Mini 9 Camera Shell Replacement, Remove the Shell Retaining Screws: Schritt 11, Bild 2 von 2
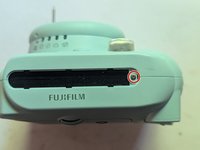
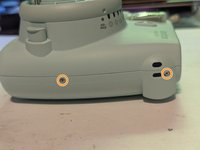
      • Remove the 5 mm Phillips head screw under the film eject slot cover.

      • Remove the two screws from the right side of the camera.

      Frag FixBot

      Kommentar hinzufügen

    12. Fujifilm Instax Mini 9 Camera Shell Replacement: Schritt 12, Bild 1 von 2 Fujifilm Instax Mini 9 Camera Shell Replacement: Schritt 12, Bild 2 von 2
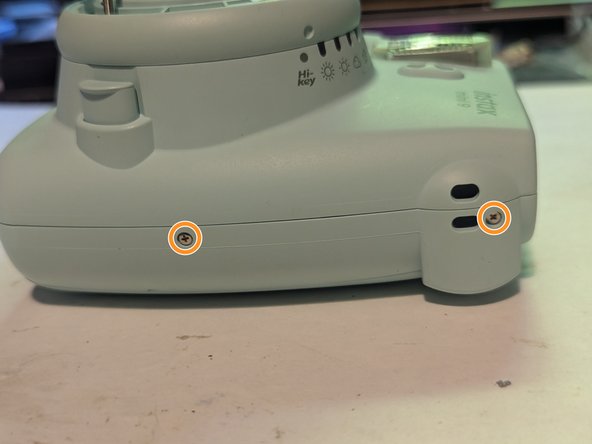
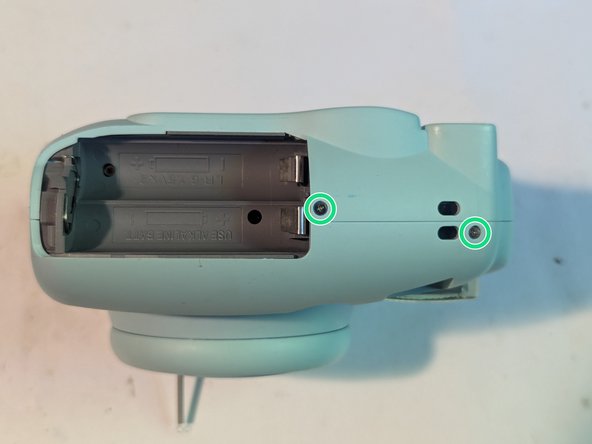
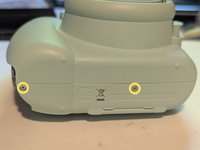
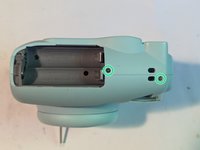
      • Take out two more screws on the bottom of the camera.

      • And finally, unscrew the last two screws from the left side of the camera, above the battery cover.

      Frag FixBot

      Kommentar hinzufügen

    13. Fujifilm Instax Mini 9 Camera Shell Replacement, Remove the Rear Cover: Schritt 13, Bild 1 von 3 Fujifilm Instax Mini 9 Camera Shell Replacement, Remove the Rear Cover: Schritt 13, Bild 2 von 3 Fujifilm Instax Mini 9 Camera Shell Replacement, Remove the Rear Cover: Schritt 13, Bild 3 von 3
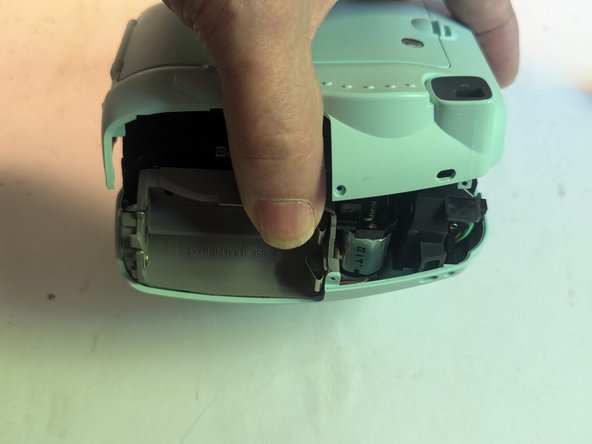
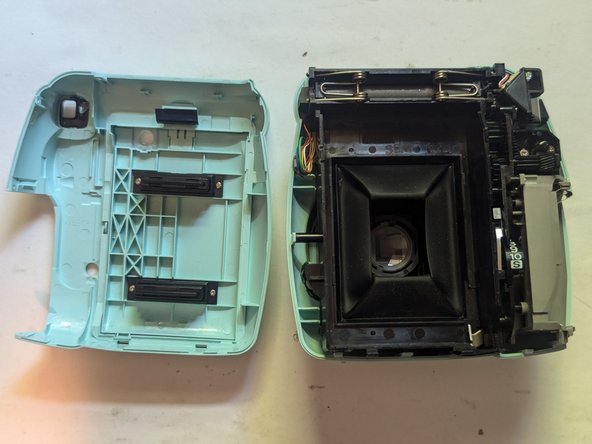
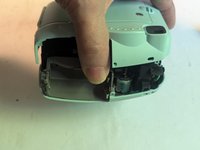
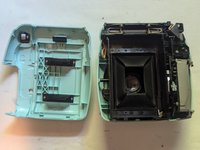
      • Separate the halves by prying them apart with a thin opening tool.

      • From there, the rear cover can be lifted off.

      Frag FixBot

      Kommentar hinzufügen

    14. Fujifilm Instax Mini 9 Camera Shell Replacement, Remove the Front Cover: Schritt 14, Bild 1 von 3 Fujifilm Instax Mini 9 Camera Shell Replacement, Remove the Front Cover: Schritt 14, Bild 2 von 3 Fujifilm Instax Mini 9 Camera Shell Replacement, Remove the Front Cover: Schritt 14, Bild 3 von 3
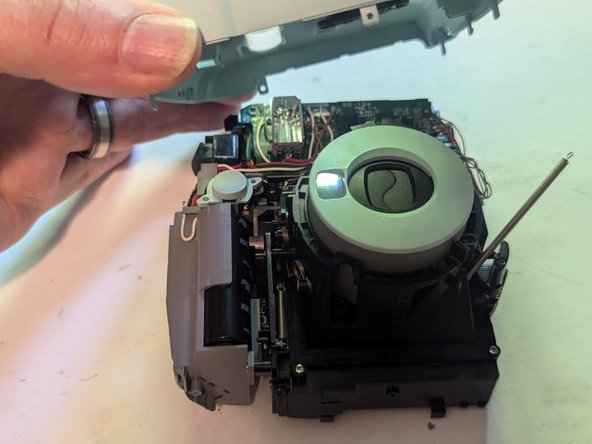
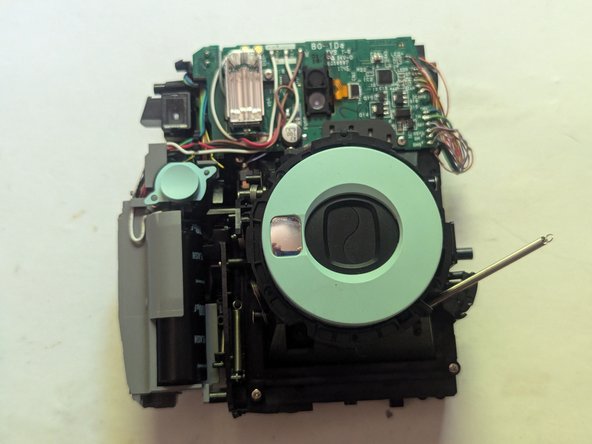
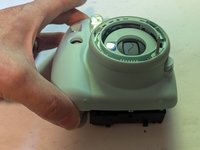
      • With the rear cover removed, flip the camera over and the front cover can simply be lifted off.

      • Note that there are three parts that may fall out when the front cover is removed; the shutter button, the right side strap backing, and the brightness adjustment dial return spring. Those parts and their proper placement are outlined on the next three pages.

      • During reassembly, be sure the brightness adjustment ring is installed on the front cover before placing the cover on the camera body. Due to interference from the tension spring, it cannot be installed once the front cover is in place.

      Frag FixBot

      Kommentar hinzufügen

    15. Fujifilm Instax Mini 9 Camera Shell Replacement, Brightness Dial Return Spring: Schritt 15, Bild 1 von 3 Fujifilm Instax Mini 9 Camera Shell Replacement, Brightness Dial Return Spring: Schritt 15, Bild 2 von 3 Fujifilm Instax Mini 9 Camera Shell Replacement, Brightness Dial Return Spring: Schritt 15, Bild 3 von 3
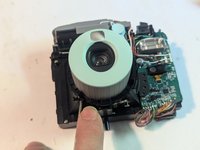
      • Press the power on button to extend the camera lens.

      • The retainer for the brightness dial return spring is shown with the spring in its proper position.

      Frag FixBot

      Kommentar hinzufügen

    16. Fujifilm Instax Mini 9 Camera Shell Replacement, Shutter Button: Schritt 16, Bild 1 von 3 Fujifilm Instax Mini 9 Camera Shell Replacement, Shutter Button: Schritt 16, Bild 2 von 3 Fujifilm Instax Mini 9 Camera Shell Replacement, Shutter Button: Schritt 16, Bild 3 von 3
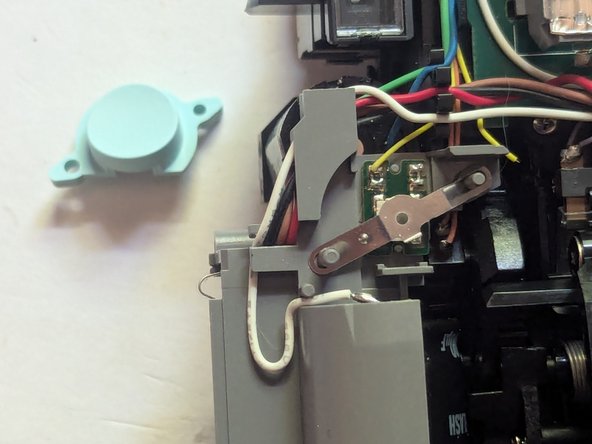
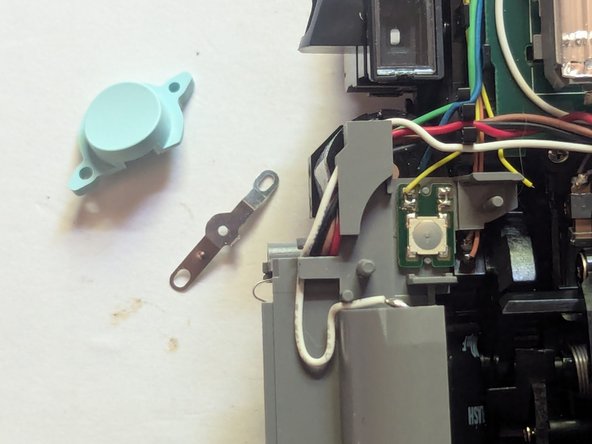
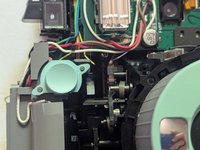
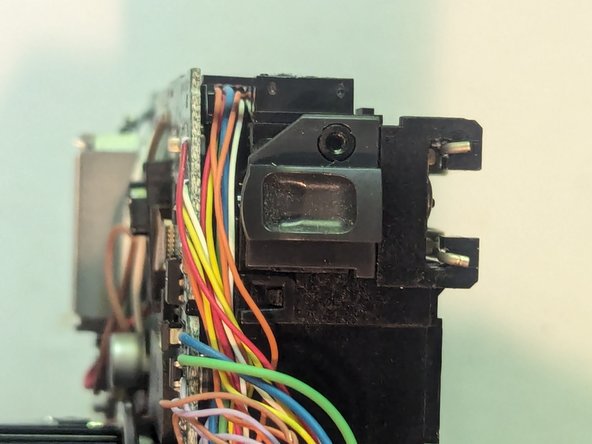
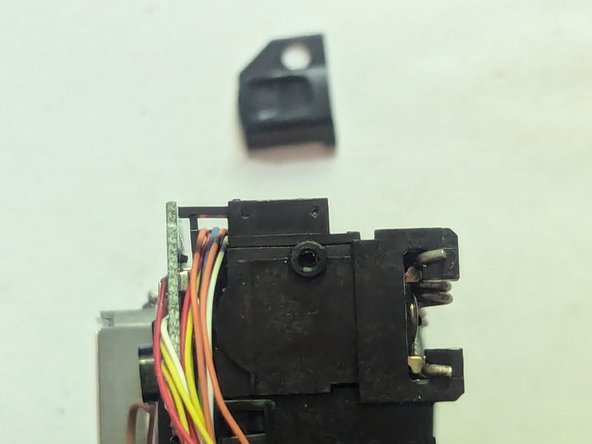
      • The shutter button is shown in is proper position and orientation in this photo.

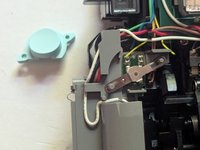
      • This next picture shows the metal button contact as it should be mounted.

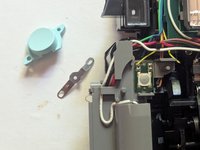
      • Here is the camera with both parts removed. Since the only thing holding them in place is the front camera shell, they will easily fall off once the shell is removed.

      Frag FixBot

      Kommentar hinzufügen

    17. Fujifilm Instax Mini 9 Camera Shell Replacement, Camera Strap Backplate: Schritt 17, Bild 1 von 3 Fujifilm Instax Mini 9 Camera Shell Replacement, Camera Strap Backplate: Schritt 17, Bild 2 von 3 Fujifilm Instax Mini 9 Camera Shell Replacement, Camera Strap Backplate: Schritt 17, Bild 3 von 3
      • The only thing holding the right camera strap backplate on is the front shell, so the first thing that will happen when you remove the shell is that it will fall off, so it's important to know where it goes.

      Frag FixBot

      Kommentar hinzufügen

Abschluss

To reassemble your device, follow these instructions in reverse order.

Rückgängig: Ich habe diese Anleitung nicht absolviert.

7 weitere Personen haben diese Anleitung absolviert.

3 Kommentare zur Anleitung

Hello, this guide has helped me very much but I have an issue that isnt listed in this tutorial, when I was putting the case back together the Brightness Adjustment Dial has fallen off and I cant get it back in, is there any way you could help me put it back via another tutorial?

Thanks

Filoawwman - Antwort Teilen
I think I can help with that, but in order to post pictures I would need to do that as an answer to a question. Please go to the Ask a Question page of the device page and start a new question with what you've asked here. After that I should be able to show you how to line up the adjustment dial and get it back on to stay.

https://www.ifixit.com/Answers/Ask/Fujif...

Jerry Wheeler - Antwort Teilen
Ok I have made the question via the link Brightness adjusment cover fix

Filoawwman - Antwort Teilen

Kommentar hinzufügen

Seitenaufrufe:

Letzte 24 Stunden: 13

Letzte 7 Tage: 83

Letzte 30 Tage: 335

Insgesamt: 7,558