Einleitung
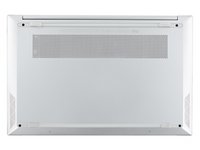
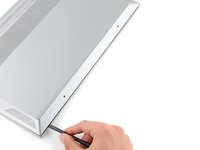
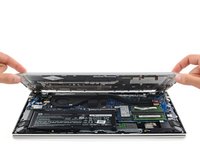
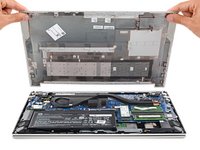
Use this guide to remove or replace the back cover on your HP Pavilion 15 Laptop PC.
Note: This procedure was written using a model 15-eg2015od HP 15 Pavilion Laptop PC, but is fully compatible with any HP 15 Pavilion Laptop PC whose model number starts with 15-eg or 15-eh.
Was du brauchst
-
-
Fully shut down your laptop and unplug all cables.
-
-
-
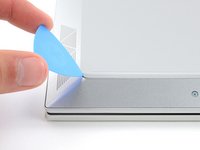
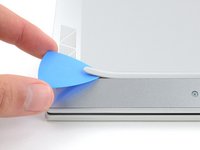
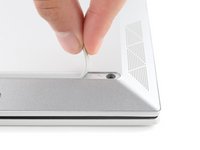
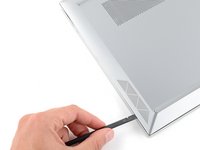
Use an opening pick to peel up an end of the front rubber foot until you can grip it with your fingers.
-
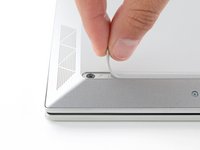
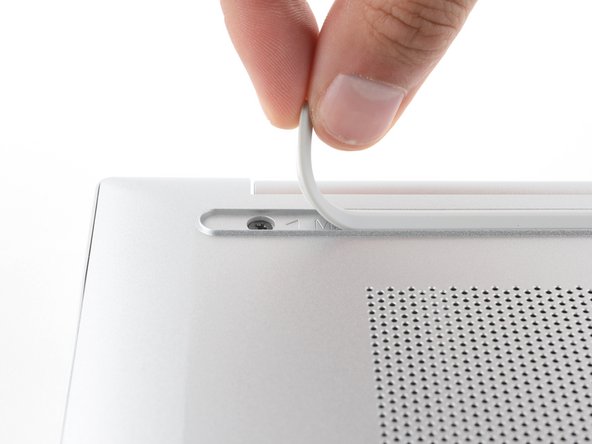
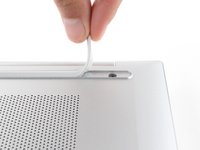
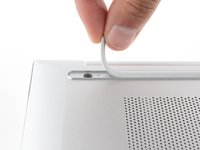
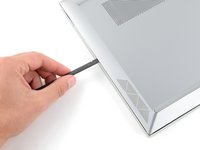
Peel up the end of the foot with your fingers just until the hidden screw underneath is exposed—you don't need to fully remove the foot.
-
-
In diesem Schritt verwendetes Werkzeug:Tesa 61395 Tape$5.99
-
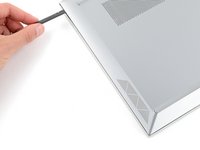
Peel up the other ends of the feet to expose the three remaining screws.
-
Press down firmly on the ends of the feet to secure them into their recesses.
-
If the foot adhesive doesn't remain tacky enough to readhere, you can use double-sided tape such as Tesa Tape.
-
-
-
-
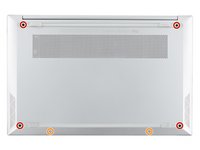
Use a Phillips screwdriver to remove the six screws securing the back cover:
-
Four larger 6.6 mm-long black screws
-
Two smaller 4.8 mm-long silver screws
-
-
-
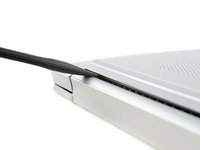
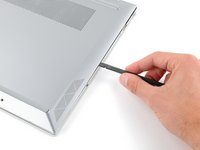
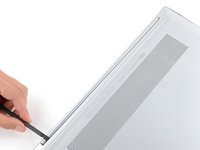
Insert the flat end of a spudger between the top edge of the back cover and frame, just to the left of the right hinge.
-
Pry up with the spudger to release the clips securing the top right corner of the back cover.
-
-
-
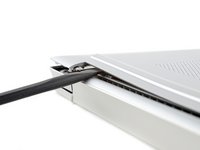
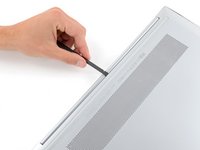
Insert the flat end of a spudger between the top right corner of the back cover and frame.
-
Slide the spudger down to the bottom right corner to release the clips on the right edge.
-
-
-
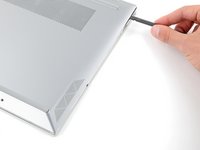
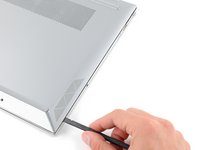
Insert the flat end of a spudger between the bottom right corner of the back cover and frame.
-
Slide the spudger to the bottom left corner to release the clips.
-
-
-
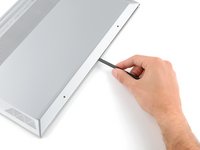
Insert the flat end of a spudger between the bottom left corner of the back cover and frame.
-
Slide the spudger up to the top left corner to release the clips on the left edge.
-
-
-
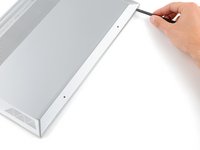
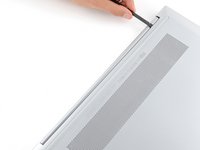
Insert the flat end of a spudger between the top edge of the back cover and frame, just to the right of the left hinge.
-
Slide the spudger towards the right hinge to release the remaining clips.
-
To reassemble your device, follow these instructions in reverse order.
Repair didn’t go as planned? Try some basic troubleshooting, or ask our Answers community for help.
To reassemble your device, follow these instructions in reverse order.
Repair didn’t go as planned? Try some basic troubleshooting, or ask our Answers community for help.
Rückgängig: Ich habe diese Anleitung nicht absolviert.
3 weitere Personen haben diese Anleitung absolviert.


