Diese Übersetzung wurde maschinell erstellt und noch nicht von einer Person überprüft. Sprichst du diese Sprache? Schau es dir an.
Einleitung
Das eigentliche Display kann nicht von der vorderen Abdeckung getrennt werden. Wenn also die Abdeckung beschädigt ist, wird ein komplettes neues Modul benötigt. Da fast alle Bauteile entfernt werden müssen, um das Display zu erreichen, ist dies im Grunde ein vollständiger Teardown des Telefons.
Was du brauchst
-
-
-
Ziehe die Rückabdeckung vorsichtig von der Rückseite des Telefons ab.
-
Lege einen Finger unter die kleine Lasche an der linken Seite des Akkus.
 Frag FixBot
-
-
-
Lege das Telefon auf das Display.
-
Hebe die Kante an und ziehe die Batterie aus dem Telefon.
-
-
-
-
-
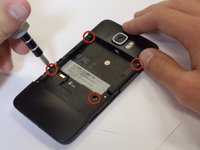
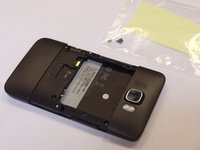
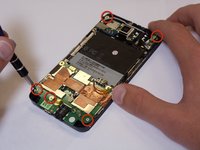
Entferne die vier schwarzen 3,5-mm-T5-Schrauben von der Rückseite des Handys.
-
-
-
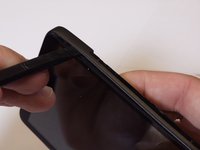
Führe das flache Ende eines Spudgers zwischen den Mittelrahmen und das Display ein.
-
Fahre mit dem Spudger entlang der Fuge zwischen dem Rahmen und dem Display.
-
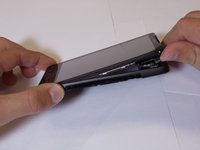
Hebele den Mittelrahmen mit dem Spudger vorsichtig von der Display-Einheit weg.
-
Zieh den Mittelrahmen vom Telefon weg, sobald er sich löst.
-
-
-
-
In diesem Schritt verwendetes Werkzeug:Tweezers$4.99
-
Lege das Telefon mit dem Display nach unten ab.
-
Ziehe den kleinen Stecker des Vibrationsmotors mithilfe einer Pinzette aus seinem Anschluss auf dem Motherboard ab.
-
-
-
-
-
Trenne das kleine Lautsprecherkabel vom Anschluss auf dem Motherboard.
-
Entferne den Ohrhörer-Lautsprecher aus dem Telefon.
-
-
-
-
-
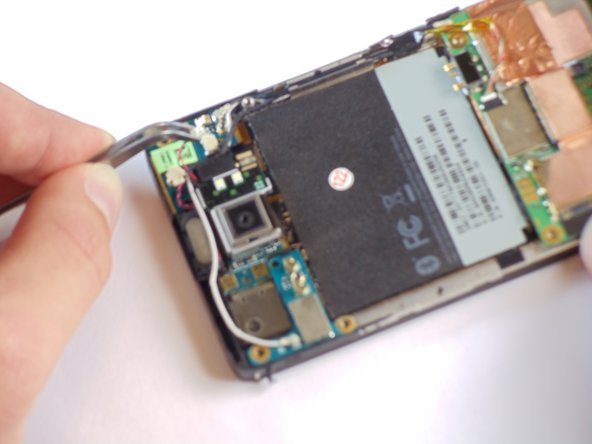
Trenne das Blitzlichtkabel von seinem Anschluss an der Unterseite des Motherboards.
-
Ziehe das Kabel vorsichtig aus seiner Führung im Rahmen und arbeite dich dabei in Richtung Kamera vor.
-
-
-
In diesem Schritt verwendetes Werkzeug:Tweezers$4.99
-
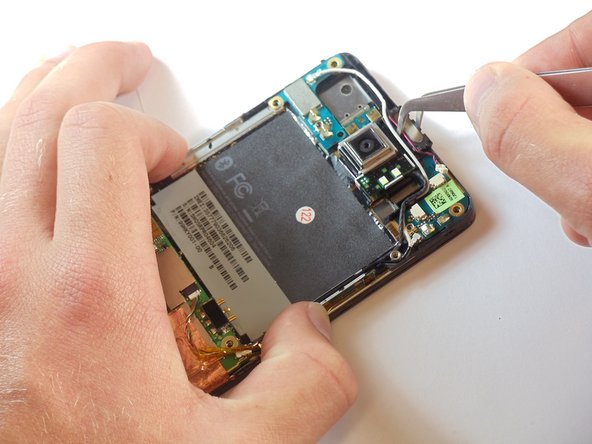
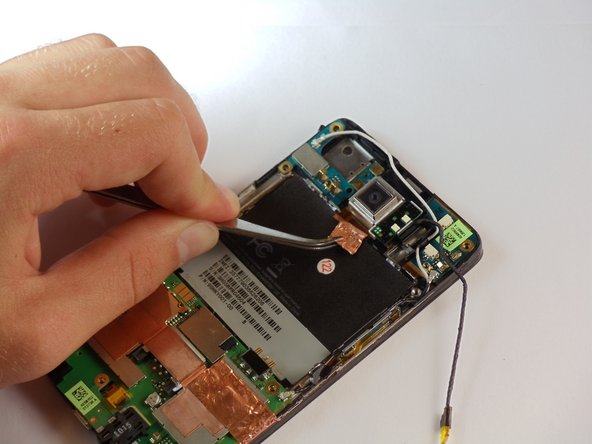
Um die Kamera herum befindet sich eine dünne Abschirmung. Entferne sie mit einer Pinzette.
-
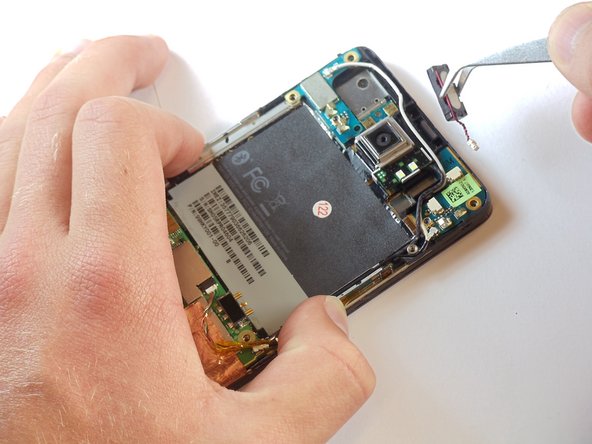
Entferne die Hauptkamera mit einer Pinzette.
-
-
-
-
-
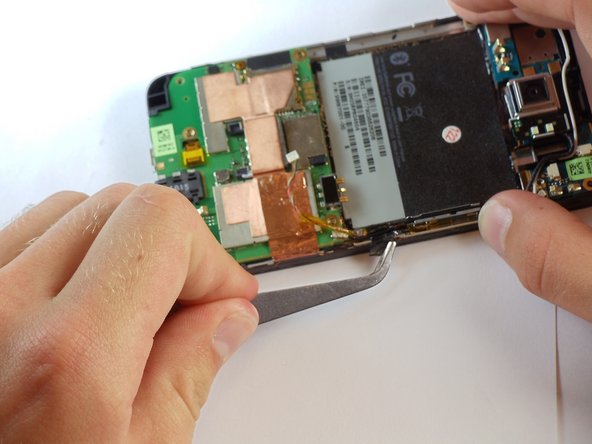
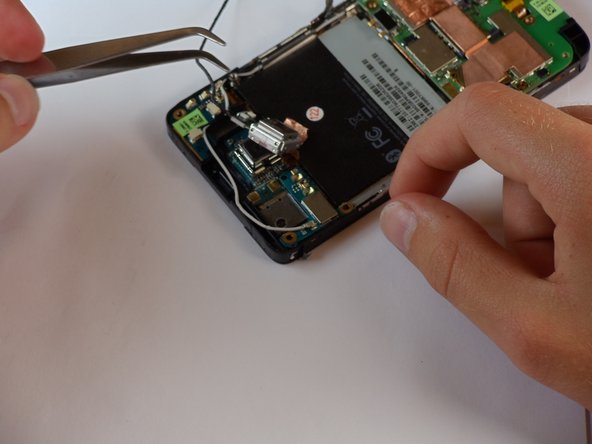
Trenne das Blitzlicht-Kabel vom Anschluss an der Unterseite des Motherboards.
-
Ziehe das Blitzlicht-Kabel vorsichtig aus dem Schlitz an der Seite des Telefons.
-
-
In diesem Schritt verwendetes Werkzeug:Tweezers$4.99
-
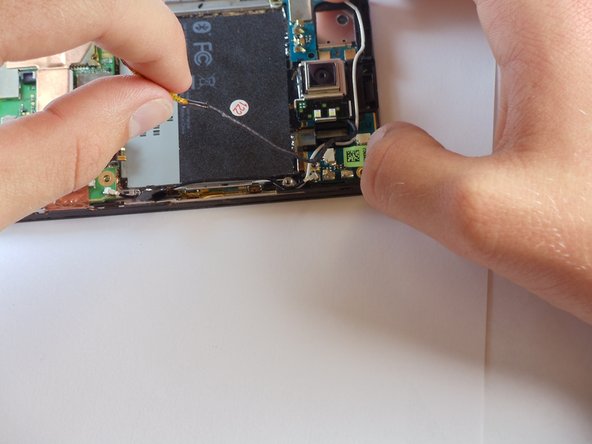
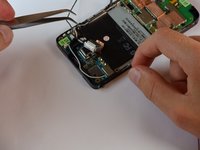
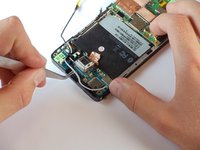
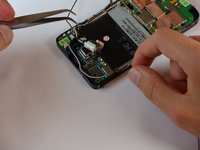
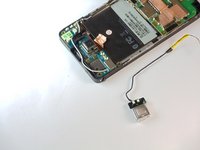
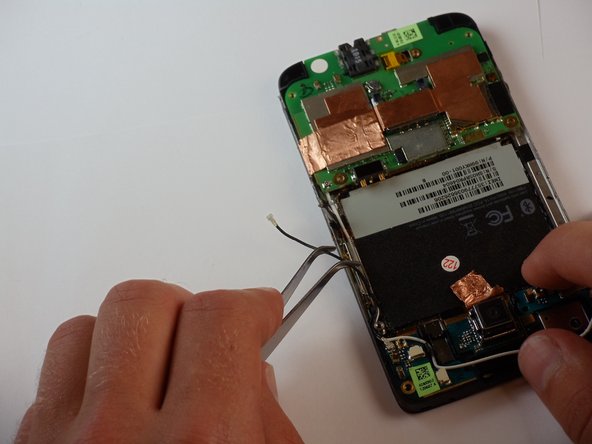
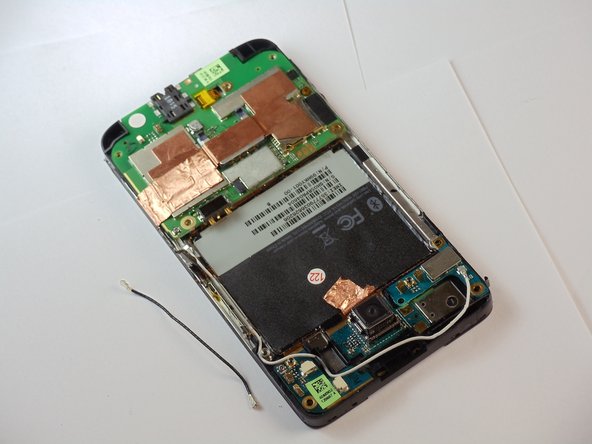
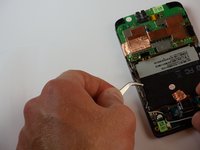
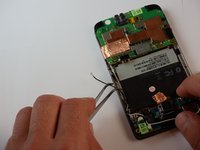
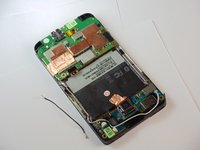
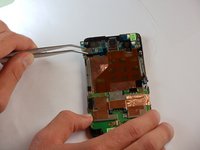
Suche jetzt das koaxiale Bluetooth-Kabel, das die obere und untere Platine des Telefons verbindet.
-
Verwende eine Pinzette, um beide Enden des Kabels von den Platinen zu lösen und es vollständig zu entfernen.
-
-
-
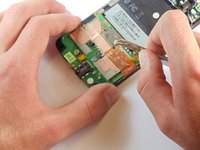
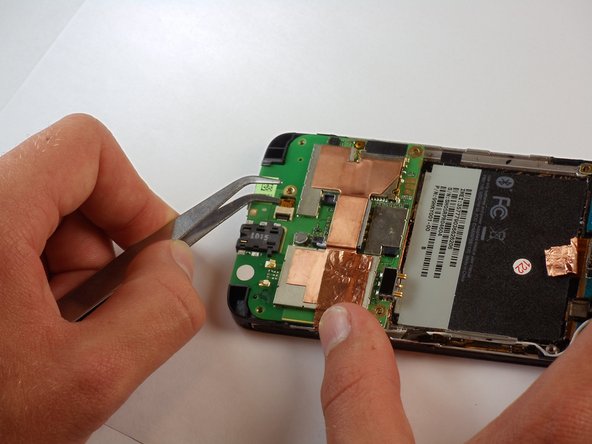
Suche nun den AP FPC, einen der kleinsten Stecker auf der unteren Anschlussplatine.
-
Klappe die kleine schwarze Lasche mit einer Pinzette hoch und ziehe anschließend das Kabel ab.
-
-
-
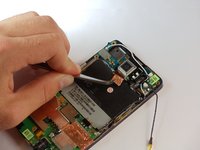
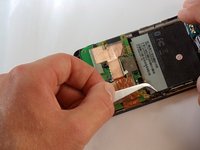
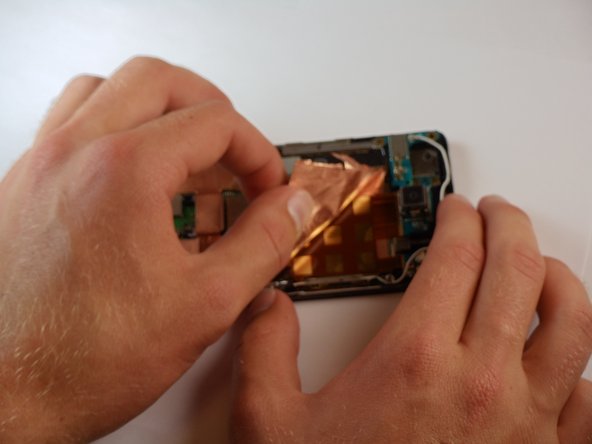
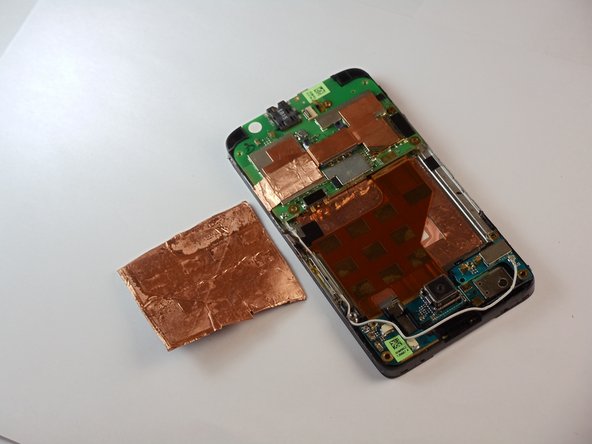
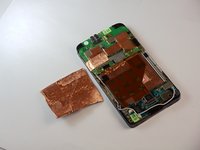
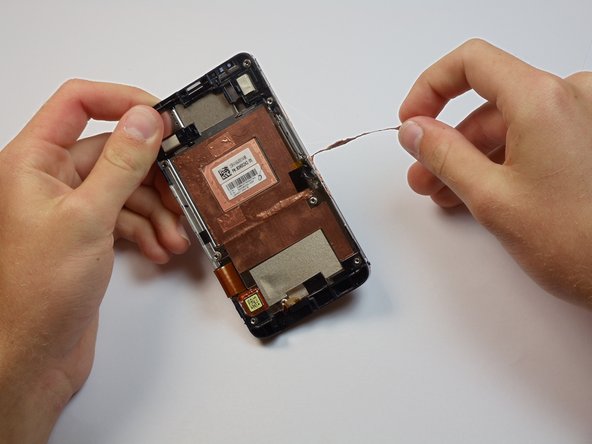
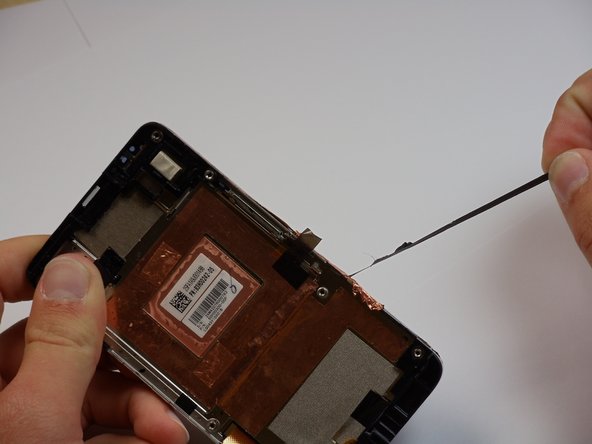
Erinnerst du dich daran, wie du einen Teil des großen Aufklebers in der Mitte abgezogen hast? Jetzt kannst du ihn vollständig entfernen.
-
Dies kann etwas Zeit in Anspruch nehmen und erfordert den Einsatz der Pinzette, aber bleib dran, bis der gesamte Aufkleber entfernt ist.
-
-
-
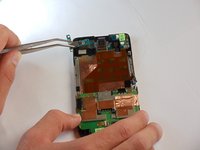
Suche nun das GPS-Board in der oberen linken Ecke des Telefons.
-
Trenne das weiße Kabel von seinem Anschluss auf dem Motherboard.
-
-
-
Falls dieser Schritt nicht leicht vorangeht, prüfe, ob noch Schrauben die Platine festhalten.
-
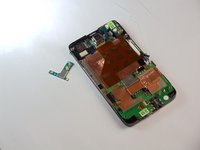
Wenn das Kabel entfernt ist, hebele die GPS-Platine mit einer Pinzette aus dem Telefon.
-
-
-
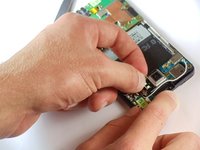
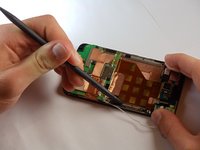
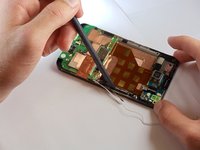
Hebele die kupferfarbene Platine in der Mitte mit einem Spudger vom Telefon weg, um sie zu lockern.
-
Hebele außerdem das kleine Teil, das unter dem Lautstärkeregler des kompletten Telefons verläuft.
-
-
-
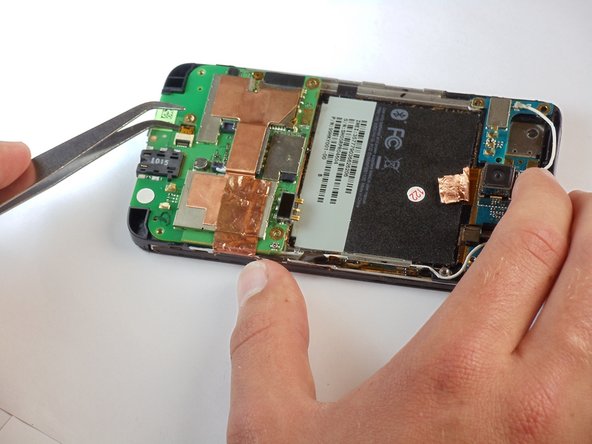
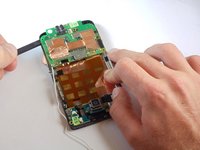
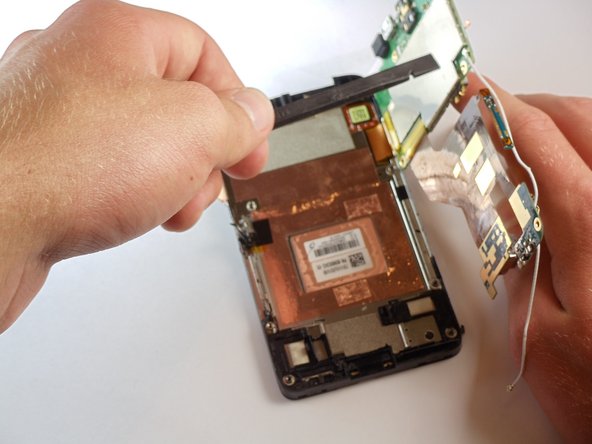
Hebele vorsichtig sowohl die obere als auch die untere Platine aus dem Telefon und drehe sie nach links um.
-
-
-
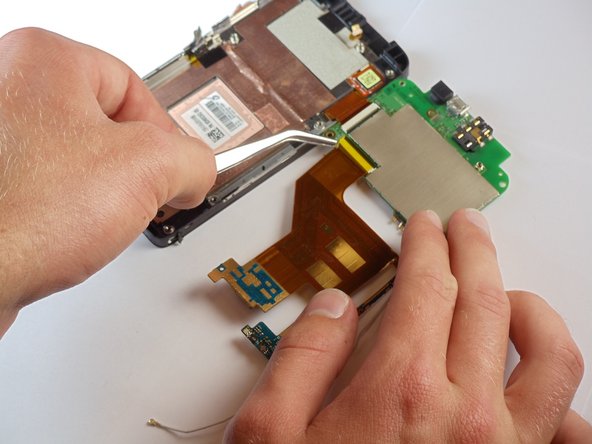
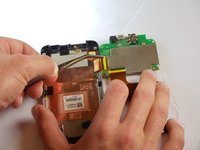
Klappe bei freiliegender Rückseite der Hauptplatine den kleinen braunen Hebel am Ende des Steckers hoch und ziehe das letzte Kabel ab, das ihn mit der Hauptplatine verbindet.
-
-
-
-
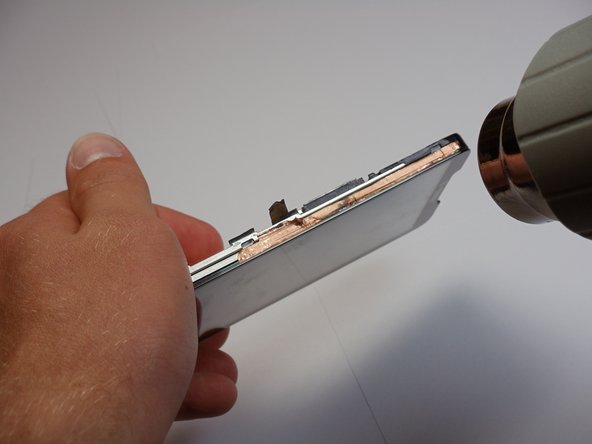
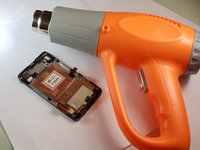
Dieser Schritt kann einige Minuten Erwärmen erfordern.
-
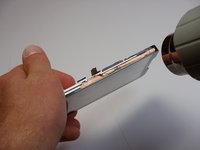
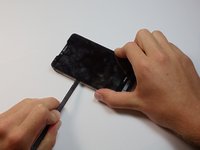
Verwende ein Heißluftgebläse oder einen Föhn, um den Klebstoff zwischen dem Display und dem Gehäuse aufzuweichen
-
-
-
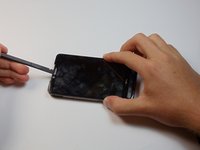
Sobald der Bereich erwärmt ist, ziehe die Abdeckung vorsichtig entlang der Seiten des Telefons ab.
-
-
-
Führe den Spudger oben näher an der Rückseite des Telefons ein und schiebe ihn entlang, um den Kleber vollständig zu lösen. Wiederhole diesen Vorgang auf beiden Seiten.
-
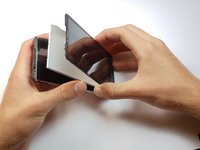
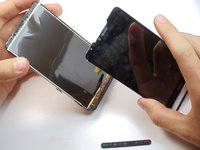
Achtung. Der Touchscreen ist fest mit dem LCD-Bildschirm verklebt. Achte genau darauf, dass du den Touchscreen vom LCD-Panel trennst und nicht einen Teil des LCD-Panels beschädigst.
-
-
-
Drücke die Tastenreihe aus der Unterseite des Telefons. Sie sollten einfach herausfallen, wenn das Gehäuse abgenommen ist.
-
-
-
Herzlichen Glückwunsch! Du hast das Display und die vordere Abdeckung erreicht! Jetzt kannst du dein gesprungenes Display austauschen.
-
-












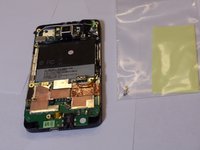













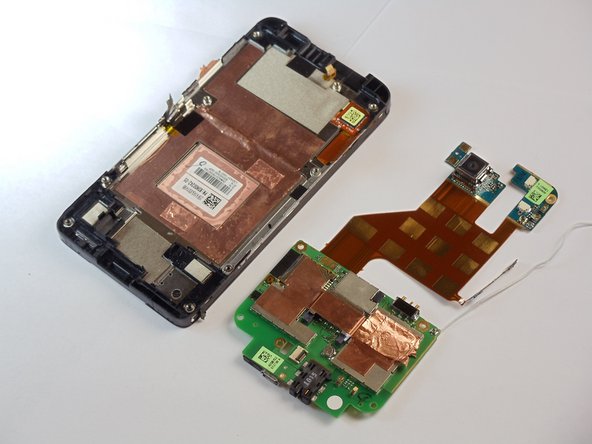


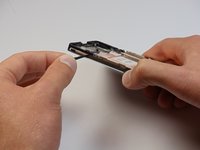
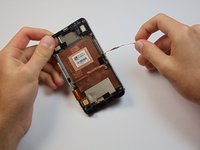
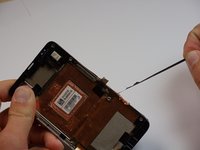


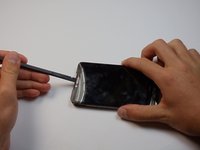


Um dein Gerät wieder zusammenzubauen, folge den Schritten dieser Anleitung in umgekehrter Reihenfolge.
Rückgängig: Ich habe diese Anleitung nicht absolviert.
18 weitere Personen haben diese Anleitung absolviert.

Team

Cal Poly, Team 24-55, Amido Spring 2011 Mitglied von Cal Poly, Team 24-55, Amido Spring 2011
CPSU-AMIDO-S11S24G55
5 Mitglieder
88 Anleitungen geschrieben
3 Kommentare zur Anleitung
*I've used several guides and they're all wonderful. Good work! In this guide, the last section is incomplete. The last two steps are unclear and I think even misleading. There should be a few more steps in there.
*Steph 28 is to remove the LCD Screen and Digitizer from the Chassis, I think. The LCD and Digitizer should be treated as one at this point because they are connected by glue (says the guide) but it fails to mention that they're also connected by a cable.
*Once separated from the chassis, the LCD Screen and Digitizer must be separated--and this is really the part that lacks instruction here. I can see there are three basic components in the picutre. They appear to be the digitizer (clear plastic), the LCD (covered in metal, and something in between (clear plastic? lens?). Where do I separate these things? Do I need to separate them? How should I stick them together again? The images in this section offer no help, while the words confuse slightly. While the words say "be careful not to separate the components of the LCD panel, the pictures indicate that this may have happened...oops, and there's no indication of what to look for. What are all the components in the pictures of step 29-30? Please add a some more instruction to this final section so we know how to get just the digitizer off and replaced.
*Thanks!!
Thanks. I broke 2 things doing my teardown. The first was the connection between the "under the sticker" stiff sheet and the volume rocker. This is barely mentioned as a side note in the instructions but is very easily broken - it should have a special mention in the notes. I also broke the connector between the mainboard and the screen because the small ribbon didn't come out of it's socket. It was tough to get a tool under it and although I flipped up the black "switch" it didn't pull free and it tore when I pulled the mainboard up. This was catastrophic - you can't do without the screen. This one was my fault becaise I the instructions covered it but I failed to pull it free before pulling up the mainboard. I have a good mainboard in the phone now but the phone is worthless.
