Zum Hauptinhalt wechseln
Gemeinsam reparieren - Jetzt registrieren

Hoover Power Path Pro Advanced Power Switch Replacement

Was du brauchst

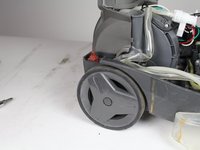
    1. Hoover Power Path Pro Advanced Power Switch Replacement, Power Switch: Schritt 1, Bild 1 von 1
      • Remove the lower brushroll from the bottom of the cleaner.

      Frag FixBot

      Kommentar hinzufügen

    2. Hoover Power Path Pro Advanced Power Switch Replacement: Schritt 2, Bild 1 von 1
      • Use a long #2 Philips head to remove the 8 numbered screws on the bottom of the cleaner (They will also be indicated on the bottom of the vacuum).

      Frag FixBot

      Kommentar hinzufügen

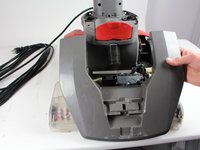
    3. Hoover Power Path Pro Advanced Power Switch Replacement: Schritt 3, Bild 1 von 2 Hoover Power Path Pro Advanced Power Switch Replacement: Schritt 3, Bild 2 von 2
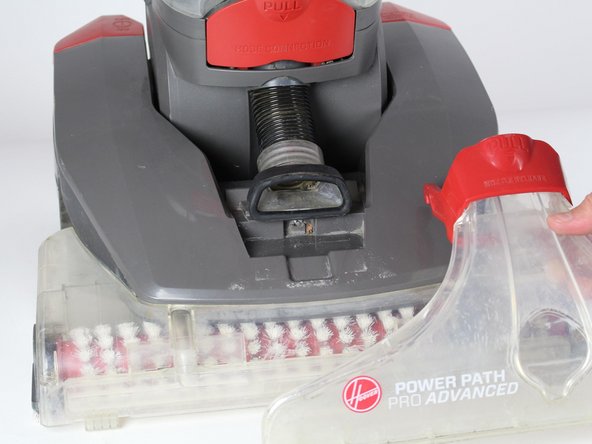
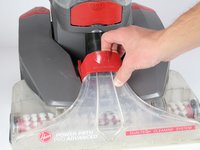
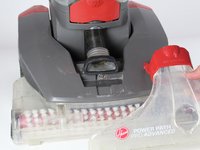
      • Pull the red handle to remove the front suction unit from the cleaner.

      Frag FixBot

      Kommentar hinzufügen

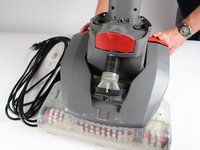
    4. Hoover Power Path Pro Advanced Power Switch Replacement: Schritt 4, Bild 1 von 1
      • Unscrew the hose by using a Phillips #2 to detach it from the top cover of the cleaner.

      Frag FixBot

      Kommentar hinzufügen

    5. Hoover Power Path Pro Advanced Power Switch Replacement: Schritt 5, Bild 1 von 2 Hoover Power Path Pro Advanced Power Switch Replacement: Schritt 5, Bild 2 von 2
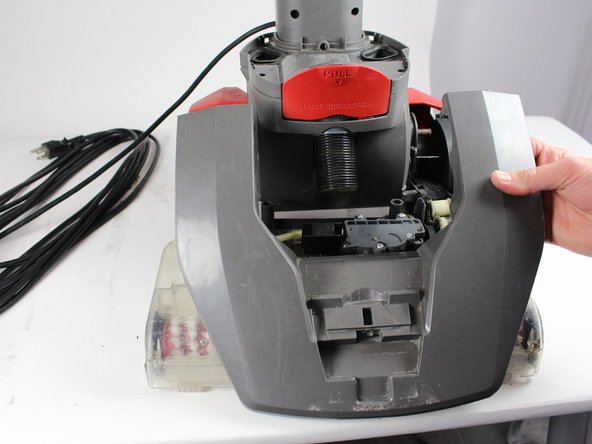
      • Push down on the handle release button. Lift the edge of top cover connected to this button.

      • Repeat the above step for the "On/Off" button.

      • Pull entire top cover off.

      • Caution: when pulling the handle release button, make sure the top of the cleaner does not fall.

      Frag FixBot

      Kommentar hinzufügen

    6. Hoover Power Path Pro Advanced Power Switch Replacement: Schritt 6, Bild 1 von 1
      • Remove the "On/Off" cap by pulling it upwards with caution.

      Frag FixBot

      Kommentar hinzufügen

    7. Hoover Power Path Pro Advanced Power Switch Replacement: Schritt 7, Bild 1 von 1
      • Use a long #2 Philips head to remove the two screws from the arched grey piece.

      Frag FixBot

      Kommentar hinzufügen

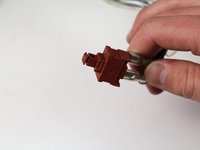
    8. Hoover Power Path Pro Advanced Power Switch Replacement: Schritt 8, Bild 1 von 2 Hoover Power Path Pro Advanced Power Switch Replacement: Schritt 8, Bild 2 von 2
      • Pull out the red power the red power switch.

      Frag FixBot

      Kommentar hinzufügen

Abschluss

To reassemble your device, follow these instructions in reverse order.

Rückgängig: Ich habe diese Anleitung nicht absolviert.

4 weitere Personen haben diese Anleitung absolviert.

Team

Cal Poly, Team S16-G5, Banghart Winter 2018 Mitglied von Cal Poly, Team S16-G5, Banghart Winter 2018

CPSU-BANGHART-W18S16G5

5 Mitglieder

42 Anleitungen geschrieben

3 Kommentare zur Anleitung

What is the part number?

martahayner - Antwort Teilen

Thanks so much!!

debmccrimm - Antwort Teilen

you have to test the switch, mine tested ok which led me to the fuse between the motor and switch. It was bad, parts warehouse part # 440004065 does the trick.

frank - Antwort Teilen

Kommentar hinzufügen

Seitenaufrufe:

Letzte 24 Stunden: 0

Letzte 7 Tage: 5

Letzte 30 Tage: 40

Insgesamt: 4,346