Einleitung
In this guide, you will be taught how to successfully replace the LCD screen on your camera.
Was du brauchst
-
-
Remove the M3 x 4mm screws from the bottom of your device as indicated by the picture. using the Philips Head J0 Screw Driver Bit .
 Frag FixBot
-
-
-
Use your Philips Head Screwdriver to remove the M3 x 4mm screws from the left side of the device as indicated by the pictures.
-
-
-
Use your Philips Head Screwdriver to remove the M3 x 4mm screws from the right side of the device as indicated by the pictures.
-
-
-
-
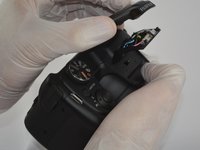
Use your Philips Head Screwdriver to remove the M3 x 4mm screws from the camera flash lid as indicated by the picture.
-
Remove the plastic cover from the flash lid by gentle pulling them apart or using the plastic opening tool.
-
-
-
Fold the lid down in order to access and remove the final M3 x 4mm screw using your Philips Head Screwdriver.
-
-
-
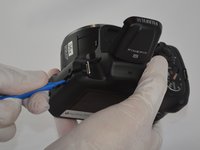
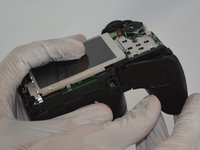
Use the plastic opening tool to pry the back and front casings of the camera apart.
-
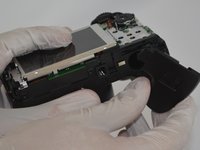
Once pried apart use your hands to pull off the back plate of the camera.
-
You will need to apply a little bit of force to remove the back plate.
-
-
-
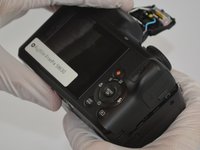
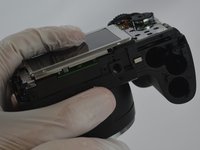
Once the back plate is removed twist the battery cover clockwise and it should easily dislodge.
-
-
-
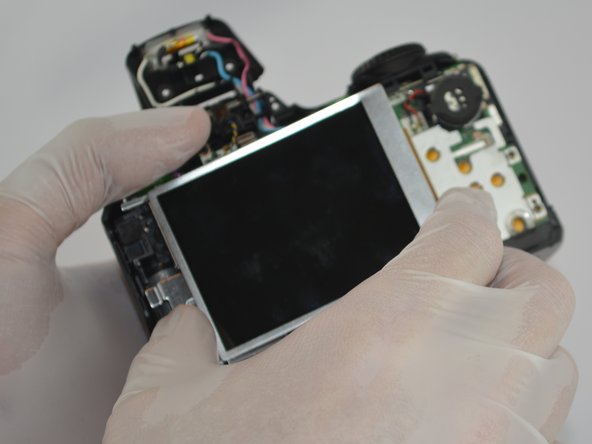
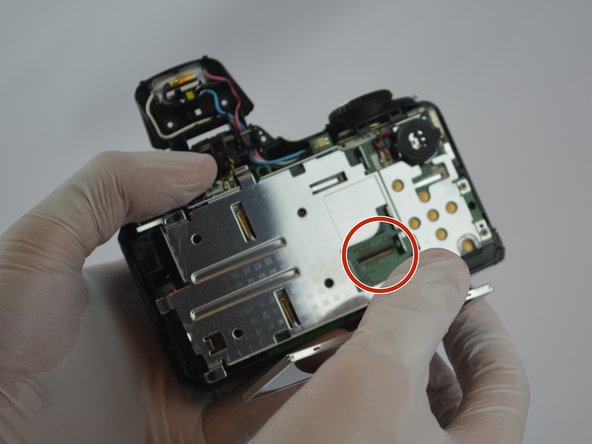
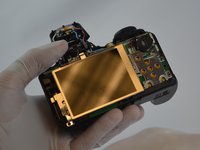
Gently pull the tab out of the motherboard and then the LCD screen should easily be removed.
-


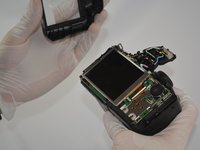


To reassemble your device, follow these instructions in reverse order.
Rückgängig: Ich habe diese Anleitung nicht absolviert.
Eine weitere Person hat diese Anleitung absolviert.
Team

USF Tampa, Team 3-2, Sullivan Spring 2016 Mitglied von USF Tampa, Team 3-2, Sullivan Spring 2016
USFT-SULLIVAN-S16S3G2
4 Mitglieder
12 Anleitungen geschrieben