Einleitung
Verwende diese Anleitung, um ein Ersatzdisplay in dein LG Dare einzubauen.
Was du brauchst
-
-
-
Entferne die Rückabdeckung, indem du fest auf den erhöhten Rand an der Rückseite drückst. Schiebe die Abdeckung in Richtung der Oberseite des Telefons.
 Frag FixBot
-
-
-
Entferne den Akku, indem du deinen Fingernagel oder ein Öffnungswerkzeug in die vertiefte Kante einsetzt und den Akku heraushebelst.
-
-
-
-
-
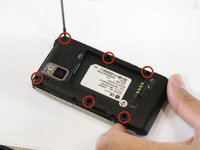
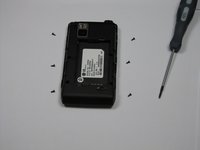
Entferne die sechs 4 mm Kreuzschlitzschrauben an den Rändern des Smartphones mit einem #00 Kreuzschlitz-Schraubendreher.
-
-
-
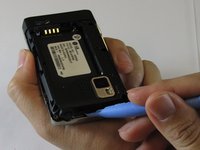
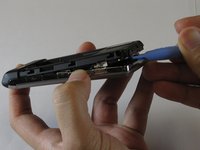
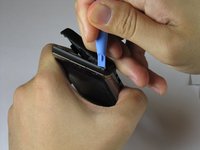
Hebe die Rückabdeckung aus Kunststoff an, indem du das Öffnungswerkzeug entlang der Ränder des Handys bewegst.
-
Das Ansetzen des Öffnungswerkzeugs an mehreren Stellen an der Unterseite des Handys hilft dabei, die kleinen Laschen zu lösen, die die Rückabdeckung am vorderen Rahmen halten.
-
-
-
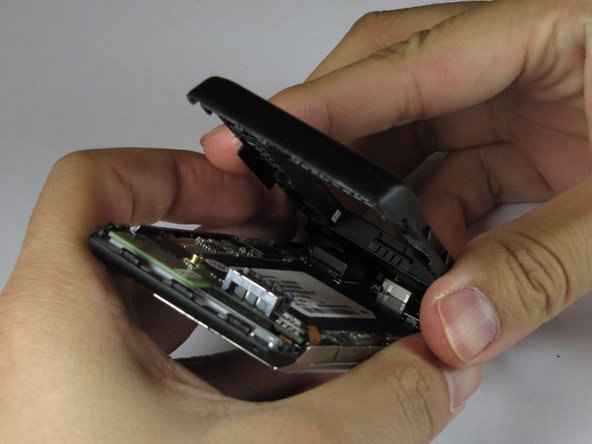
Ziehe die hintere Kunststoffabdeckung ab.
-
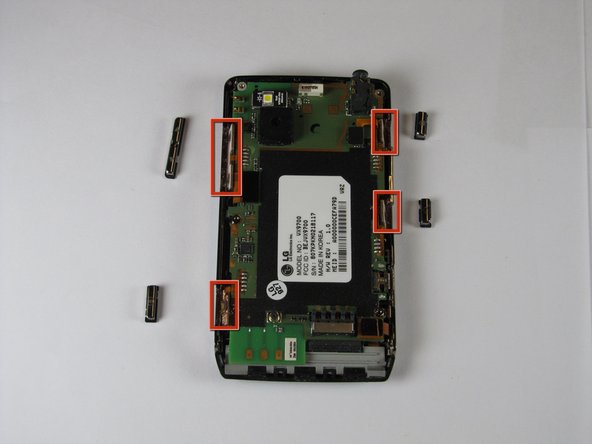
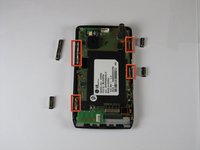
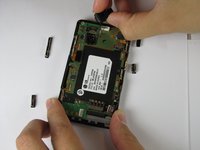
Entferne die Tasten vom Rand des Rahmens. Die Tasten sind der [lock], [Lautstärkeregler], [speaker] und der [camera].
-
-
-
Entferne die LED.
-
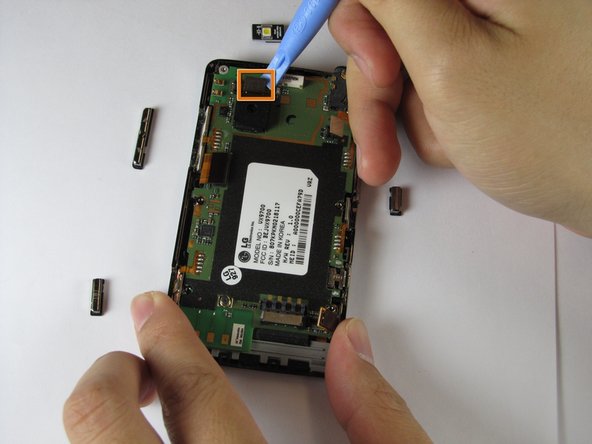
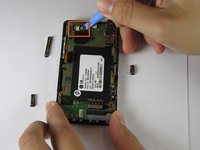
Entferne den Kamerastecker.
-
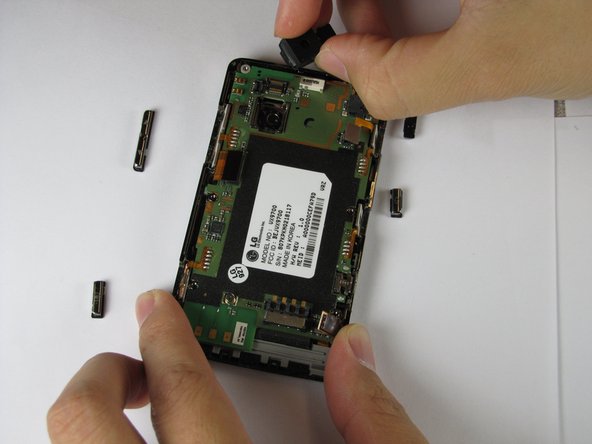
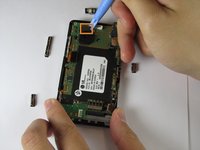
Entferne den Kamerasensor vom Logic Board. Drücke die Seiten des Kamerasensors fest zusammen und ziehe ihn gerade nach oben.
-
-
-
-
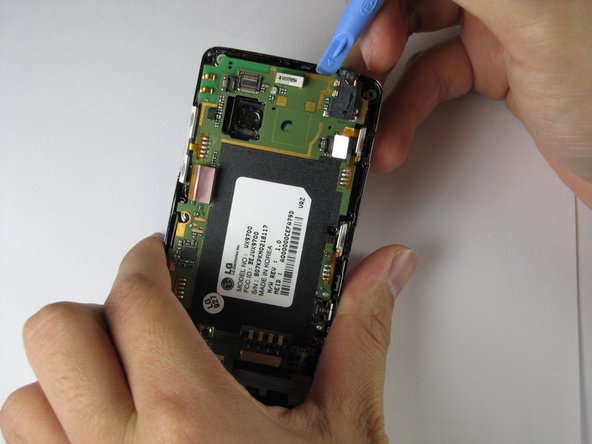
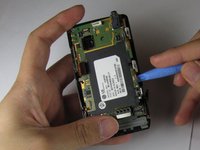
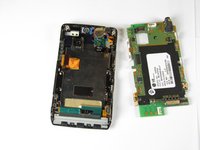
Hebe das grüne Logic Board mit dem Öffnungswerkzeug an allen Stellen an und entnimm es.
-
-
-
-
-
Ziehe das goldene und grüne Klebeband nahe der Unterseite des Telefons ab.
-
Ziehe das blaue Klebeband ab, das den Stecker des unteren Lautsprechers verdeckt.
-
Ziehe das goldene Klebeband links neben dem Ohrhörer-Lautsprecher ab.
-
-
-
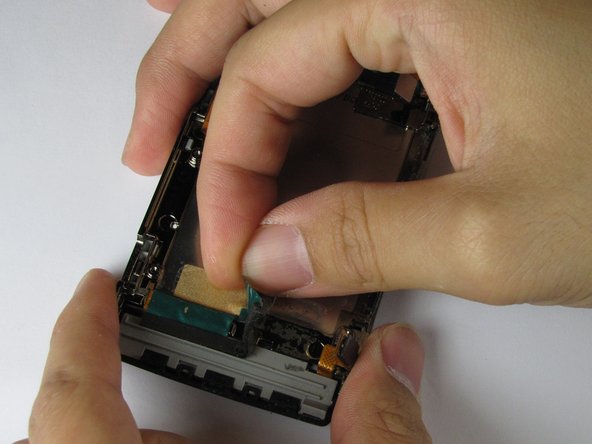
Hebe das orangefarbene Flachbandkabel in der unteren linken Ecke des Geräts an.
-
Zieh das kleine Stück Goldklebeband unter der Rückseite des orangefarbenen Bauteils ab.
-
-
-
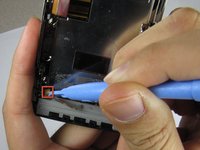
Löse die Clips, mit denen die schwarze Kunststoffleiste am Rahmen des Telefons befestigt ist.
-
Heble die Kunststoffleiste mit einem Öffnungswerkzeug vom Telefon ab, bis sie sich löst.
-
-
-
Heble das Tastenfeld vom Gerät ab, beginnend dort, wo Bildschirm und Feld aufeinandertreffen, bis sich das Feld löst.
-
-
-
Drehe das Telefon um, sodass die Rückseite zu dir zeigt.
-
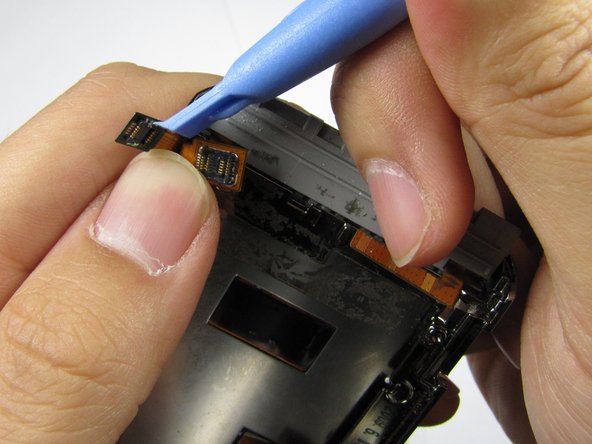
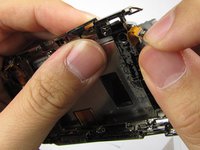
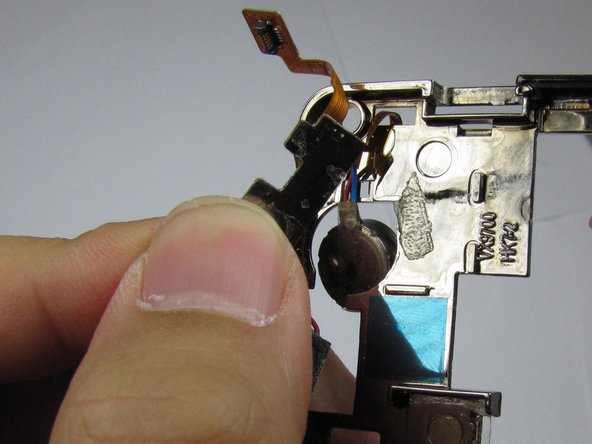
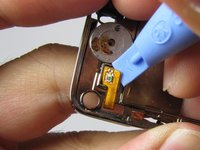
Halte den unteren Stecker mit deinem Finger fest und verwende das Öffnungswerkzeug, um den oberen Stecker zu entfernen.
-
-
-
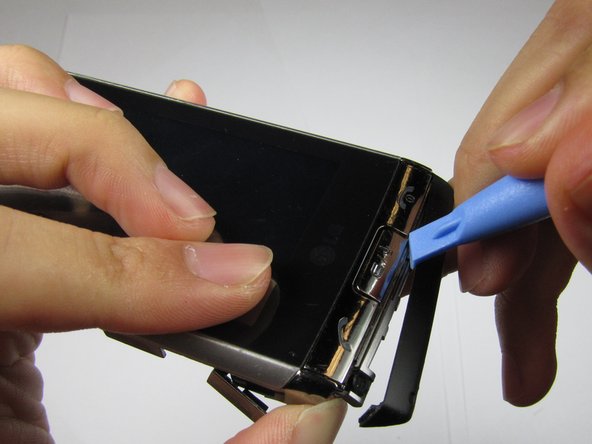
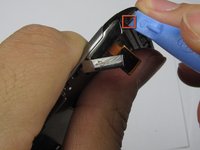
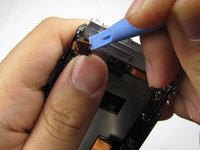
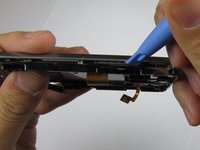
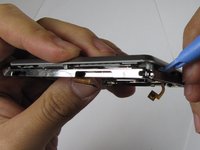
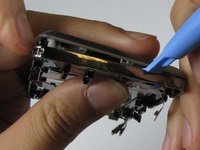
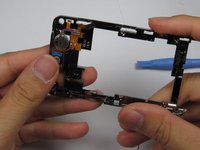
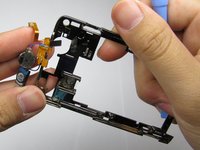
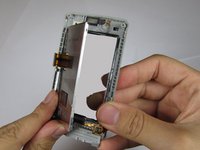
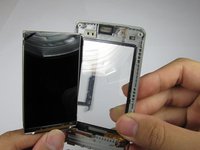
Hebele mit dem Öffnungswerkzeug den Rahmen vom Gerät, beginnend an den offenen Kanten an der Unterseite des Geräts, und arbeite dich rundherum vor.
-
-
-
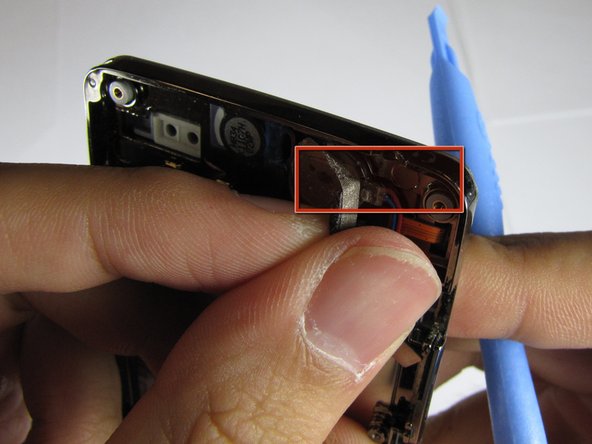
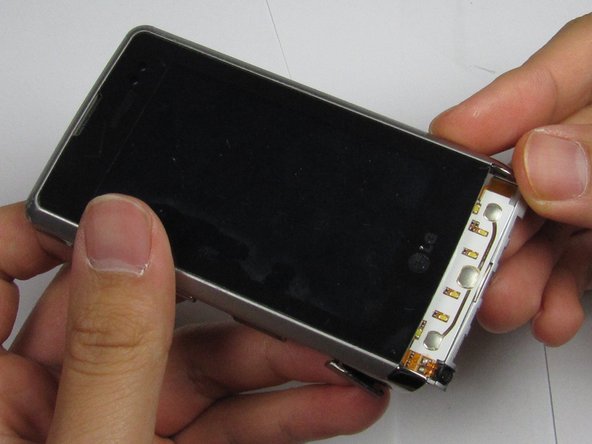
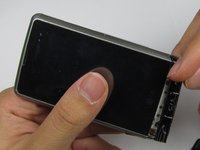
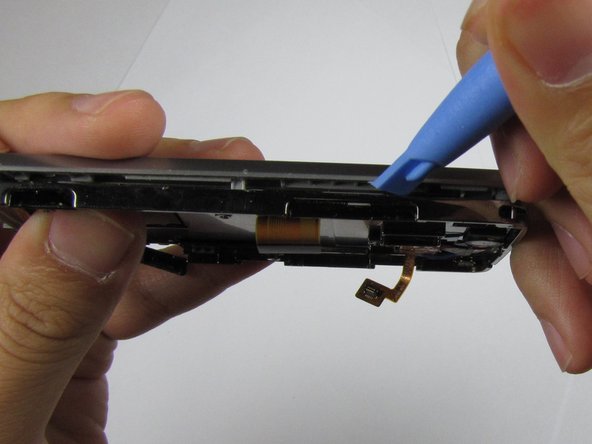
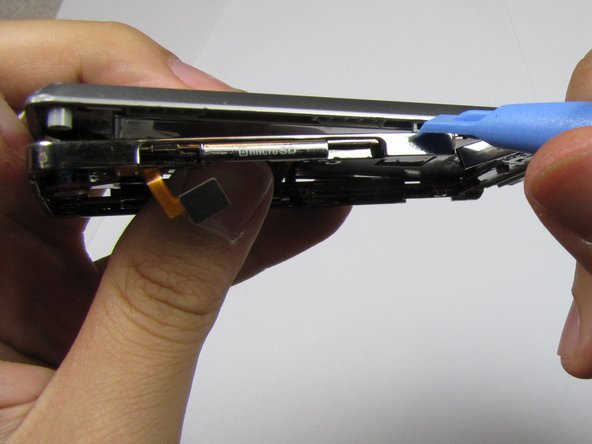
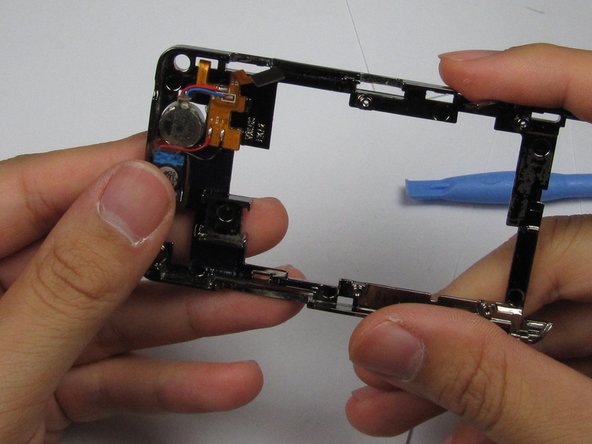
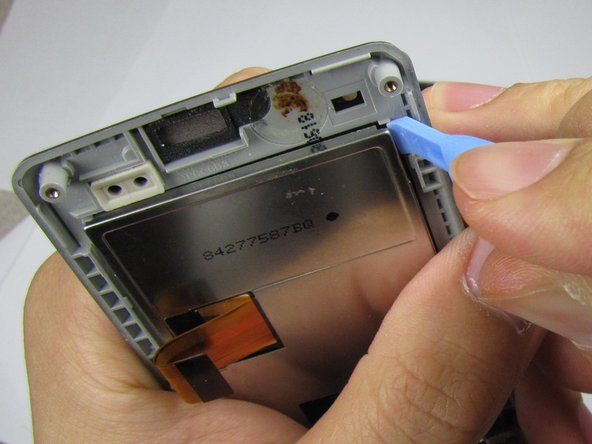
Trenne vorsichtig die Oberseite des Rahmens von der Rückseite des Geräts, ohne sie an der Unterseite vollständig abzulösen, wie auf dem dritten Bild gezeigt.
-
-
-
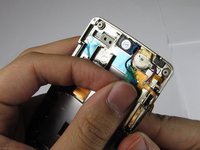
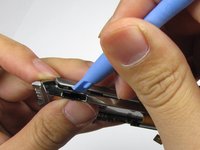
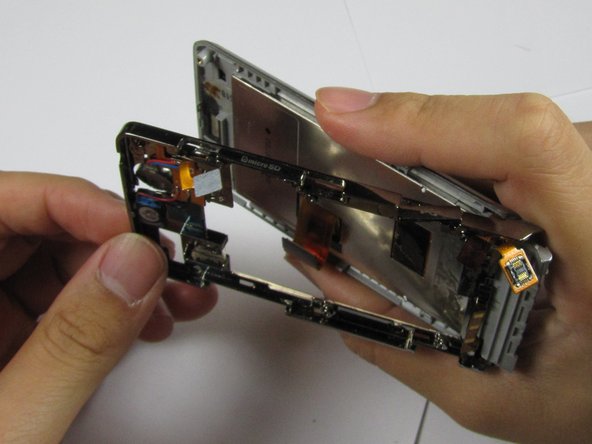
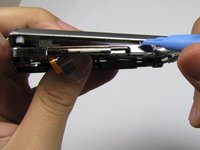
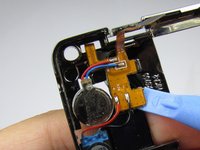
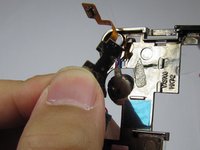
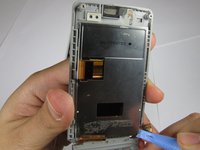
Entferne beide Stecker aus dem Rahmen. Klappe den L-förmigen Stecker zurück und schiebe den zweiten Stecker durch das Durchgangsloch im Metallrahmen.
-
Entferne den Rahmen von der Kunststoffplatte.
-
-
-
Heble das orangefarbene Steckerpad, das den Ohrhörer am Rahmen befestigt, mit dem Öffnungswerkzeug vom Gerät weg, bis es sich löst.
-
-
-
Hebele den restlichen orangefarbenen Stecker – auf der gegenüberliegenden Seite des Geräts – vom Rahmen weg und nimm den gesamten Ohrhörer vorsichtig heraus.
-
-
-


Befolge diese Anweisungen in umgekehrter Reihenfolge, um dein Gerät wieder zusammenzubauen.
Besonderer Dank geht an diese Übersetzer:innen:
100%

Translation Bot hilft uns, die Welt in Ordnung zu bringen! Wie kann ich mithelfen?
Hier starten ›
Team

Cal Poly, Team 9-4, Regan Winter 2012 Mitglied von Cal Poly, Team 9-4, Regan Winter 2012
CPSU-REGAN-W12S9G4
5 Mitglieder
35 Anleitungen geschrieben