Zum Hauptinhalt wechseln
Gemeinsam reparieren - Jetzt registrieren

LG Intuition Screen Protector Replacement

Was du brauchst

  1. LG Intuition Screen Protector Replacement, Battery: Schritt 1, Bild 1 von 1
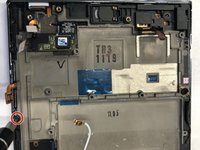
    • Turn the device so the two bottom screws are shown.

    Frag FixBot
    Kommentar hinzufügen

  2. LG Intuition Screen Protector Replacement: Schritt 2, Bild 1 von 1
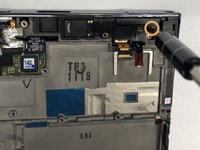
    • Remove the two 7mm screws holding the back panel of the phone using the P5 bit and magnetic driver.

    Frag FixBot
    Kommentar hinzufügen

  3. LG Intuition Screen Protector Replacement: Schritt 3, Bild 1 von 1
    • Carefully use the plastic opening tool to pry the back panel of the phone from the front screen. This will expose the battery and other parts.

    Frag FixBot

    Kommentar hinzufügen

  4. LG Intuition Screen Protector Replacement: Schritt 4, Bild 1 von 1
    • Use the Phillips #0 screwdriver to remove the 5mm screw holding the metal bracket that protects the battery's ribbon cable.

    Frag FixBot

    Kommentar hinzufügen

  5. LG Intuition Screen Protector Replacement: Schritt 5, Bild 1 von 1
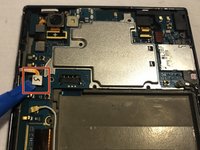
    • Carefully use the plastic opening tool to pry the ribbon cable connecting the battery to the motherboard of the phone.

    Frag FixBot

    Kommentar hinzufügen

  6. LG Intuition Screen Protector Replacement: Schritt 6, Bild 1 von 2 LG Intuition Screen Protector Replacement: Schritt 6, Bild 2 von 2
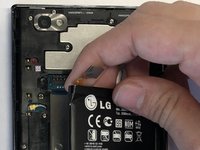
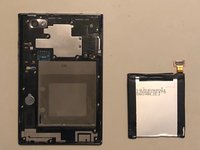
    • Gently raise the battery from its compartment.

    Frag FixBot

    Kommentar hinzufügen

  7. LG Intuition Screen Protector Replacement, Plastic Motherboard Shield: Schritt 7, Bild 1 von 1
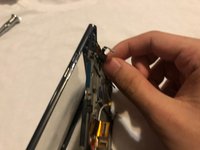
    • Remove the thirteen 5mm screws holding the plastic shield covering the motherboard using the Phillips #00 screwdriver.

    Frag FixBot
    Kommentar hinzufügen

  8. LG Intuition Screen Protector Replacement: Schritt 8, Bild 1 von 1
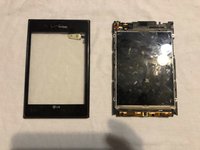
    • Carefully use the plastic opening tool to pry the plastic shield from the motherboard. This will expose the motherboard and ribbon cables for each component.

    Frag FixBot
    Kommentar hinzufügen

  9. LG Intuition Screen Protector Replacement, Camera: Schritt 9, Bild 1 von 1
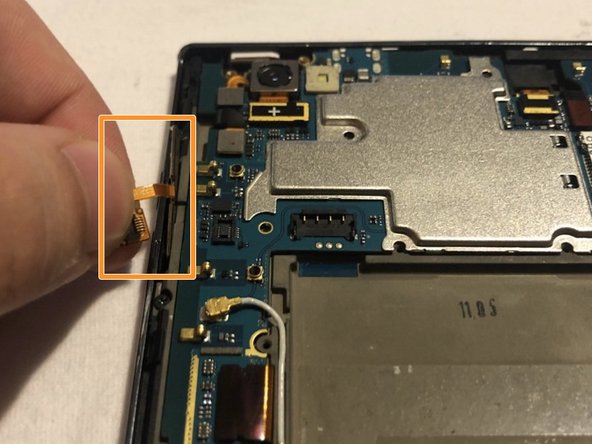
    • Carefully use the plastic opening tool to pry the ribbon cable below the camera itself from the motherboard.

    Frag FixBot

    Kommentar hinzufügen

  10. LG Intuition Screen Protector Replacement: Schritt 10, Bild 1 von 1
    • Using the ribbon beneath the camera lift it upwards and pull the camera out.

    Frag FixBot

    Kommentar hinzufügen

  11. LG Intuition Screen Protector Replacement, Volume Buttons: Schritt 11, Bild 1 von 2 LG Intuition Screen Protector Replacement, Volume Buttons: Schritt 11, Bild 2 von 2
    • Carefully use the plastic opening tool to pry the ribbon cable connecting the battery to the motherboard of the phone.

    • Slowly pull the ribbon cable upward releasing the volume buttons from the phone.

    Frag FixBot

    Kommentar hinzufügen

  12. LG Intuition Screen Protector Replacement, Screen Protector: Schritt 12, Bild 1 von 2 LG Intuition Screen Protector Replacement, Screen Protector: Schritt 12, Bild 2 von 2
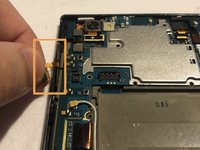
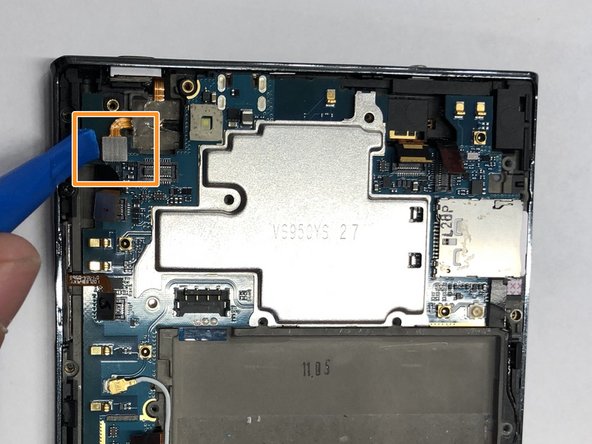
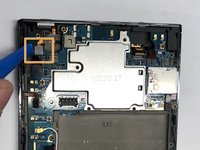
    • Carefully use the plastic opening tool to pry the ribbon cable below the volume buttons on the left side of the phone.

    • Carefully use the plastic opening tool to pry the ribbon cable to the left of the camera.

    Frag FixBot

    Kommentar hinzufügen

  13. LG Intuition Screen Protector Replacement: Schritt 13, Bild 1 von 2 LG Intuition Screen Protector Replacement: Schritt 13, Bild 2 von 2
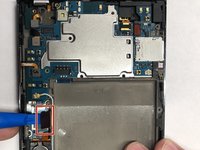
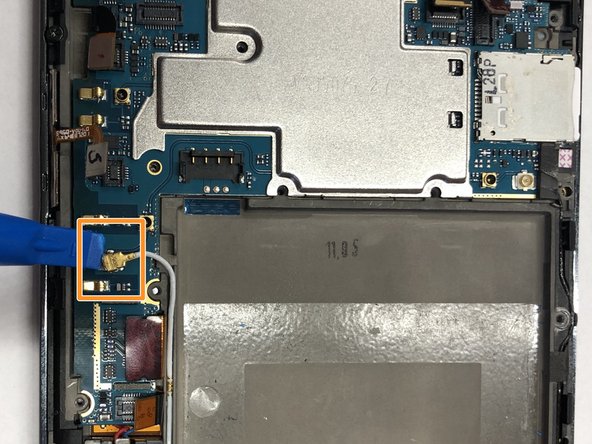
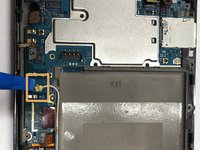
    • Carefully use the plastic opening tool to pry the wire that connects to the bottom home and back display buttons.

    • Carefully use the plastic opening tool to pry the second wire on the right side of the battery that also connects to the bottom home and back display buttons.

    Frag FixBot

    Kommentar hinzufügen

  14. LG Intuition Screen Protector Replacement: Schritt 14, Bild 1 von 1
    • Carefully use the plastic opening tool to pry the motherboard from the front screen.

    Frag FixBot

    Kommentar hinzufügen

  15. LG Intuition Screen Protector Replacement: Schritt 15, Bild 1 von 2 LG Intuition Screen Protector Replacement: Schritt 15, Bild 2 von 2
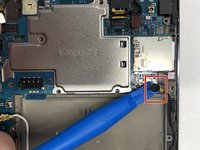
    • Remove the 5mm Phillips #00 screw below the volume buttons holding the plastic shield onto the screen display.

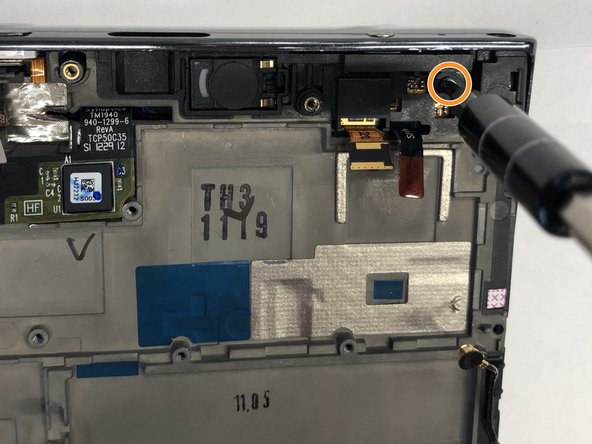
    • Remove the 5mm Phillips #00 screw on the top right of the phone.

    Frag FixBot

    Kommentar hinzufügen

  16. LG Intuition Screen Protector Replacement: Schritt 16, Bild 1 von 1
    • Carefully pull the ribbon cable upward and away from the front screen display.

    Frag FixBot

    Kommentar hinzufügen

  17. LG Intuition Screen Protector Replacement: Schritt 17, Bild 1 von 1
    • Carefully use the plastic opening tool to pry the screen protector from the display and motherboard.

    Frag FixBot

    Kommentar hinzufügen

  18. LG Intuition Screen Protector Replacement: Schritt 18, Bild 1 von 2 LG Intuition Screen Protector Replacement: Schritt 18, Bild 2 von 2
    • Slowly separate the front screen from the screen protector. This will remove the screen protector from the phone.

    Frag FixBot

    Kommentar hinzufügen

Abschluss

To reassemble your device, follow these instructions in reverse order.

Rückgängig: Ich habe diese Anleitung nicht absolviert.

Team

UMass Dartmouth, Team S3-G4, Peak Fall 2018 Mitglied von UMass Dartmouth, Team S3-G4, Peak Fall 2018

UMASSD-PEAK-F18S3G4

3 Mitglieder

12 Anleitungen geschrieben

0 Kommentare zur Anleitung

Kommentar hinzufügen

Seitenaufrufe:

Letzte 24 Stunden: 0

Letzte 7 Tage: 3

Letzte 30 Tage: 16

Insgesamt: 459