Einleitung
If your LG Stylo 2 Plus has a cracked screen or dead pixels, then the screen should be replaced. This will require a several tools and a heat gun. This is a relatively challenging task; be especially careful when removing ribbon cables.
Was du brauchst
-
-
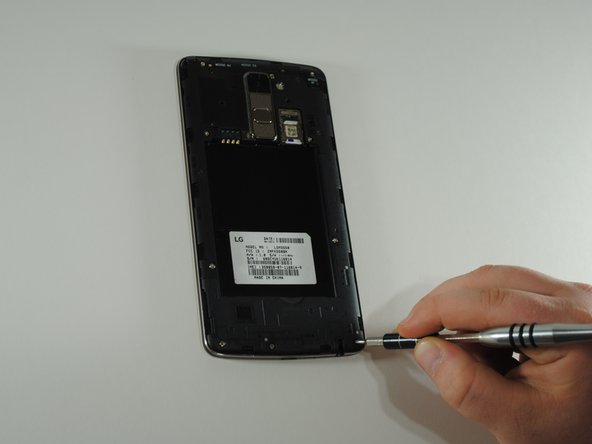
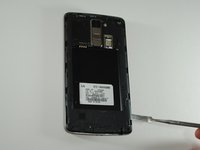
To remove the rear case of the phone, insert the spudger into the opening on the back of the case.
-
With the spudger parallel to the frame of the phone, slide it along the edge, forcing the casing to pop off.
 Frag FixBot
-
-
-
To remove the battery, insert your fingernail or the flat end of the spudger into the dimple at the bottom of the battery and lift upwards.
-
Firmly grasp the battery and remove from the phone.
-
-
-
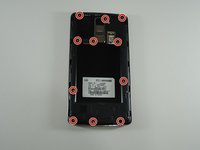
Using the JIS #000 screwdriver, remove the eleven 4mm screws around the mid-frame.
-
-
-
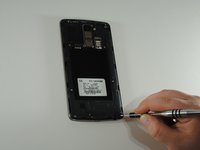
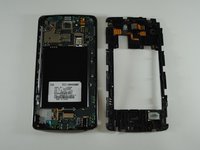
Insert the metal spudger in the dimple at the base of the cover.
-
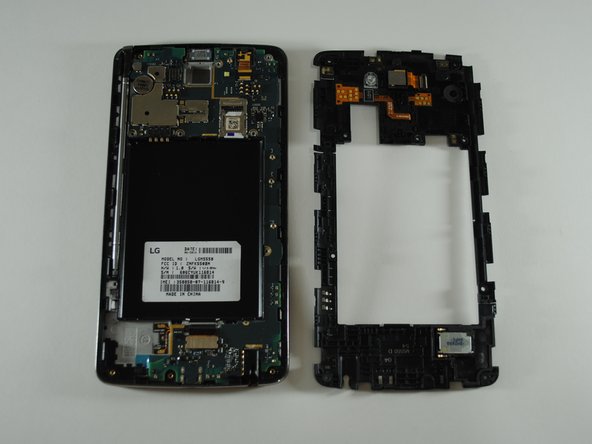
Pry upward, removing the mid-frame from the phone.
-
-
In diesem Schritt verwendetes Werkzeug:Tweezers$4.99
-
Using tweezers, lift up on the ribbon connector and separate the rear camera from the mainboard.
-
Remove the rear camera from the housing by using fingers or tweezers and gently pry upwards.
-
-
-
-
Lift up on the ribbon cable connection and separate the front camera from the mainboard.
-
Remove the front camera from its housing by lifting up on the rubber surrounding the camera.
-
-
-
Locate the ribbon cable connecting the screen to the mainboard.
-
Separate the two by prying up on the connector.
-
-
-
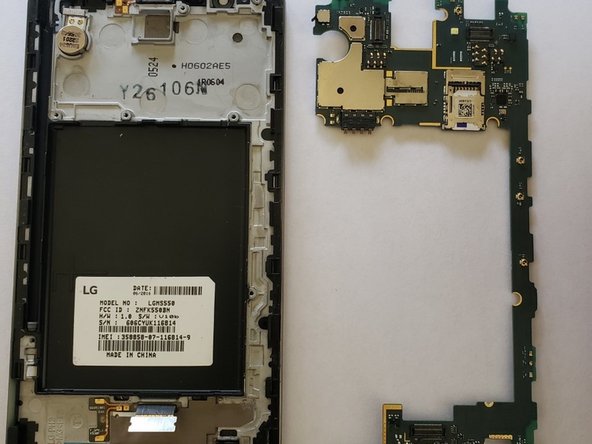
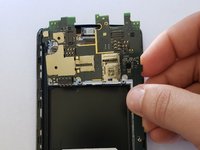
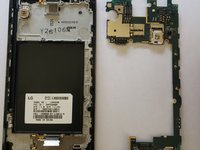
With the mainboard now free, carefully remove it and set it to the side.
-
-
-
To prepare the phone for heat you need to remove the audio jack.
-
This can be done using tweezers or fingers, and prying upwards.
-
-
-
Still using the tweezers, remove the front speaker unit by lifting up on the ribbon cable connector.
-
-
-
The buzzer also needs to be removed and is secured by a strong adhesive.
-
Remove the buzzer by getting the tweezers under the adhesive, and carefully prying upwards.
-
-
-
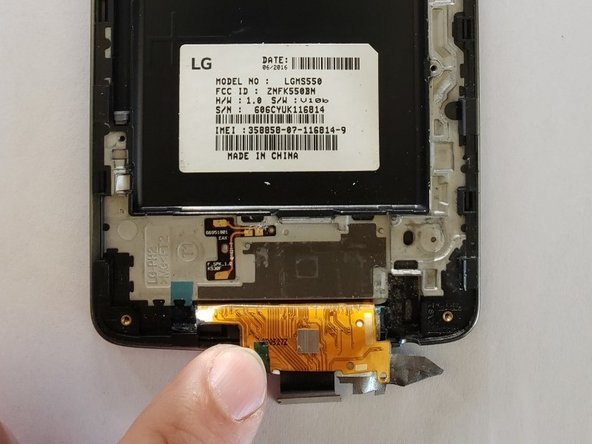
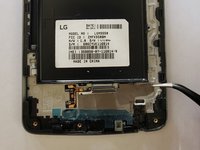
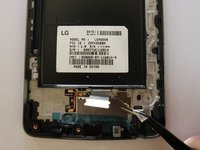
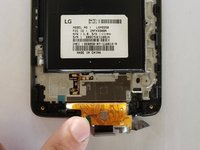
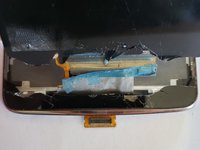
Using tweezers, gently pull upwards on one edge of the adhesive tape.
-
Carefully pull the tape back until the whole ribbon cable is exposed.
-
-
-
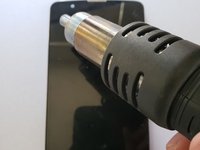
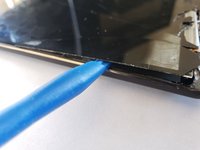
Briefly run the heat gun on a low setting around the outside edge of the screen to warm up the adhesive keeping the phone in place.
-
Keep heat gun on a low setting, and keep the point you are heating moving. Do not hold the heat gun in one spot for long.
-
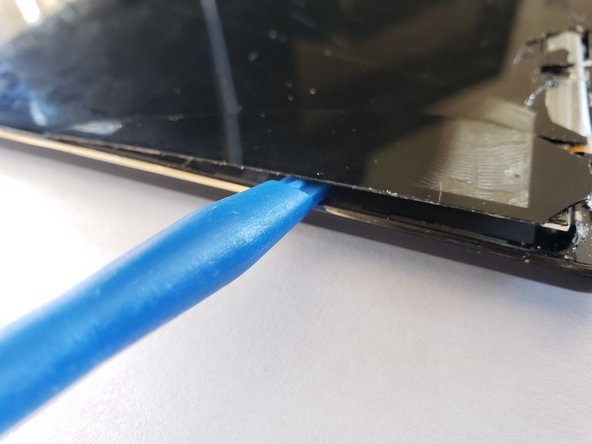
Work an iFixit opening tool under the lip of the screen and pry upwards carefully.
-
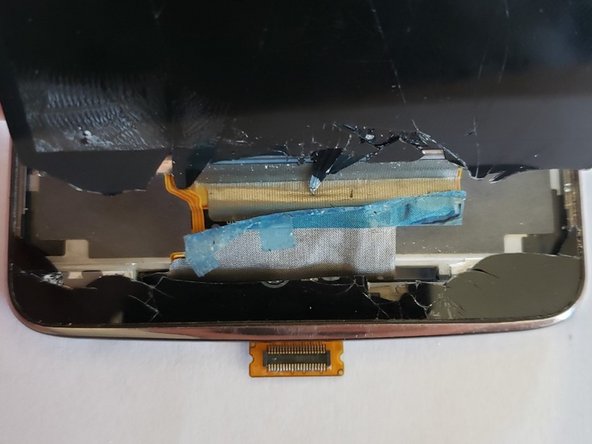
Once you are able to work the screen up around the edge of the device, pull the ribbon cable out of the phone through the thin slot at the bottom of the phone.
-








To reassemble your device, apply the new screen to the phone frame, and follow these instructions in reverse order.
Rückgängig: Ich habe diese Anleitung nicht absolviert.
3 weitere Personen haben diese Anleitung absolviert.

Team

UW Tacoma, Team S1-G3, Cardinal Spring 2019 Mitglied von UW Tacoma, Team S1-G3, Cardinal Spring 2019
UWT-CARDINAL-S19S1G3
4 Mitglieder
21 Anleitungen geschrieben
1 Kommentar zur Anleitung
Good afternoon, I greet you from Guatemla, I need your help, could you provide me with the schematic diagram of the LG MS550 phone
