Einleitung
If you find that your remote control touchscreen has stopped working correctly or has been damaged, you may need to replace it in order to continue using the device. This guide will help you to access the touchscreen of the Logitech Harmony remote universal.
Was du brauchst
-
-
-
Open the latch that accesses the charging port.
-
Remove the black sticker and remove the screw with the indicated screw driver.
-
Take the plastic opening tool and run it down the side of the remote to pop the case open.
-
Detach the white clamp to partially disconnect the case from the motherboard.
 Frag FixBot
-
-
-
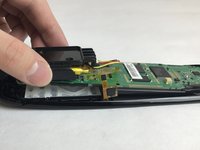
Peel back thin yellow plastic film and detach the clip found underneath.
-
Use a Phillips #00 to remove the screws that connect the motherboard to the case.
-
-
-


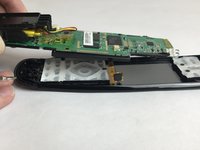
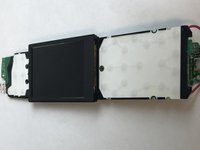

To reassemble your device, follow these instructions in reverse order.
Rückgängig: Ich habe diese Anleitung nicht absolviert.
2 weitere Personen haben diese Anleitung absolviert.

Team

USF Tampa, Team S4-G2, Eyestone Fall 2017 Mitglied von USF Tampa, Team S4-G2, Eyestone Fall 2017
USFT-EYESTONE-F17S4G2
4 Mitglieder
15 Anleitungen geschrieben
2 Kommentare zur Anleitung
Hallo
Mit dieser Anleitung klappt das wechseln bestimmt.Ich habe nur eine frage “Woher bekomme ich ein Touchscreen für die Fernbedienung”?
Ich habe die Ultimate und bei mir ist der Touchscreen defekt.Doch ich habe noch kein Ersatz gefunden. :-( Können sie mir da weiter helfen?
do you have the lcd screen P/N???
