Einleitung
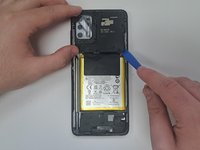
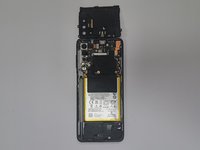
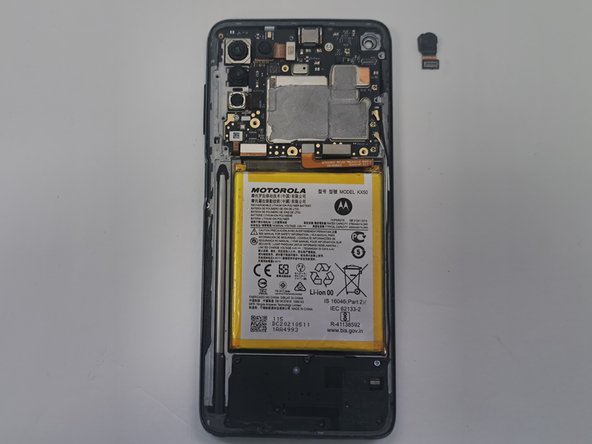
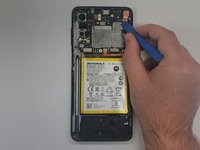
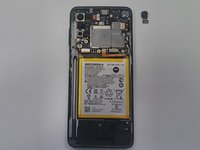
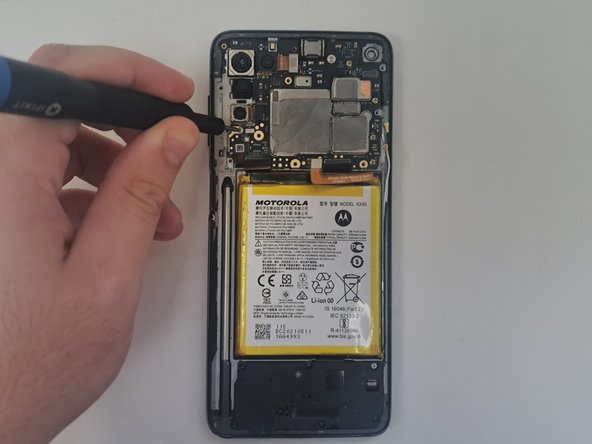
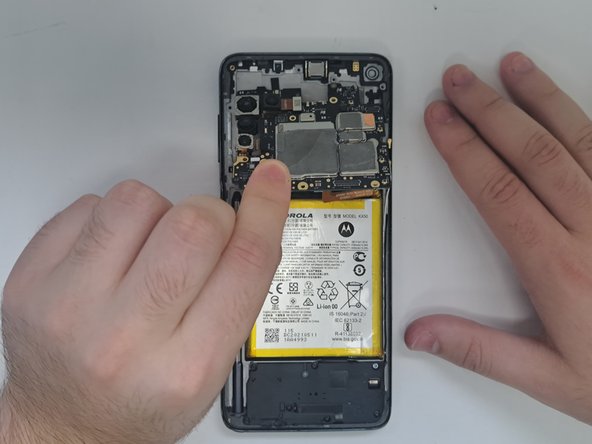
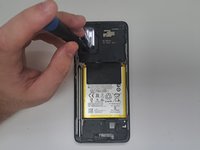
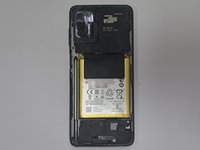
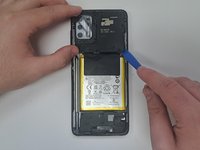
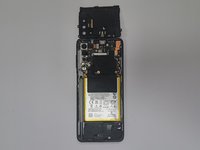
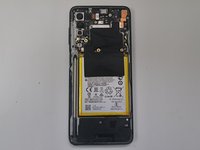
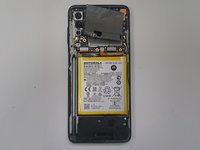
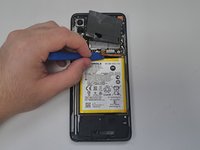
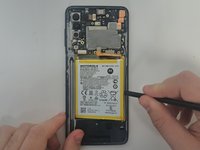
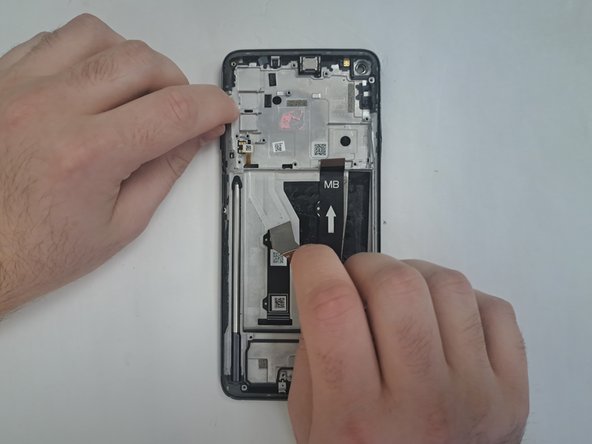
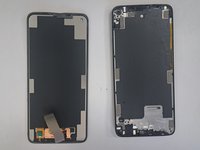
If the screen on your Moto G Stylus 4G is damaged or is malfunctioning, this replacement guide is for you.
The screen is an important part of any smartphone. A damaged screen can result in complete loss of functionality or harm to the user.
This guide will require tools used in the Phone Teardown guide.
Be sure to completely power off the phone and disconnect the phone from any direct power sources before starting the repair.
Was du brauchst
-
-
Power off your phone and disconnect the charger and any peripheries before beginning disassembly.
-
Lay the phone face down.
-
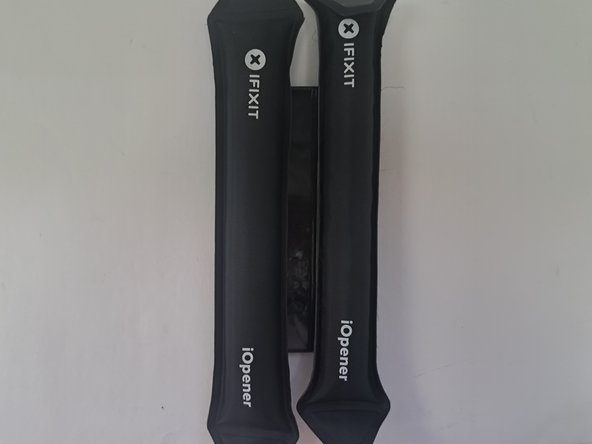
Heat an iOpener and apply it to the rear case.
-
Alternatively, use a hair dryer to heat the rear case until it's almost too hot to touch.
-
-
-
Insert an opening tool into the seam between the rear case and chassis.
-
Once you create a gap, insert an opening pick a couple of millimeters into the gap.
-
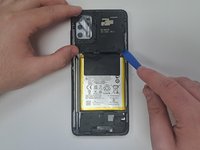
Slide the opening pick around the entire perimeter to sever the adhesive that secures the rear case.
-
If you feel excessive resistance, reheat the problem area(s).
-
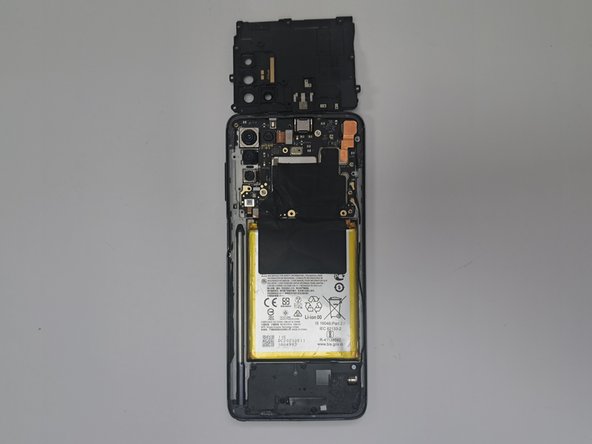
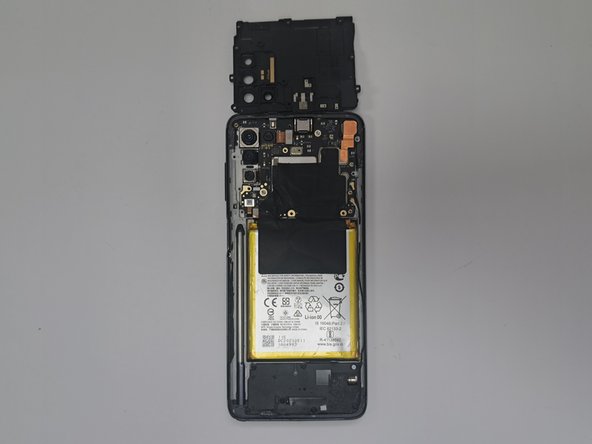
Remove the rear case.
-
-
-
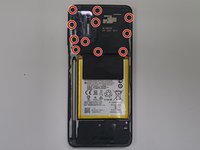
Use a T4 Torx screwdriver to remove all eleven 3.2 mm screws securing the midframe.
-
-
-
Remove the black tape covering the connectors.
-
Use an opening tool to lift and disconnect the four press connectors.
-
Use an opening tool to lift and disconnect the two antenna cables connectors.
-
-
-
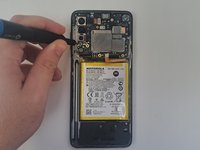
Use an opening tool to lift and disconnector the front camera press connector.
-
Remove the front camera.
-
-
-
-
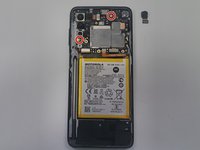
Use a T4 Torx screwdriver to remove the two 3 mm screws securing the main board.
-
-
-
Use a T4 Torx screwdriver to remove all eleven 3.2 mm screws securing the midframe.
-
-
-
Remove the black graphite tape from the battery and surrounding components.
-
Use an opening tool to lift and disconnect the press connector above the battery.
-
-
-
Use an iOpener or hair dryer to gently warm the battery to loosen to adhesive that secures it.
-
Use a spudger to gently pry around the entire perimeter of the battery until it fully releases.
-
-
-
Use a T4 Torx screwdriver to remove all seven 3.2 mm screws securing the black bracket.
-
-
-
Use a T4 Torx screwdriver to remove the 3 mm screw that secures the charging port.
-
-
-
Orient the phone so the screen faces up.
-
Use an iOpener or hairdryer to heat the screen until it's almost too hot to touch.
-
-
-
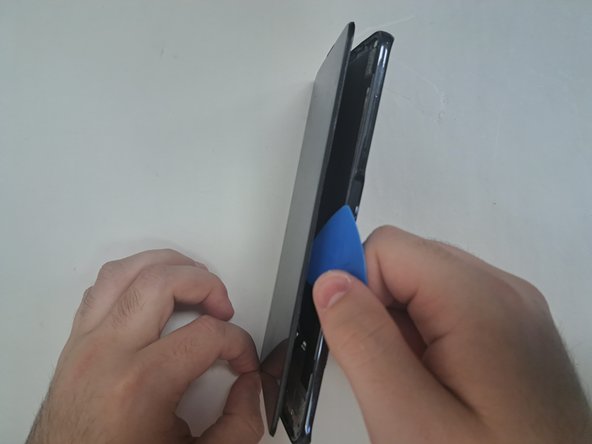
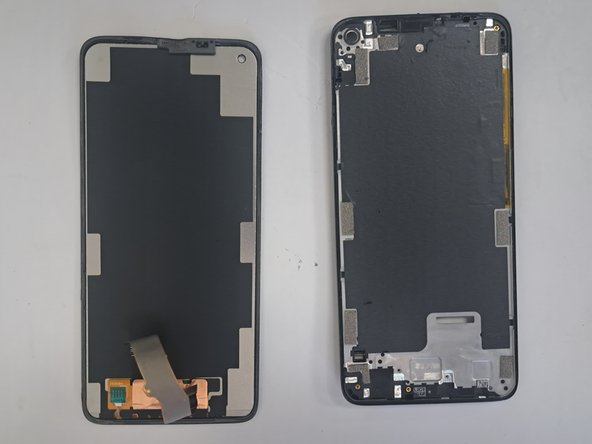
As the glue gets severed, carefully separate the screen from mid case.
-
Carefully pull the cable out of the mid case.
-
To reassemble your device, follow the above steps in reverse order.
Take your e-waste to an R2 or e-Stewards certified recycler.
Repair didn’t go as planned? Try some basic troubleshooting or ask our Answers community for help.
To reassemble your device, follow the above steps in reverse order.
Take your e-waste to an R2 or e-Stewards certified recycler.
Repair didn’t go as planned? Try some basic troubleshooting or ask our Answers community for help.


